The Camaro Club (UK)

Online Community for all Camaro Owners and enthusiasts
It is currently Sat Jan 11, 2025 4:39 pm

All times are UTC


Post new topic Reply to topic  [456 posts ]  Go to pagePrevious1222324252646Next
Author Message
 Post subject: Re: '79 project
PostPosted:Mon Dec 29, 2014 10:38 pm 
Offline
Big Block
User avatar

Joined:Tue Feb 23, 2010 12:40 pm
Posts:3245
Car Details:'79 Camaro, 350 V8
Location:South Bucks
I never really understood what the fantaStic was for, i thought it was for repairs for plastic? They have quite a large line up of products but not too clear on what they are all for, seems to be a lot of overlap. I was thinking about using their Top Stop at one point but there are 2 versions of that too :crazy:

I reprimed the fenders, trunk lid and a couple of patches on the bumper (missed one spot, so the bumper is not out of the woods yet) on Saturday. Will be hitting all of that with 600 at the end of this week (working during the week) Will take care not to break through, so that hopefully these 3 panels can be in colour soon. The front bumper won't make it into colour as it needs that small patch repriming.

_________________
How to post pics: When writing a message, scroll down and use the "attach file" option. Where possible, a photo sharing service can be used such as Flickr, Imgur etc. The image location (usually ending in .jpg) can be copy and pasted between the ][ brackets that appear when you click the 'Img' button (you can find this button at the top of the message box).

How to post youtube vids: Click on the 'youtubeHD' button at the top of the message box and in the middle of the ][ brackets that just appeared, copy and paste everything from the youtube web address that appears after the = sign i.e if this is the url: https://www.youtube.com/watch?v=K2cNqaPSHv0 just copy "K2cNqaPSHv0").


Top
   

Re: '79 project

Sponsor

Sponsor
 

 Post subject: Re: '79 project
PostPosted:Tue Dec 30, 2014 6:36 pm 
Offline
Big Block

Joined:Thu Jul 21, 2011 2:16 pm
Posts:815
Car Details:1980 2nd Gen, 6.0 iron block LS, 4.11 12 bolt axle, Brute Strength Posi, Lowered 2", sub frame connectors, G-braces, Carbon hood and front bumper cover
Location:Norfolk
Fantastic is a fine grade finish filler, you don't get pinholes in it and it's very easy to sand. It's quite runny too. Similar to the stuff you see them using on American hot rod etc.

_________________
My '80 progress thread - hugger orange! Now with LQ9 power - forged pistons, LS2 rods, 236/242, .621/.612, flowed and milled 317 heads. MS3X

4L80e, 12 bolt, 4.11, Moroso brute strength posi, steel shafts.

Subframe connectors, g-braces, solid body bushes, carbon hood and front bumper, custom door cards, Autometer gauges.


Top
   
 Post subject: Re: '79 project
PostPosted:Thu Jan 01, 2015 12:52 pm 
Offline
Big Block

Joined:Wed Jul 15, 2009 6:48 pm
Posts:493
Car Details:68 pontiac firebird coupe project car,my aim is a street friendly,lightly modified pro.touring style.
Lowered ,mild body mods,400 cu in SBC engine, Muncie 4speed, 10 bolt posi axle,disc front drum rear.
68 firebird convertible ( long term project) Stock resto/mod style ,400 pontiac th350
Ray I have looked at the pics you posted and what you have shown is probably similar to what I had on both my front and rear fenders ...
I will take a guess and maybe say that you moved onto the finer grades of abrasive too early .
When I was at the filler stage with mine I started with drawing 'maps' of the areas of old filler I removed when I took the shell and panels back to bare metal.
Using these maps as a guide I replicated the areas of filler on on all the old surface areas but had to start from scratch on the areas mainly rear arches an valance where I did patch panel repairs .
Went in with heavy layers of Smooth 7 from a 3.5L can then sanded with coarse 60 grade and a longish rigid board.
Once it seemed fairly straight I skimed it all over with Smooth 7 and sanded it all over with 120 grade .
It was now time to dust on a little matte black and sand some more with 120 .
Only then did I start with the Easy 1 ( the stuff I called finish grade in my previous post )
Filled some smaller imperfections with MIPA A40 1K acrylspachtel from a small tube .
Sanded with 180, then 320 then painted with 2k epoxy followed by the hi-build primer again in 2K.
I had the same issues as you with some low spots but built up the larger ones with more Hi-build primer and also used U-pol High 5 spray cans in dark grey ( good build and ideal as a quick guide coat)
It seems to take forever but that's how I did mine .
You seem to be mostly there from the pix .My advice would be 2 x heavy coats of 2K high build and a little more sanding with 320...


Top
   
 Post subject: Re: '79 project
PostPosted:Tue Jan 06, 2015 2:49 pm 
Offline
Big Block
User avatar

Joined:Tue Feb 23, 2010 12:40 pm
Posts:3245
Car Details:'79 Camaro, 350 V8
Location:South Bucks
Thanks for looking into the pics and for the advise. The strange thing is that i was using a long block on the parts - i made one as well from some lamiate flooring that was left over - about 120cm long! Had enough bend to shape to the countours of the doors, roof, trunk etc and being a hard surface i was expecting it to not follow imperfections but sand them out (as is the idea lol). I guess the imperfections are just on a smaller scale then as the rub throughs occur when you just about get rid of the guide coat.

I got around to sanding the fenders and front bumper with 600 the other day, almost got away with completing them. The overall fenders are ok now, jsut a couple of spots on the lower part (near where the bolts are) and a couple of spots on the inside that rubbed through. At least the main part is done now so i just need to take care of the few little breakthroughs. Same on the bumper, a few small patches need doing - two parts are on faces that erm, face you, so it means back masking and blending when sanding, which is what i'm not looking forward to incase of further breakthroughs / imperfections due to differences in thickness of the layers of paint. A couple of spots are on edges, so same kind of thing, when sanding out need to be careful to ensure it's blended and not stepped etc. Need to sand the trunk still, hopefully one evening this week and will try to not break through at all. So close but so far.

_________________
How to post pics: When writing a message, scroll down and use the "attach file" option. Where possible, a photo sharing service can be used such as Flickr, Imgur etc. The image location (usually ending in .jpg) can be copy and pasted between the ][ brackets that appear when you click the 'Img' button (you can find this button at the top of the message box).

How to post youtube vids: Click on the 'youtubeHD' button at the top of the message box and in the middle of the ][ brackets that just appeared, copy and paste everything from the youtube web address that appears after the = sign i.e if this is the url: https://www.youtube.com/watch?v=K2cNqaPSHv0 just copy "K2cNqaPSHv0").


Top
   
 Post subject: Re: '79 project
PostPosted:Wed Jan 07, 2015 8:17 pm 
Offline
Big Block

Joined:Wed Jul 15, 2009 6:48 pm
Posts:493
Car Details:68 pontiac firebird coupe project car,my aim is a street friendly,lightly modified pro.touring style.
Lowered ,mild body mods,400 cu in SBC engine, Muncie 4speed, 10 bolt posi axle,disc front drum rear.
68 firebird convertible ( long term project) Stock resto/mod style ,400 pontiac th350
Most people underestimate the time required to get it right .
I did a body repair course at a local college and one of the best lessons I learned there was to do most of the filler repairs in coarse filler paste and get the basics right with coarse paper grades and only then go on to the finer filler and 320 or 400 grade then primer filler .
Judging from your pix you are close but now is the time for a little patience and whatever you do don't try to rush the final stage of the prep or it will come back to haunt you later ...
hope to see the finished car :thumbup:


Top
   
 Post subject: Re: '79 project
PostPosted:Mon Feb 09, 2015 10:34 am 
Offline
Big Block
User avatar

Joined:Tue Feb 23, 2010 12:40 pm
Posts:3245
Car Details:'79 Camaro, 350 V8
Location:South Bucks
Quote:
whatever you do don't try to rush the final stage of the prep
Certainly true - I already had it painted and assembled a couple of years ago and then started over and all the stuff i had not done properly, means that this time around i've had to redo it all, from the ground up, rather than having a good base to work from, which would have made redoing it easier.

I haven't touched the car in about a month (bad i know), it has been pretty cold and wet, low motivation etc. I went out over the weekend and did some work. Got the trunk lid sanded out in 600, just 1 annoying breakthrough, tiny spot to bare metail on a corner, so eay enough to sort. The underside of the trunk needs to be primered anyways.

Also got rear bumper sorted, well almost. Just 1 small area left to sand. 2 small breakthroughs so again not too bad, narrowing it down, but would rather it just not have any breathroughs so at least one panel could be complete and ready for colour.

Next is the hood, then the small pieces like the spoilers and mirrors. Then onto the shell. So nearly halfway. Will upload some pics soon.

_________________
How to post pics: When writing a message, scroll down and use the "attach file" option. Where possible, a photo sharing service can be used such as Flickr, Imgur etc. The image location (usually ending in .jpg) can be copy and pasted between the ][ brackets that appear when you click the 'Img' button (you can find this button at the top of the message box).

How to post youtube vids: Click on the 'youtubeHD' button at the top of the message box and in the middle of the ][ brackets that just appeared, copy and paste everything from the youtube web address that appears after the = sign i.e if this is the url: https://www.youtube.com/watch?v=K2cNqaPSHv0 just copy "K2cNqaPSHv0").


Top
   
 Post subject: Re: '79 project
PostPosted:Mon Feb 09, 2015 2:10 pm 
Offline
Big Block
User avatar

Joined:Fri Mar 19, 2010 1:35 am
Posts:2566
Car Details:79' camaro road & track day toy. 383 stroker, 5 speed TKO trans, lots of suspension stuff, 13" Vette brakes, 18" wheels.
Location:Luton
Are you planning for the Speedfest as the deadline Ray ?

_________________
“You only live once, but if you do it right, once is enough.”


Top
   
 Post subject: Re: '79 project
PostPosted:Mon Feb 09, 2015 2:47 pm 
Offline
Big Block
User avatar

Joined:Tue Feb 23, 2010 12:40 pm
Posts:3245
Car Details:'79 Camaro, 350 V8
Location:South Bucks
Yes indeed :thumbup: Even sooner i'm hoping. My birthday is in mid April so that would be a really nice treat. I'd like to get the wet sanding done by end of Feb, spot prime and wet sand the break throughs during March, final prep, paint in April, assembly in April and final few jobs April / May.

_________________
How to post pics: When writing a message, scroll down and use the "attach file" option. Where possible, a photo sharing service can be used such as Flickr, Imgur etc. The image location (usually ending in .jpg) can be copy and pasted between the ][ brackets that appear when you click the 'Img' button (you can find this button at the top of the message box).

How to post youtube vids: Click on the 'youtubeHD' button at the top of the message box and in the middle of the ][ brackets that just appeared, copy and paste everything from the youtube web address that appears after the = sign i.e if this is the url: https://www.youtube.com/watch?v=K2cNqaPSHv0 just copy "K2cNqaPSHv0").


Top
   
 Post subject: Re: '79 project
PostPosted:Mon Feb 16, 2015 4:53 pm 
Offline
Big Block
User avatar

Joined:Tue Feb 23, 2010 12:40 pm
Posts:3245
Car Details:'79 Camaro, 350 V8
Location:South Bucks
Latest update... finished the back bumper, bonnet and the pass side spoiler. Next is the rest of the spoiler, mirrors and trunk fill panel. Will updload a pic tonight, nothing too exciting to see though.

_________________
How to post pics: When writing a message, scroll down and use the "attach file" option. Where possible, a photo sharing service can be used such as Flickr, Imgur etc. The image location (usually ending in .jpg) can be copy and pasted between the ][ brackets that appear when you click the 'Img' button (you can find this button at the top of the message box).

How to post youtube vids: Click on the 'youtubeHD' button at the top of the message box and in the middle of the ][ brackets that just appeared, copy and paste everything from the youtube web address that appears after the = sign i.e if this is the url: https://www.youtube.com/watch?v=K2cNqaPSHv0 just copy "K2cNqaPSHv0").


Top
   
 Post subject: Re: '79 project
PostPosted:Thu Feb 26, 2015 9:49 pm 
Offline
Big Block
User avatar

Joined:Tue Feb 23, 2010 12:40 pm
Posts:3245
Car Details:'79 Camaro, 350 V8
Location:South Bucks
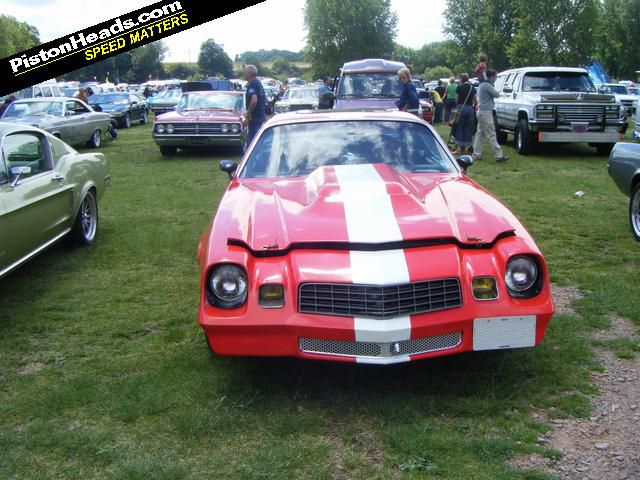
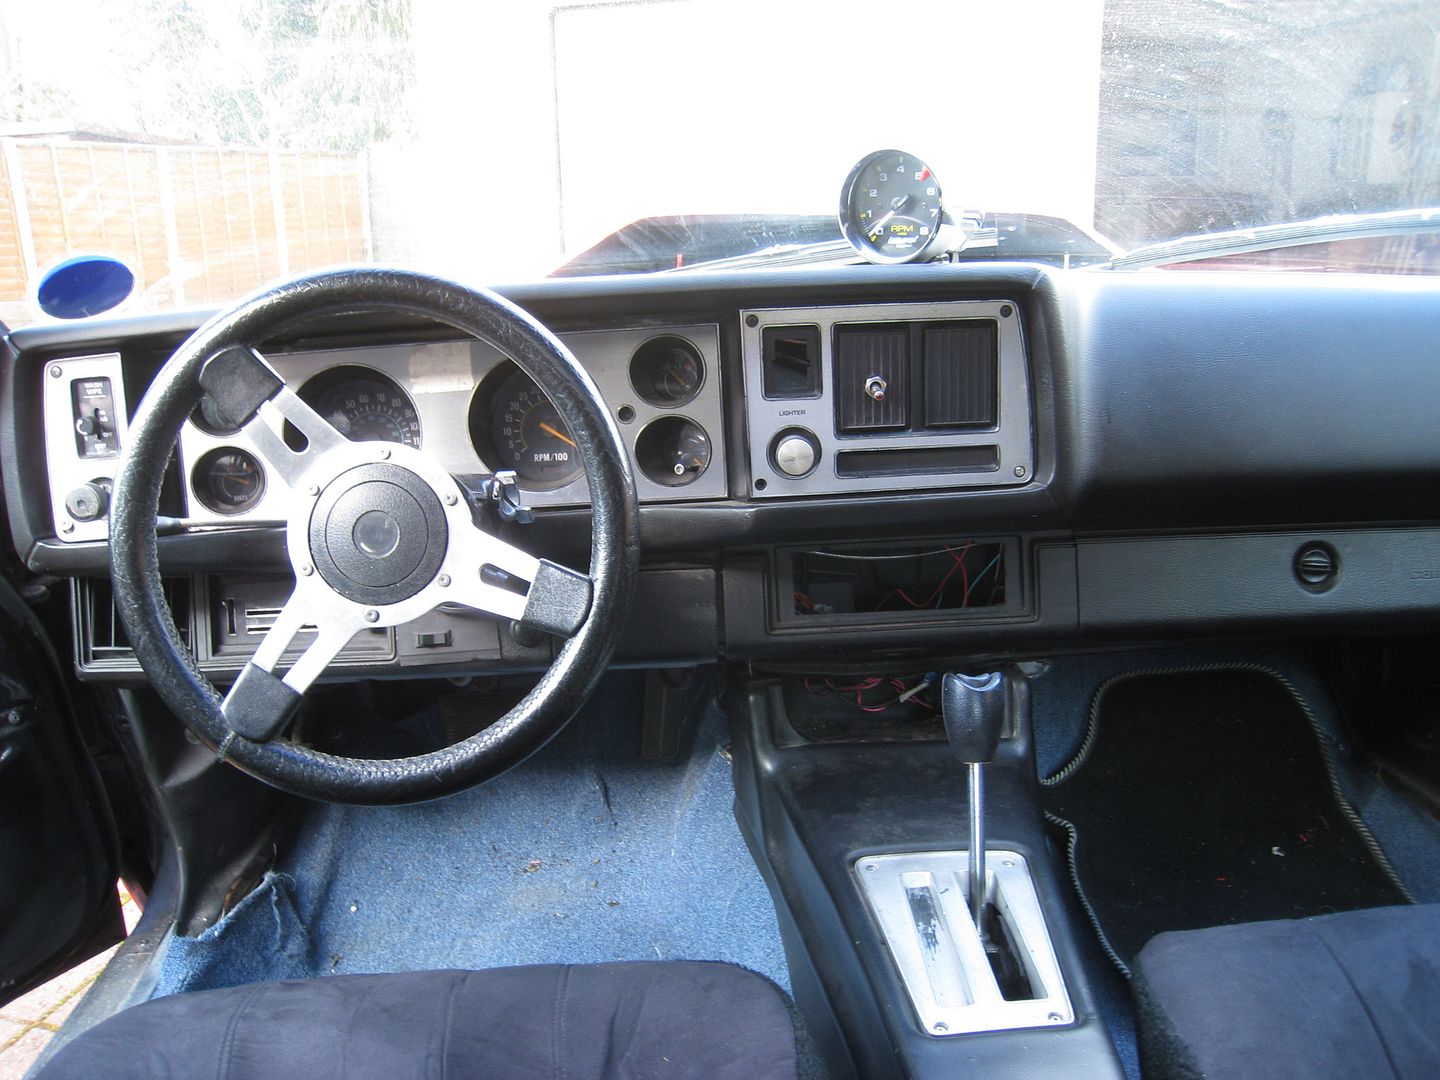
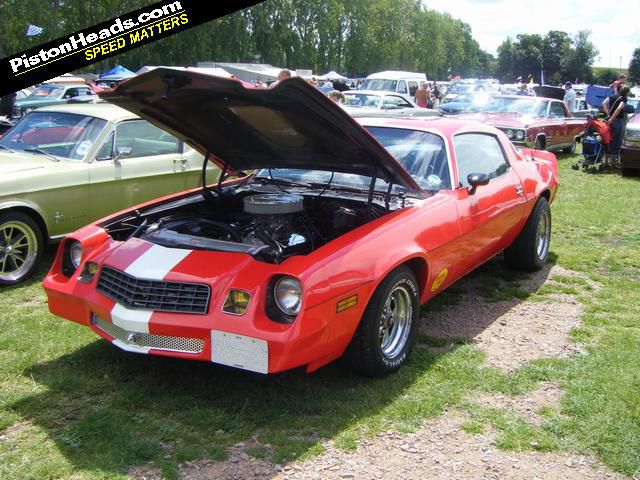
5 Years and 1 week ago, i convinced my mate to drive me 2 hours away. I returned later that evening, in a Camaro, full of parts, dash lights working on and off, not able to see the speedo and when i did, it didn't matter as it was out by many, many miles. I was unable to work out the heater controls (there was snow on the road) and I had never been sat on that side of car with a steering wheel.

This is what i had seen a few days prior:
Image

Image

It was about 11pm on Saturday night when that rolled into the garage.

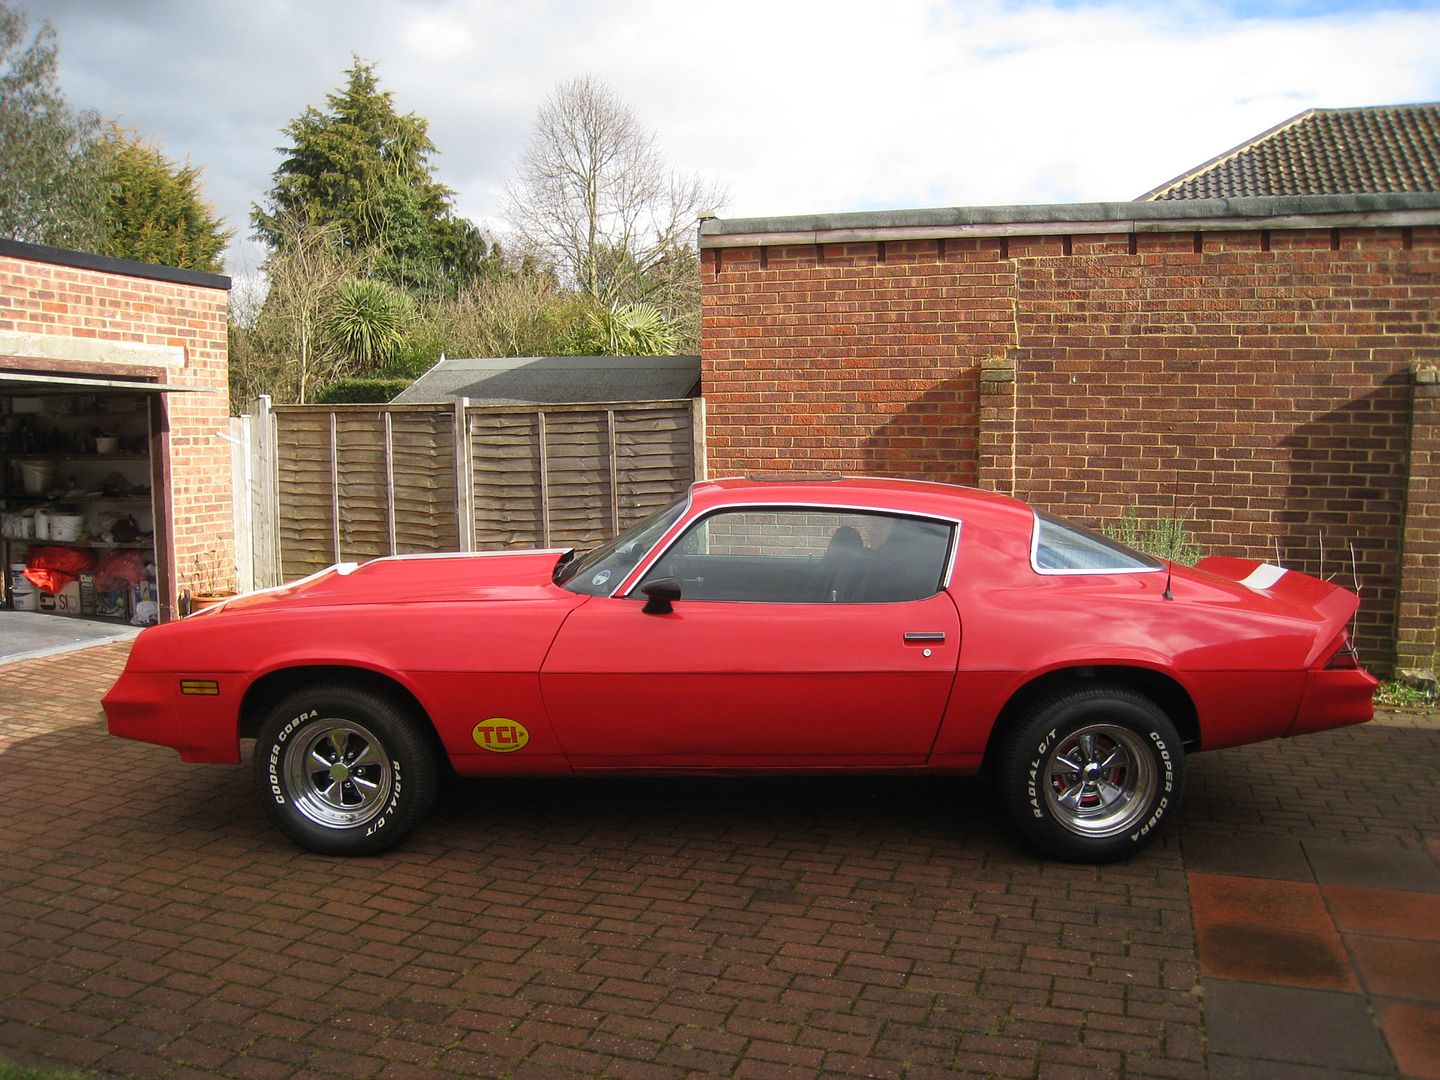
The next day i got to see it properly in the light
Image

Image

The interior made me want to change out the carpets, sort out the seats (torn vinyl) and that's where the domino effect kicked in. The following week is where page 1 of this build thread starts off. I never thought it would be more than a few months worth of work as i didn't plan on doing more than the interior. It's now passed the 5 year mark and it's not done, as i would have hoped. I don't know where the past 5 years have gone. I don't know why or how the car has taken this long. I don't regret that Saturday 5 years ago. I just wish i had taken a better approach and done things better the first time around, rather than redoing it all halfway through. I'm half way through sanding the 2nd stage of primer now. The interior is mostly done (a couple of panels to sort out due to a fire). I really was hoping to have it done by the 5 year mark. I need to move on in my life, move onto different things and projects. That's not to say that i want to move away from the car, i have no plans to ever sell it. I would just like for it to be on the road and actually enjoy it, it's really been too long now and it would be nice to have my life back.

I didn't get any work done last weekend, the winters here really are too long. This weekend should be our first weekend this year of decent weather so i hope to do a lot, if not all of the sanding.

_________________
How to post pics: When writing a message, scroll down and use the "attach file" option. Where possible, a photo sharing service can be used such as Flickr, Imgur etc. The image location (usually ending in .jpg) can be copy and pasted between the ][ brackets that appear when you click the 'Img' button (you can find this button at the top of the message box).

How to post youtube vids: Click on the 'youtubeHD' button at the top of the message box and in the middle of the ][ brackets that just appeared, copy and paste everything from the youtube web address that appears after the = sign i.e if this is the url: https://www.youtube.com/watch?v=K2cNqaPSHv0 just copy "K2cNqaPSHv0").


Top
   
Display posts from previous: Sort by 
Post new topic Reply to topic  [456 posts ]  Go to pagePrevious1222324252646Next

All times are UTC


Who is online

Users browsing this forum: No registered users and 0 guests


You cannot post new topics in this forum
You cannot reply to topics in this forum
You cannot edit your posts in this forum
You cannot delete your posts in this forum
You cannot post attachments in this forum

Search for:
Jump to:  
cron
Powered by phpBB® Forum Software © phpBB Limited