I'm overdue an update (again), so what I have been up to for the last 3 months?
I closed off the last update looking at the rust hiding behind the inner quarter, and that was where I carried on. First job was to clean off the rough rust, which did make it look better, but it still needed repairing. Here we are part way through the dis-assembly.
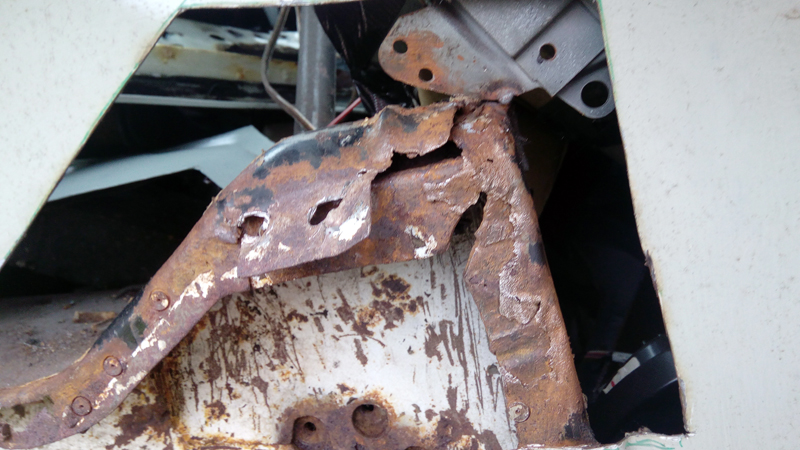
When I bought the car the passenger shock wasn't bolted in with the original bolts, but instead had semi-loose studs mounted in the shock tower, which had a tendency to spin when trying to loosen and tighten them, so I thought this would be a good time to fix that. My original assumption was the inner support had been stripped and one or both of the bolts weren't secure enough. I tested this and found the front was OK and would accept an original bolt, but the rear was not just loose, but the hole was much bigger. Once I'd clean off most of the rust, I chopped the top of the tower to get some access inside, but I wasn't expecting to find this:
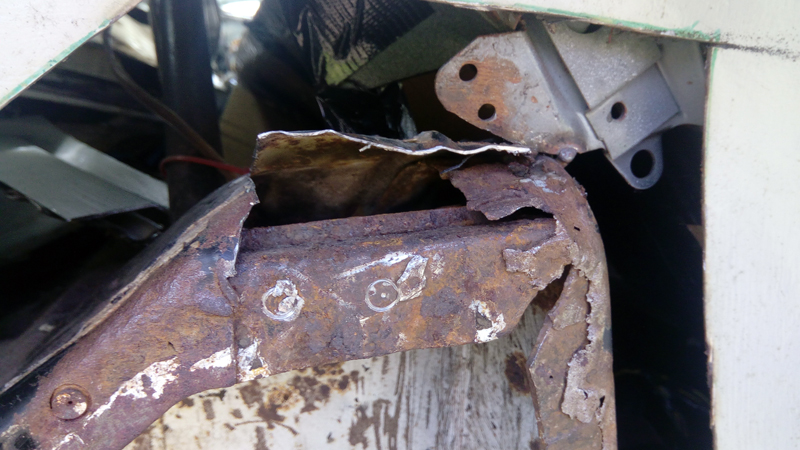
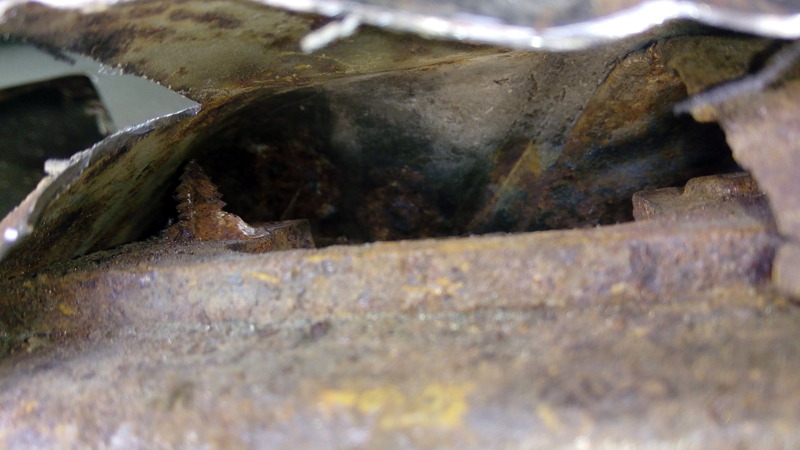
The original bolt had clearly siezed and I guess snapped off. They've then drilled up through it, leaving part of the old bolt there. I set about resolving this by cutting the remainder of the bolt out, sliding a new bolt in from the top and welding it in place. In hindsight I don't think it's the best solution, but I'm committed to it now.
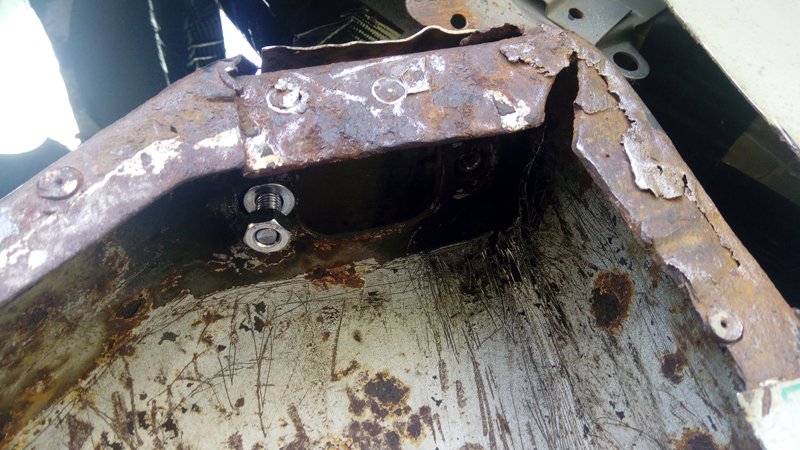
With that done, the repairs to the shock tower had 3 phases - 1. weld up the top flap, 2. repair the front section, which is an extension of the rear seat back panel (not sure what the proper name for that one is). Here we are at that stage:
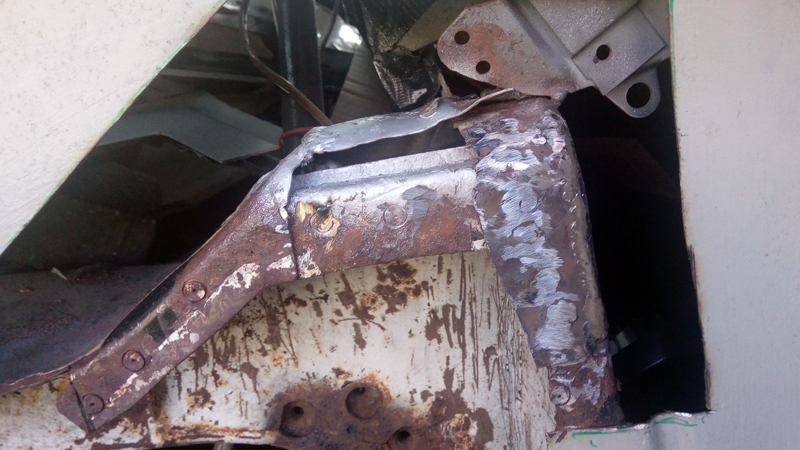
The 3rd phase was the replace the top/outer part of the tower. I had the spare tower from the other side spare (I cut the rear section of the rail out for the earlier repairs). Although the other side, it was fairly close in profile and needed minimal work to get it to fit. It's not the tidiest of repairs, but it's not going to be seen where it is.
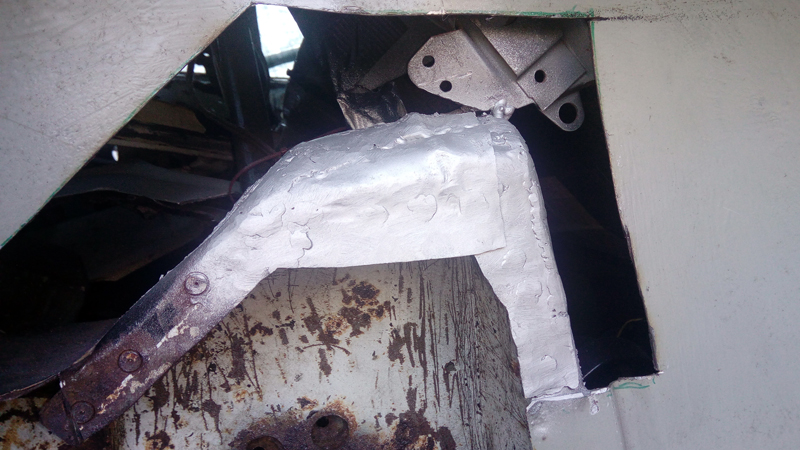
With that done, I moved onto the small patches along the edge of the trunk floor.

One of the rough spots was above the support piece, where I'd previously made some pretty rough repairs (from inside the trunk).
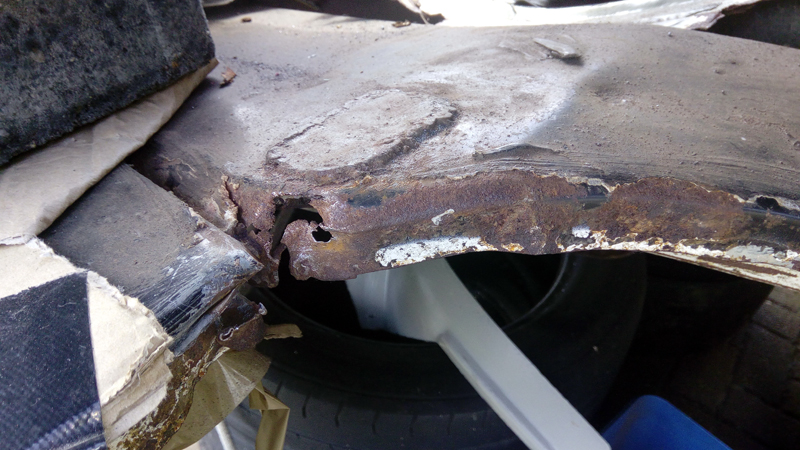
The old patch was cut out, revealing the support piece, which also needed some repair. Here the thin spot has been removed and I'm ready to weld in the replacement and then the same after it was in and cleaned up.
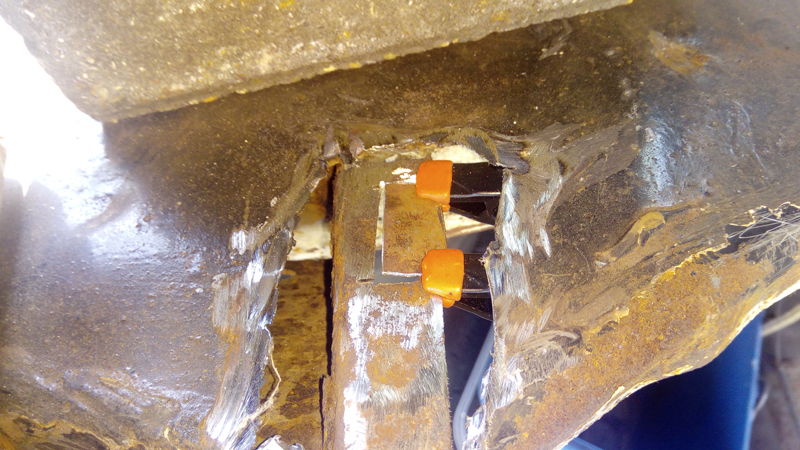
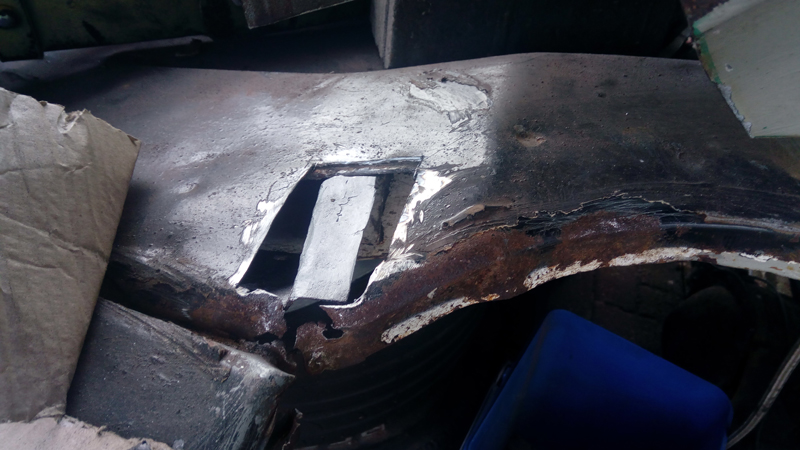
Then I worked on the trunk floor again, initially working out a patch shape with card, and cut/shaped a piece to match it.
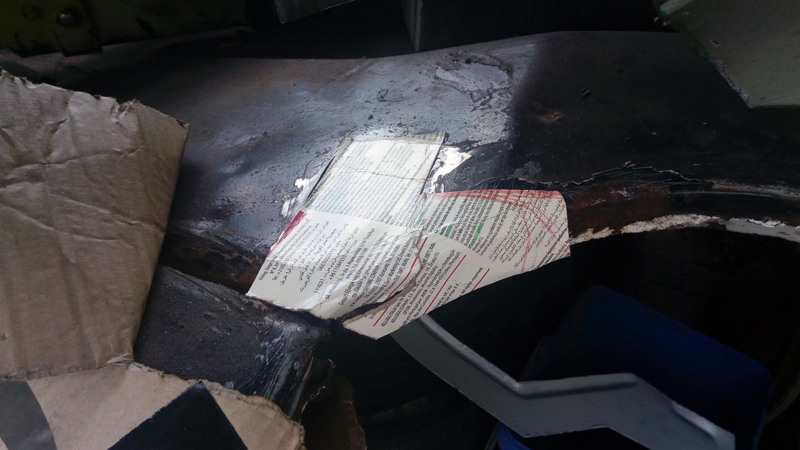

Once I'd got the patch piece ready, I then knew how much to cut out. There is still a rough edge on the left, but this is behind the trunk drop off, so I'll deal with that later.
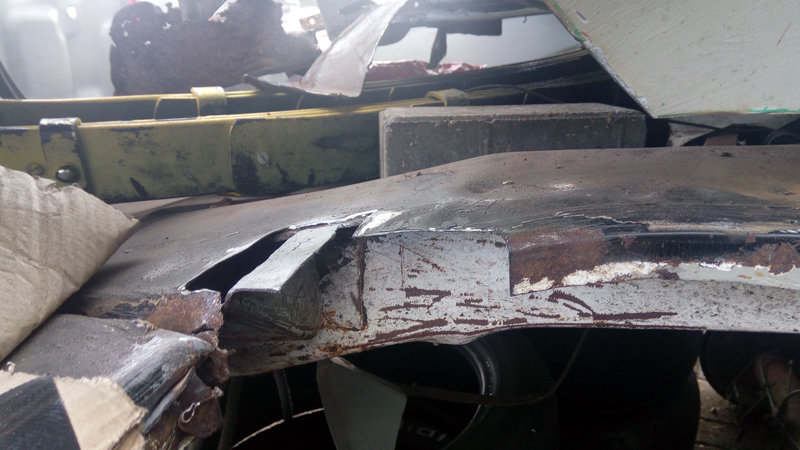
And here we are with the patch welded in and cleaned up.
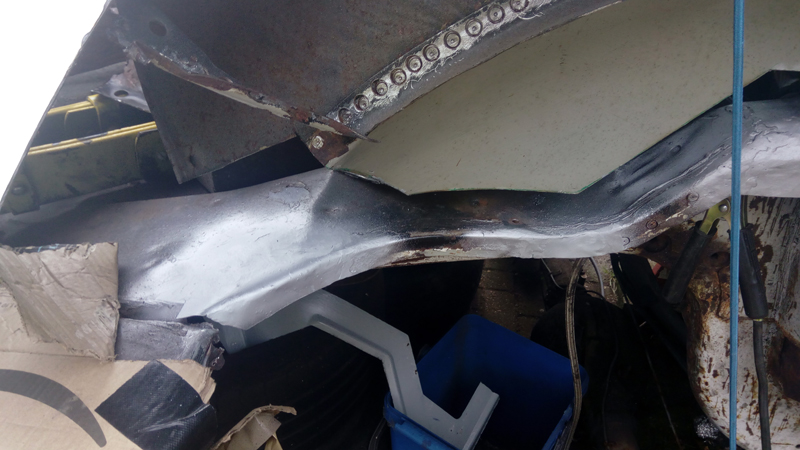
Body side repairs for the inner quarter panel now complete :-)
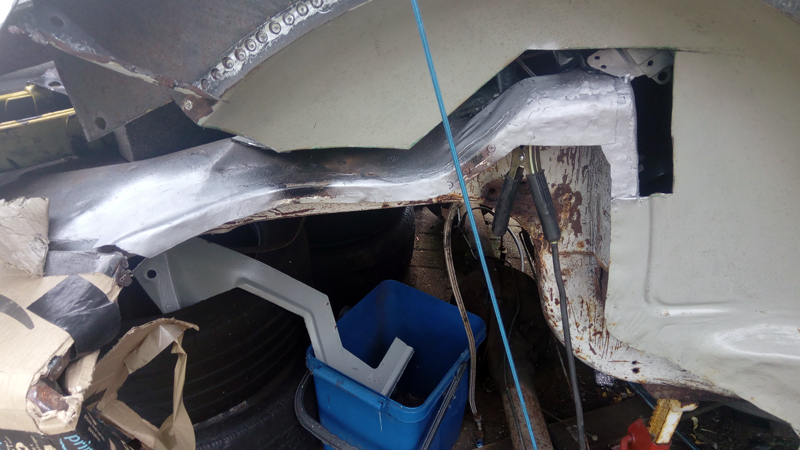
Now it was back to the inner quarter panel itself. Another test fit showed it wasn't as well cut as I thought, but was close enough to work with. I started by marking where I wanted to spot weld, then cut the holes.

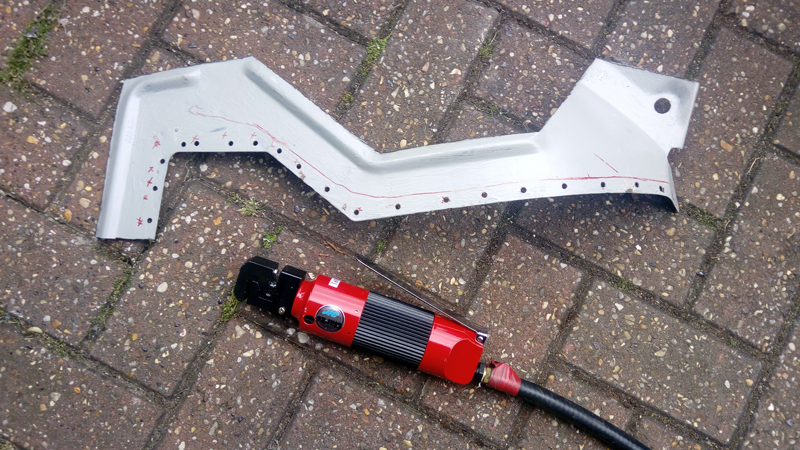
A couple of hours later and it's welded in.
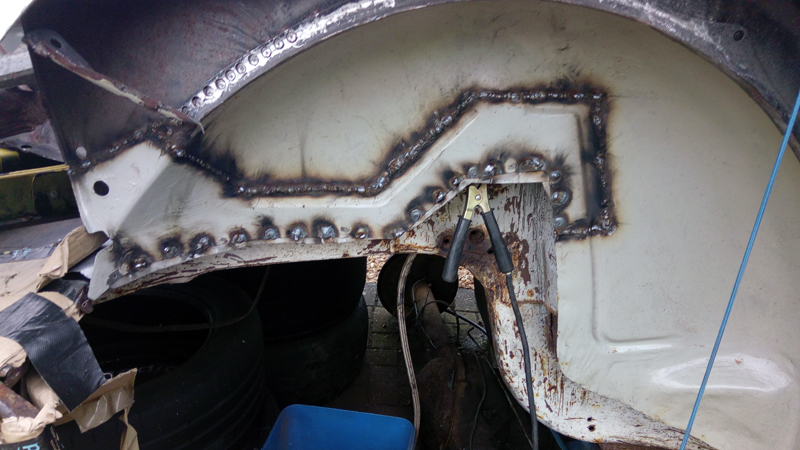
Cleaned up and epoxied - one of my best jobs to date, virtually no sign of work being done:
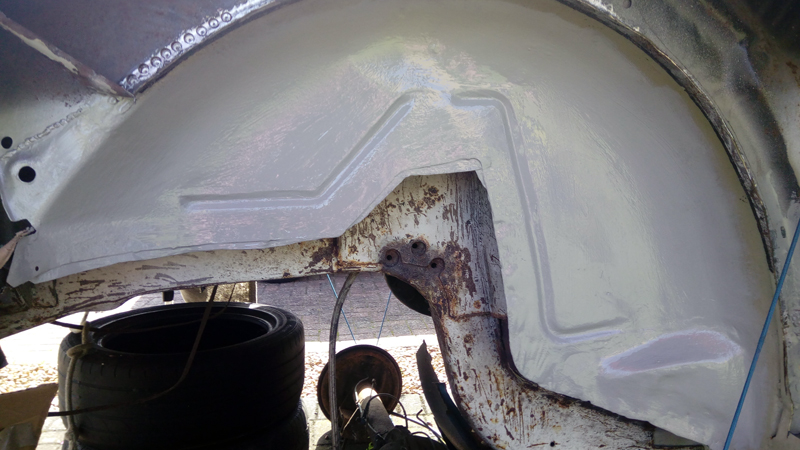
After that, I spent a couple of hours drilling out the spot welds around the arch and cleaning up the surface behind it. From experience on the other side, I knew that I need to align the outerwheel house and the quarter panel at the same time, I had to dig the quarter skin out and do some prep on that too.
I had to trim the front lower corner a few times, to get it to sit down low enough, but I managed to get it aligned fairly quickly. The crease line is a fraction high here, but will be easy to massage down when being fitted properly. I also noted the passenger door is a few mm low anyway.
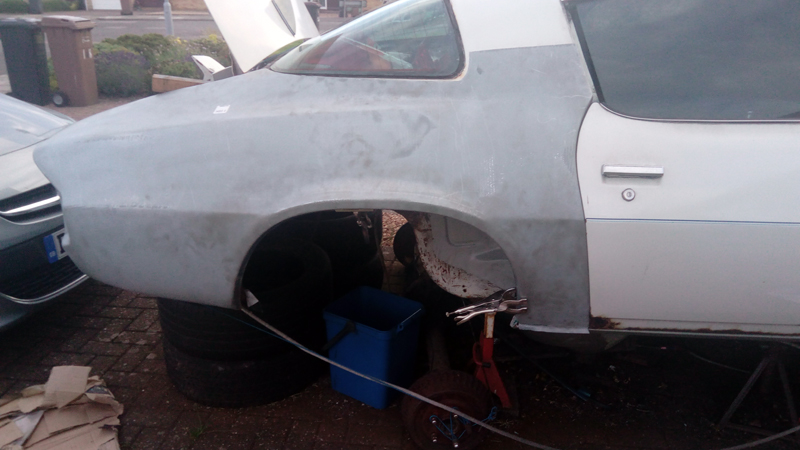

Happy with that I proceded to punch out a ton of holes on the wheel house, clean it off for welding, clamp in place and weld away. Ran out of time to complete the job today, but made a good start.
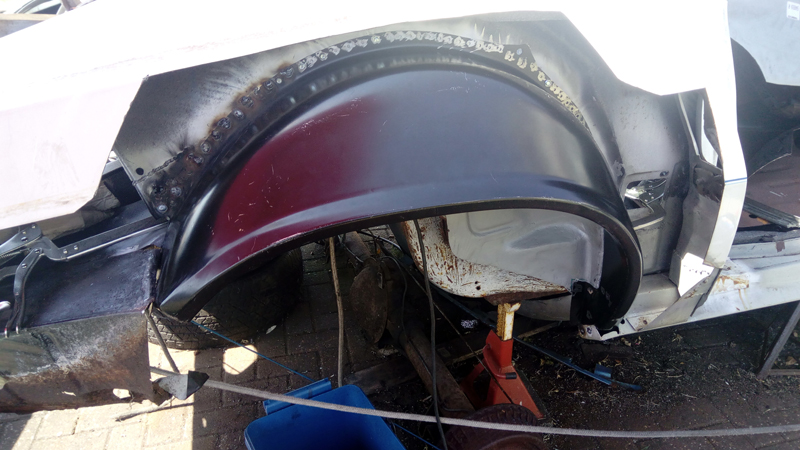
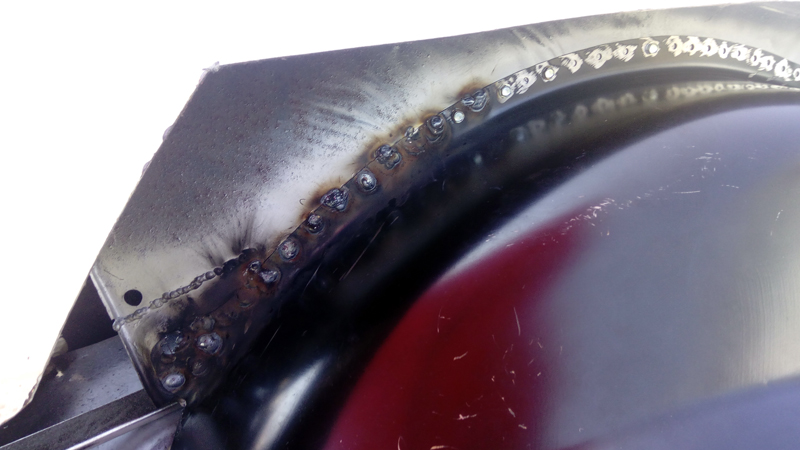
Till next time, hopefully not in 3 months...