Time for another update, just to show I'm still here and working!
First up was the removal of the rusted section of the inner quarter. This was the first opportunity I'd had to use the air hammer with chisel attachment. (You can also see my nice new carpet, which has a deep pile and is kind on the knees :-) )
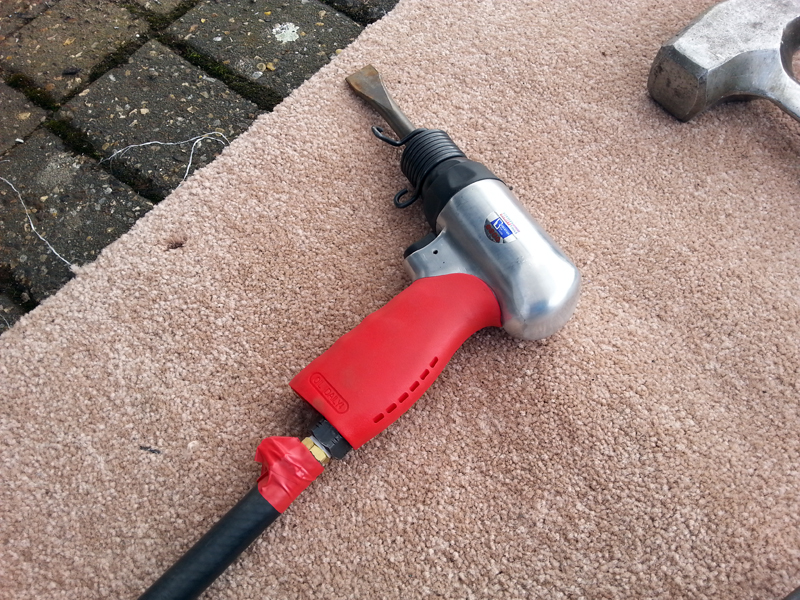
All I can say is wow - I wish I had this when I started, it would have saved me hours of pounding away with a lump hammer. I need to get used to using a bit, as it can be a litte over agressive, but will make a big difference going forward. Anyway, it took just a few seconds to cut away 5 spot welds to the inner support and the piece was out.
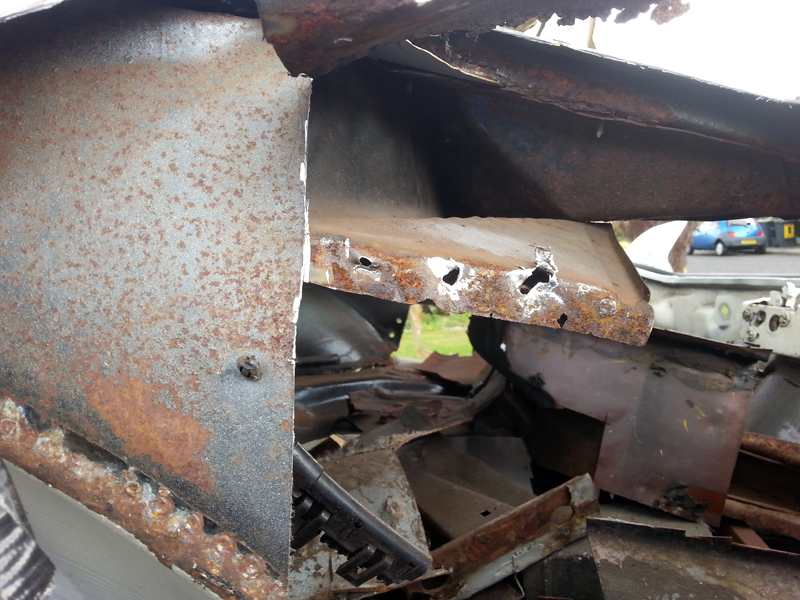
With that piece out of the way, I noted that it gave me good access to re-do the repair done to the trunk floor, many years ago when I was still working out which end of the welder to use. To say it was ugly and poor is an understatement, and needed to be taken out. I didn't get a 'before' picture, but here it is cut and primed ready to go.
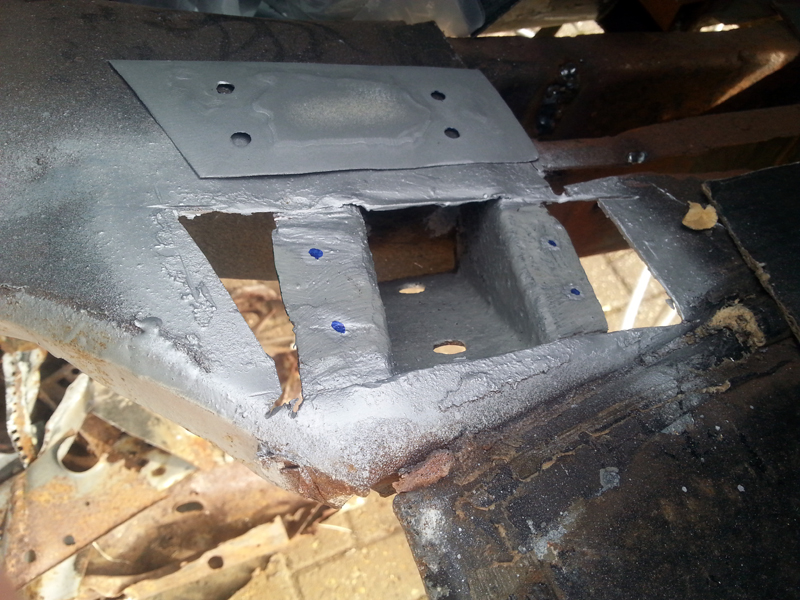
When it was a case of weld it in, clean it up and apply some epoxy.
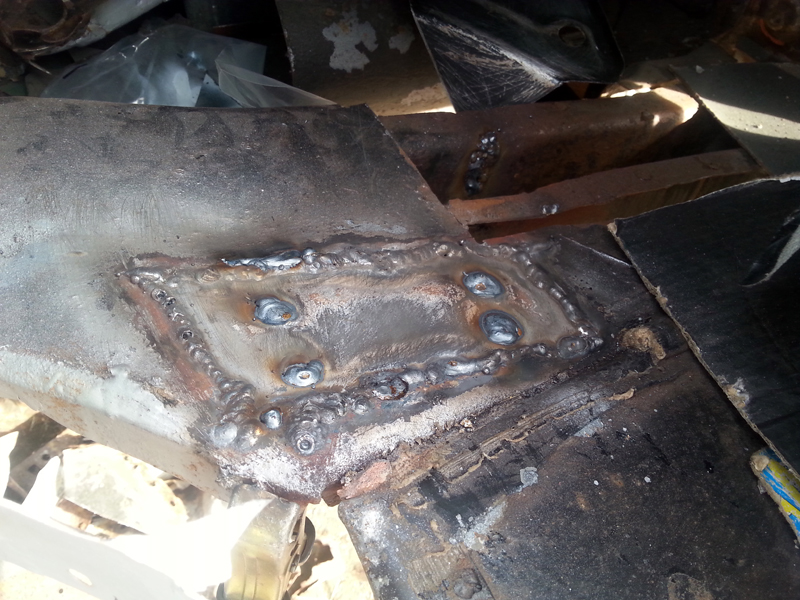
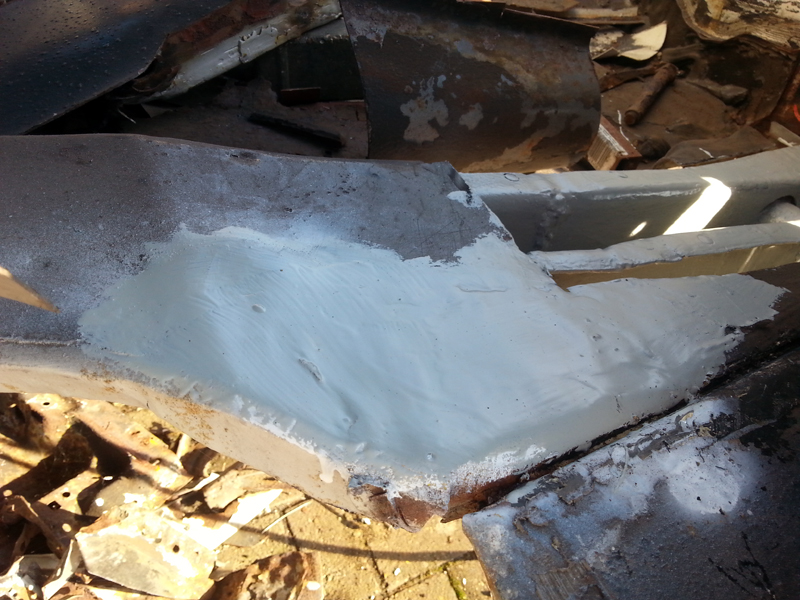
Before applying the epoxy, I took the chance to clean up the last lot of welding (to the inner wheel house) and some of the trunk support and frame rail and make good use of that batch of epoxy.
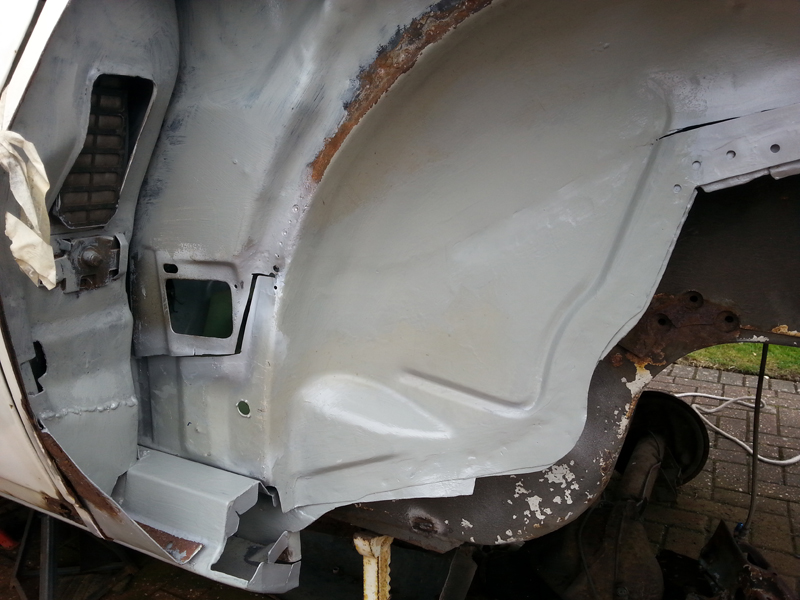
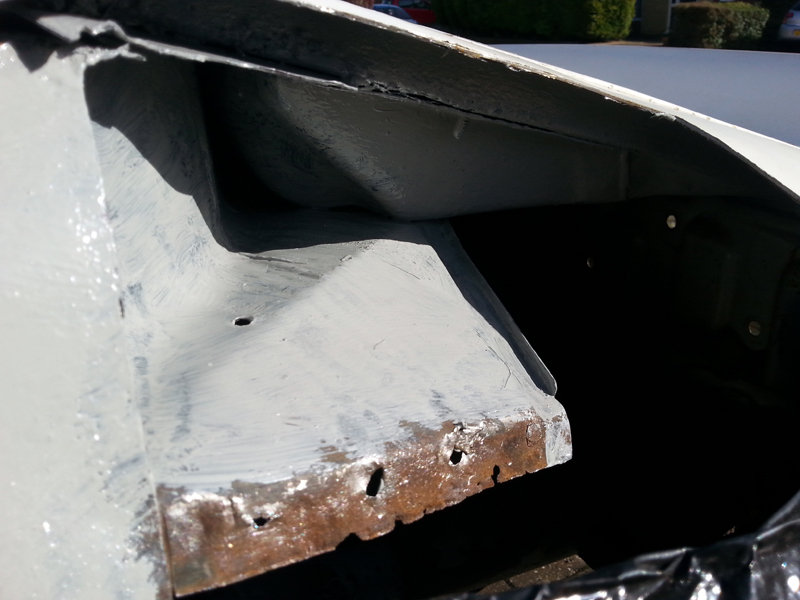
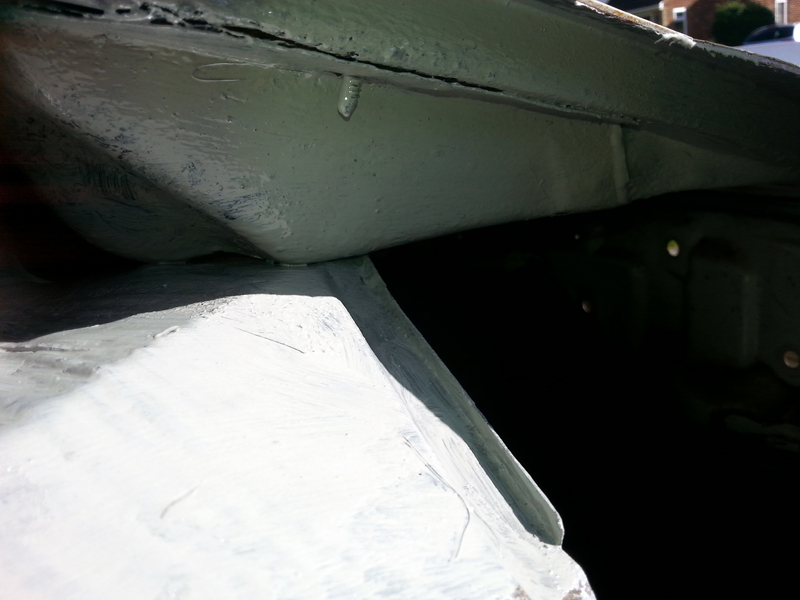
The final part of this installment was the insertion of the new part to replace what was cut out at the top of this post.
I carefully aligned it at the lower edge, where the arch is, to ensure the contour remained smooth across the pieces. A couple of butt weld clamps held it in place, and once tacked in, I was able to massage the upper parts to get them to line up as I needed.
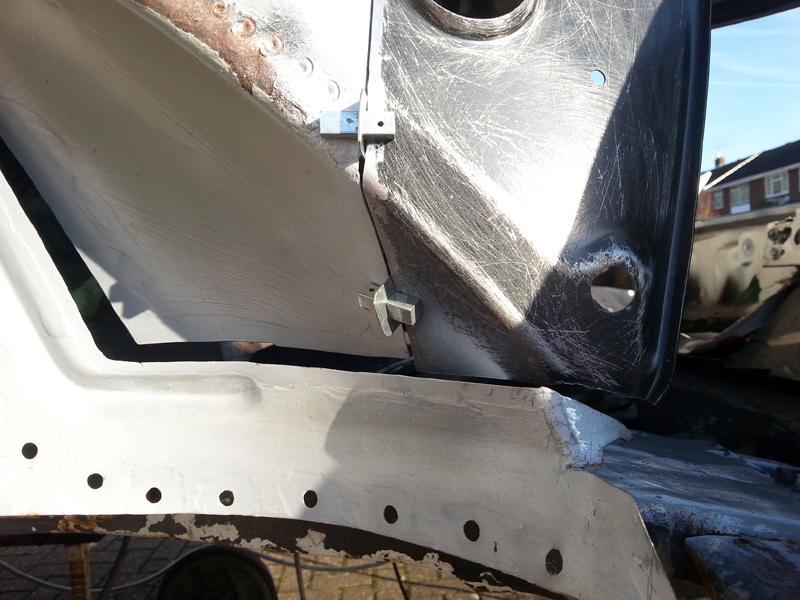
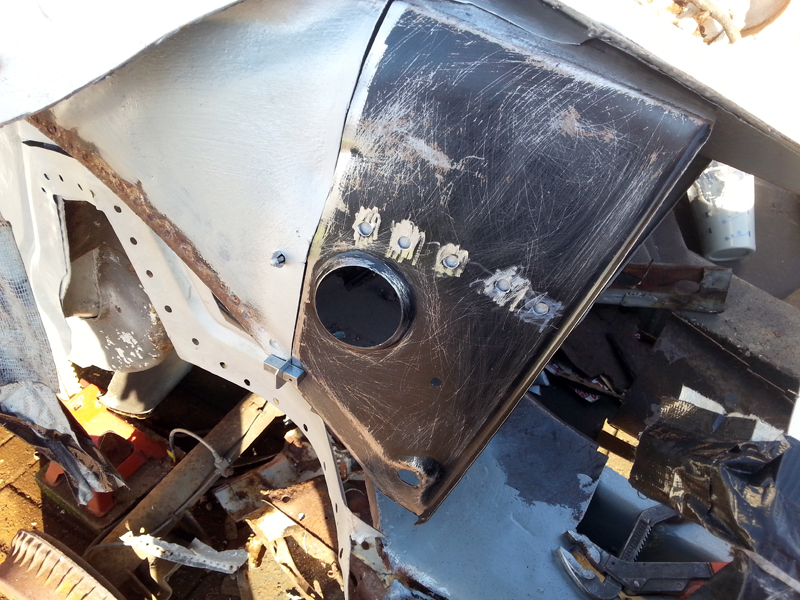
When the seam was done, I was then able to clamp the piece onto the inner support and refill the spot welds.
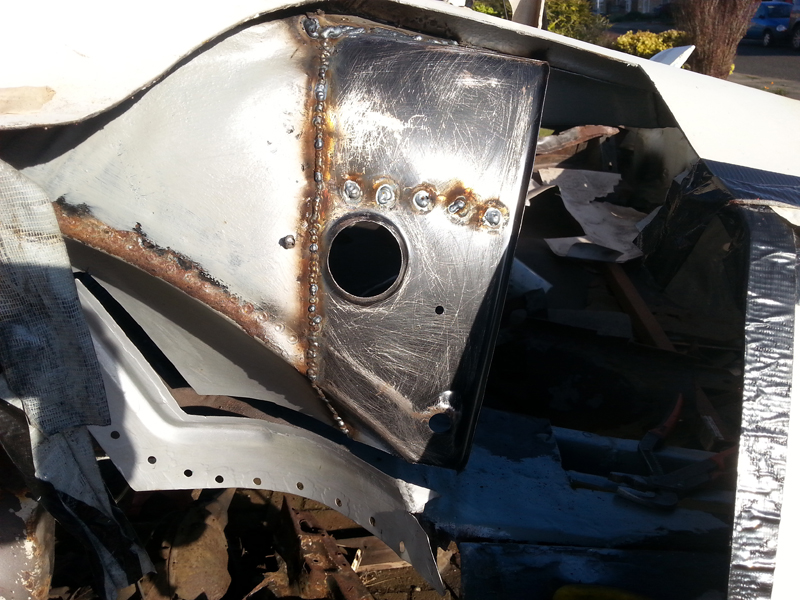
I've ground down the welds on the lower part of the arch, as these will be visible behind the wheel. The upper parts will be behind the outer wheelhouse, so I'm not going to worry about cleaning those up. There is a section of welding that will be visible from inside the trunk, so I plan to clamber in there sometime to clean it up. I'll need to do that before I apply any epoxy, so for now have just sprayed some cheap paint over it to protect the metal until I'm ready to sand it back of, clean it all up and epoxy both sides.
Before I do that, I plan to fix the trunk floor (where I'd cut some away to allow access to the frame rail) and make it whole again, so that it's secure enough to work inside when working on the arch.
The weather has well and trully turned now, and is a lot colder and frequently wet at the times when I'm available. Work rate will have to slow, but I do want to keep plugging away at it.