The Camaro Club (UK)

Online Community for all Camaro Owners and enthusiasts
It is currently Sat Nov 23, 2024 5:46 am

All times are UTC


Post new topic Reply to topic  [456 posts ]  Go to pagePrevious1333435363746Next
Author Message
 Post subject: Re: '79 project
PostPosted:Thu Mar 31, 2016 7:54 am 
Offline
Big Block
User avatar

Joined:Mon Feb 15, 2016 4:30 pm
Posts:537
Car Details:1970 Chevrolet Camaro RS/SS 454
I must say you have far more patience than I, I think I would have been certified insane if I was still waiting to drive the car after all this time!

Mind you, I guess the TA helps keep you in the right frame of mind :)


Top
   

Re: '79 project

Sponsor

Sponsor
 

 Post subject: Re: '79 project
PostPosted:Sat Apr 02, 2016 11:45 am 
Offline
Big Block
User avatar

Joined:Tue Feb 23, 2010 12:40 pm
Posts:3245
Car Details:'79 Camaro, 350 V8
Location:South Bucks
I've got the insane part down, just waiting on the certificate.

Ye the TA came about as a result of the project taking so long. Was driving a 1.2 litre clio for many years and it was painful driving that while having a V8 sat in the garage and not being able to use it. Sure has been a good remedy.

_________________
How to post pics: When writing a message, scroll down and use the "attach file" option. Where possible, a photo sharing service can be used such as Flickr, Imgur etc. The image location (usually ending in .jpg) can be copy and pasted between the ][ brackets that appear when you click the 'Img' button (you can find this button at the top of the message box).

How to post youtube vids: Click on the 'youtubeHD' button at the top of the message box and in the middle of the ][ brackets that just appeared, copy and paste everything from the youtube web address that appears after the = sign i.e if this is the url: https://www.youtube.com/watch?v=K2cNqaPSHv0 just copy "K2cNqaPSHv0").


Top
   
 Post subject: Re: '79 project
PostPosted:Sat Apr 09, 2016 9:30 pm 
Offline
Big Block
User avatar

Joined:Tue Feb 23, 2010 12:40 pm
Posts:3245
Car Details:'79 Camaro, 350 V8
Location:South Bucks
Today's "easy" task was to waxoyl the cavities. How did that go? Not well.

First of all, i made a long 1.5 metre tube to be able to reach from the cowl all the way into and along the rockers right at the back. I had the waxoyl in a warm bucket of water for 40 minutes as instructed and then using the schultz gun, it just didn't want to move along the tube. Managed to get it about 10cm down the tube but it wasn't having it. So i used the stock tube it came with, which is about 30cm long and that worked ok, but didn't get the spray pattern i was expecting. Did the passenger side rocker (via the access hole, but tube was too big so only a small piece was able to get through. Did the front of the quarter panels (where the door latch is), right at the bottom and all the way up as high almost as the roof, then the inner wheel arches and under the rear window (above the inner wheel arch), and the inner trunk drop offs.

Topped up the bottle but this time with really hot water in the bucket and it made it a lot runnier, sprayed out beautifully aaaaand then it stopped. Started sputtering and not spraying. Weird. Took the bottle off, seemed ok, back on, pressed the trigger and the bottle burst. Wtf. Emptied the remaining contents back into the can and started to look closely at the schultz gun and there was a small blockage by the nozzle. Great. Had i spotted that earlier, pressure wouldn't have built up (80psi) and burst the bottle. Luckily i have a spare, but it had some bedliner paint in it (uncatalysed) so i've been working on cleaning that out for the past couple of hours to make sure there's no residue.

So tomorrow the plan is to pick back up on the drivers side trunk, and move forward, go back over the cowl and rockers (as it wasn't spraying too well before) then do the inner parts of the chasis rails.

There's no job i can't turn into a drawn out difficult one :crazy:

_________________
How to post pics: When writing a message, scroll down and use the "attach file" option. Where possible, a photo sharing service can be used such as Flickr, Imgur etc. The image location (usually ending in .jpg) can be copy and pasted between the ][ brackets that appear when you click the 'Img' button (you can find this button at the top of the message box).

How to post youtube vids: Click on the 'youtubeHD' button at the top of the message box and in the middle of the ][ brackets that just appeared, copy and paste everything from the youtube web address that appears after the = sign i.e if this is the url: https://www.youtube.com/watch?v=K2cNqaPSHv0 just copy "K2cNqaPSHv0").


Top
   
 Post subject: Re: '79 project
PostPosted:Sun Apr 10, 2016 9:22 pm 
Offline
Big Block
User avatar

Joined:Tue Feb 23, 2010 12:40 pm
Posts:3245
Car Details:'79 Camaro, 350 V8
Location:South Bucks
Well, finished up with the waxoyl treatment. Nice and messy job. Got into the rockers, cowl and all the inner bits of the chassis.

Still waiting for the heater matrix to turn up. Expect it will be here early in the week. Located the transmission fluid leak (should have done this before putting the headers on!) - thought it was the dipstick grommet but it was a tube next to it (runs up and into what appears to be a vacuum port on the carb). I tightened the hold down bolt but it kept leaking, so unbolted it removed it slightly, ran a cloth between the 2 surfaces and added a washer to the bolt (there was no washer before), gave the floor a nice transmission fluid bath and added some extra fluid (did this all last week) and seems to be not leaking now. Also made a bracket to hold the dipstick in place, bolted to the back of the block, as it wasn't bolted to anything before so was able to move freely. Can't check fluid level as engine needs to run and be warm, but the coolant hoses aren't connected to anything, hence waiting on the heater matrix.

Moved onto the wet sanding stage whilst we wait. Started with the fender that needed a paint blend, due to a run causing some colour pigmentation issues. Yep, found out i f*cked up that repair too. There's a nice square patch now that's a slightly different colour to the rest of the fender, even though i gave it a nice large blend area. So lesson learned, always paint a full panel, or at least, fade out across the whole panel. Don't see myself repainting it anytime soon, so just going to have to live with it. Awesome.

Doing 1 panel at a time - 1,500 grit with a hard block to cut down the orange peel quickly, then a quick once over with foam padded block with 2,000 then another quick once over with 3,000 (no block, just foam backed), then machine compound and polish. Then onto the next panel. So far i've done the fender in 1,500, ran out of time to finish it. But now we have brighter and less cold evenings, plan to do a panel each night over the next week.

Would be great to get the paint cut n buffed before the end of next weekend, and also have the heater matrix installed and test the transmission level (which means it can move under its own power). Then i plan to check all the bolts for torque spec, then make sure it's ok to go for an MOT.

The leak location (far right tube) :
Image

_________________
How to post pics: When writing a message, scroll down and use the "attach file" option. Where possible, a photo sharing service can be used such as Flickr, Imgur etc. The image location (usually ending in .jpg) can be copy and pasted between the ][ brackets that appear when you click the 'Img' button (you can find this button at the top of the message box).

How to post youtube vids: Click on the 'youtubeHD' button at the top of the message box and in the middle of the ][ brackets that just appeared, copy and paste everything from the youtube web address that appears after the = sign i.e if this is the url: https://www.youtube.com/watch?v=K2cNqaPSHv0 just copy "K2cNqaPSHv0").


Top
   
 Post subject: Re: '79 project
PostPosted:Sun Apr 10, 2016 9:34 pm 
Offline
Big Block

Joined:Thu Jul 21, 2011 2:16 pm
Posts:815
Car Details:1980 2nd Gen, 6.0 iron block LS, 4.11 12 bolt axle, Brute Strength Posi, Lowered 2", sub frame connectors, G-braces, Carbon hood and front bumper cover
Location:Norfolk
That 'tube' is the kick down cable. It should be connected to the throttle lever on the carb.

_________________
My '80 progress thread - hugger orange! Now with LQ9 power - forged pistons, LS2 rods, 236/242, .621/.612, flowed and milled 317 heads. MS3X

4L80e, 12 bolt, 4.11, Moroso brute strength posi, steel shafts.

Subframe connectors, g-braces, solid body bushes, carbon hood and front bumper, custom door cards, Autometer gauges.


Top
   
 Post subject: Re: '79 project
PostPosted:Sun Apr 10, 2016 9:35 pm 
Offline
Big Block
User avatar

Joined:Mon Feb 15, 2016 4:30 pm
Posts:537
Car Details:1970 Chevrolet Camaro RS/SS 454
Reading your restoration/project is certainly interesting, but it does make me feel kinda guilty I didn't have to go through any of this! (Yet!)


Top
   
 Post subject: Re: '79 project
PostPosted:Sun Apr 10, 2016 10:09 pm 
Offline
Big Block
User avatar

Joined:Tue Feb 23, 2010 12:40 pm
Posts:3245
Car Details:'79 Camaro, 350 V8
Location:South Bucks
Quote:
That 'tube' is the kick down cable. It should be connected to the throttle lever on the carb.
Oh, i will have to have another look. I thought it was a vacuum line. So there's actually a cable in there? I'm guessing that at a certain throttle distance, it opens a valve (for lack of a better word) allowing the transmission to drop down a gear?
Quote:
Reading your restoration/project is certainly interesting, but it does make me feel kinda guilty I didn't have to go through any of this! (Yet!)
If by interesting you mean failure, then yes, absolutely :) Don't feel guilty, be glad that you don't have the joys! It really has gotten too much, 6 years and 6 weeks, it's just not cool. I hope that anyone seeing this project learns how not to do a project. My best advice is keep it driveable. Make sure it's mechanically sound first, then get onto the body work. And do it bit by bit. I thought it would be more time efficient (the irony) to do all of everything related to x, at once, as you'd already have everything out and being used etc. For example prep all panels then primer, rather than having to do a panel at a time, clean the paint gun out each time, have excess paint left over each time etc. Turns out i was very wrong. Do it in bitesize chunks, 1 bit at a time. You could even get away with painting the car in colour in parts (unless it's metallic / candy / pearl) (primer is ok, you can do it in steps as you're not trying to match colour and finish).

Enjoy yours, do what's necessary and keep it moving. Be wise on how you approach things, sometimes it's worth investing for example i will be investing in an electric DA for the next car repaint as you can strip a car in a day vs. paint stripper and then hand blocking (a few weekends vs. one weekend). I made a big mistake and have wasted many years of my life :thumbdown:

_________________
How to post pics: When writing a message, scroll down and use the "attach file" option. Where possible, a photo sharing service can be used such as Flickr, Imgur etc. The image location (usually ending in .jpg) can be copy and pasted between the ][ brackets that appear when you click the 'Img' button (you can find this button at the top of the message box).

How to post youtube vids: Click on the 'youtubeHD' button at the top of the message box and in the middle of the ][ brackets that just appeared, copy and paste everything from the youtube web address that appears after the = sign i.e if this is the url: https://www.youtube.com/watch?v=K2cNqaPSHv0 just copy "K2cNqaPSHv0").


Top
   
 Post subject: Re: '79 project
PostPosted:Thu Apr 14, 2016 12:43 am 
Offline
Big Block
User avatar

Joined:Tue Feb 23, 2010 12:40 pm
Posts:3245
Car Details:'79 Camaro, 350 V8
Location:South Bucks
Finally some pictures!!

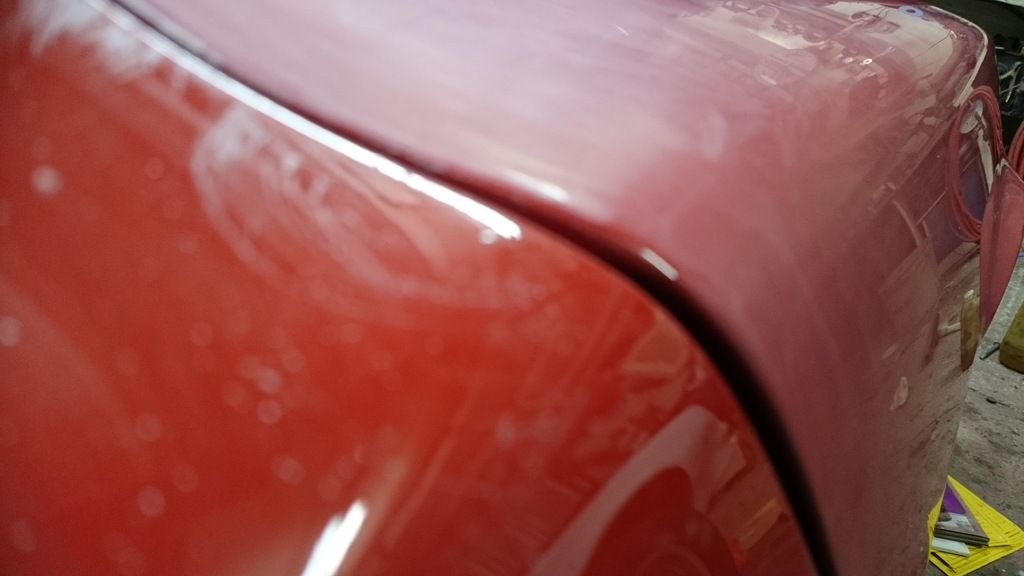
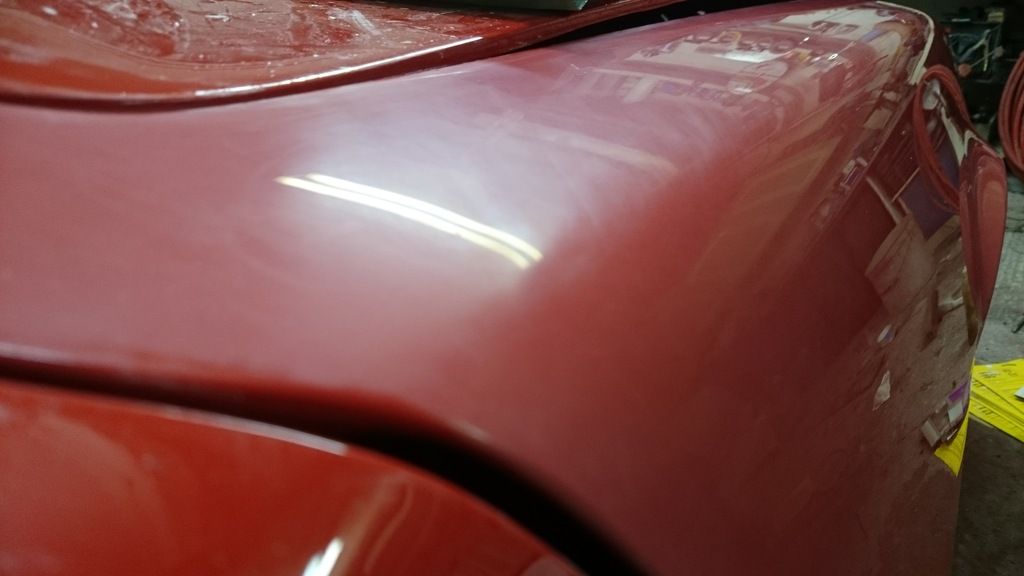
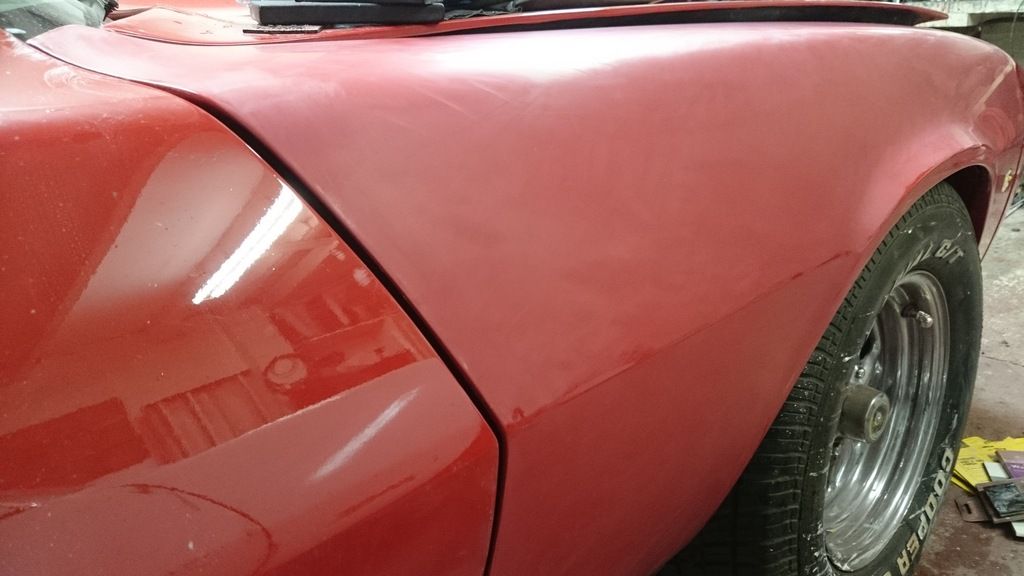
Onto the cut and buff stage. Already found out that the passenger side fender will need a respray. It had a run in the clear right at the front, above the indictor, which caused some discolouration, so sanded off the clear in about a 1x1 foot area and blended in the paint. Didn't work, it's come out a lighter shade, which is odd as it's from the same tin, was stirred thoroughly etc. Didn't want to flat the whole panel down and respray it all, hence the small repair but it looks like i will be... flatting down the whole panel and respraying again :thumbdown: But i'm taking a new approach on the project - steps forward first, then steps back. So rather than halting production and spending a weekend not progressing, but instead prepping, sanding, painting etc. i will carry on with to do list and tick off everything and then come back and start doing things. So maybe in a month or 2 i'll come back and do this.

Started with the passenger side fender, then will do the pass. door (as they both had blends so need to be cut and buffed due to the paint transition) and work around panel by panel.

Started with 1,500 on a block:
Image

Image

Then 2,000 on a soft foam pad:
Image

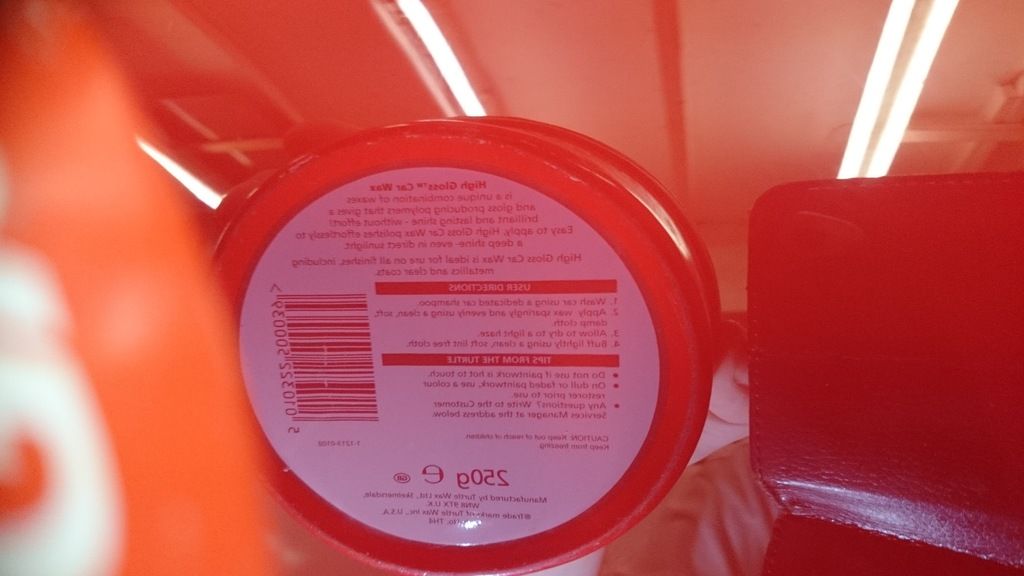
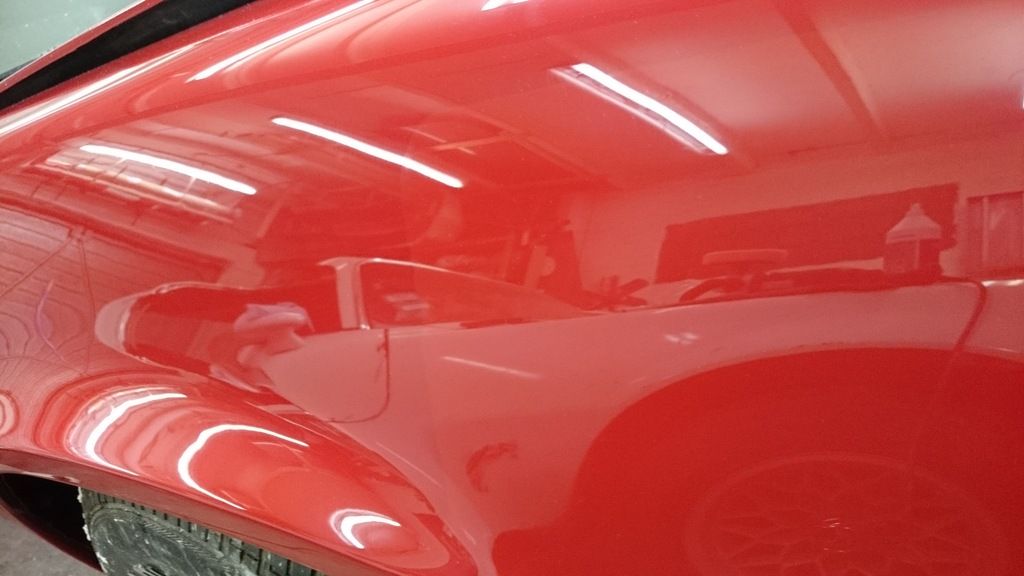
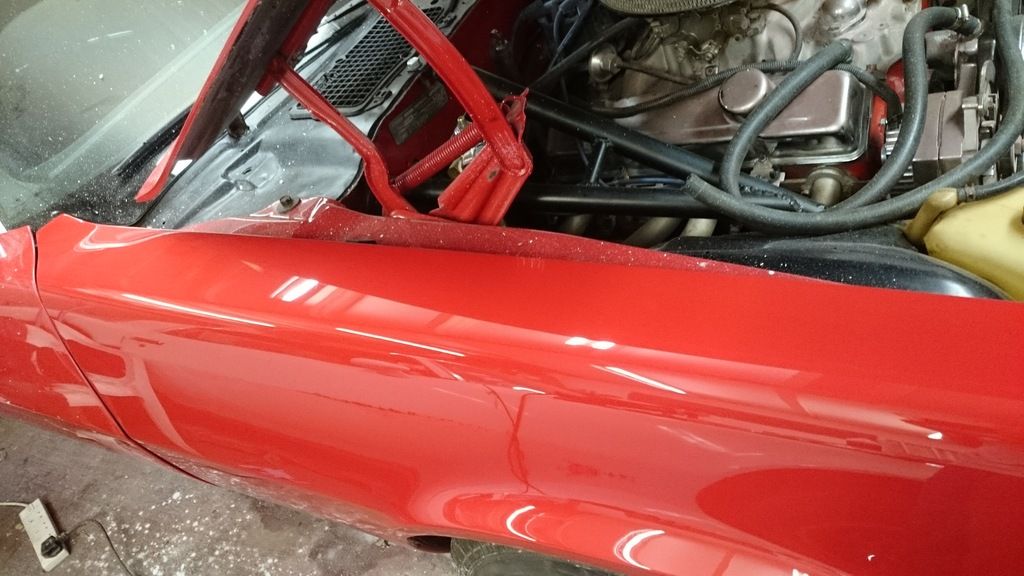
Then onto machine compound with a compounding buffer head, then machine polish with a polishing buffer head, then 2 coats of wax. All of this will be undone within a couple of months on this fender due to needing to repaint it, so used it as a test panel as i've never cut n buffed before, so may as well do it on a panel that one can make mistakes on. And i'm really good at making mistakes.
After compound and polish:
Image

After wax:
Image

Here's the blend in the panel, camera didn't pick it up too well, will be interesting to see how bad it is in the sunlight. And yes, i'm hoping after enough exposure to the sun it will make the darker paint lighter and the lighter paint darker so it's far less obvious :crazy:

Image

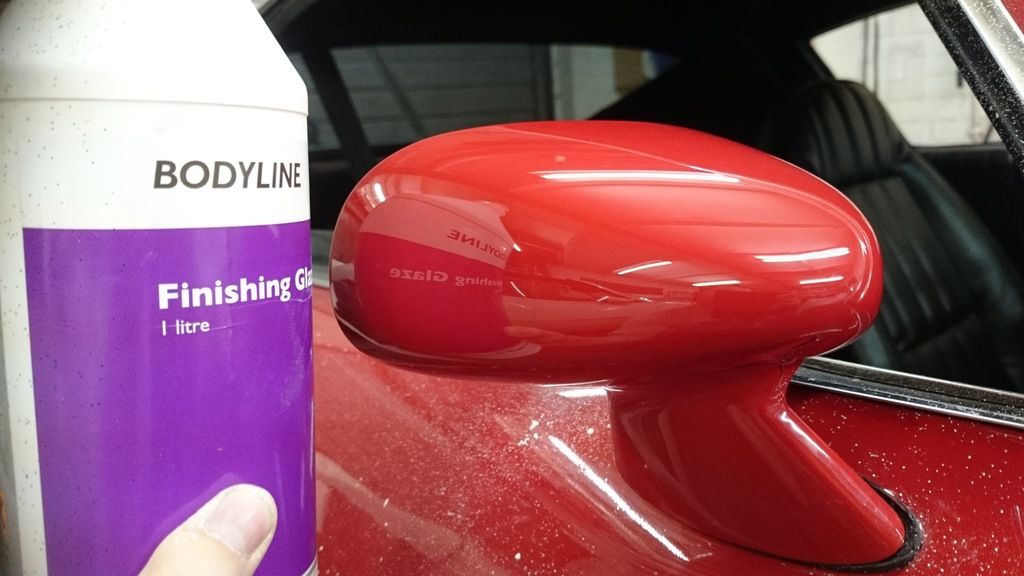
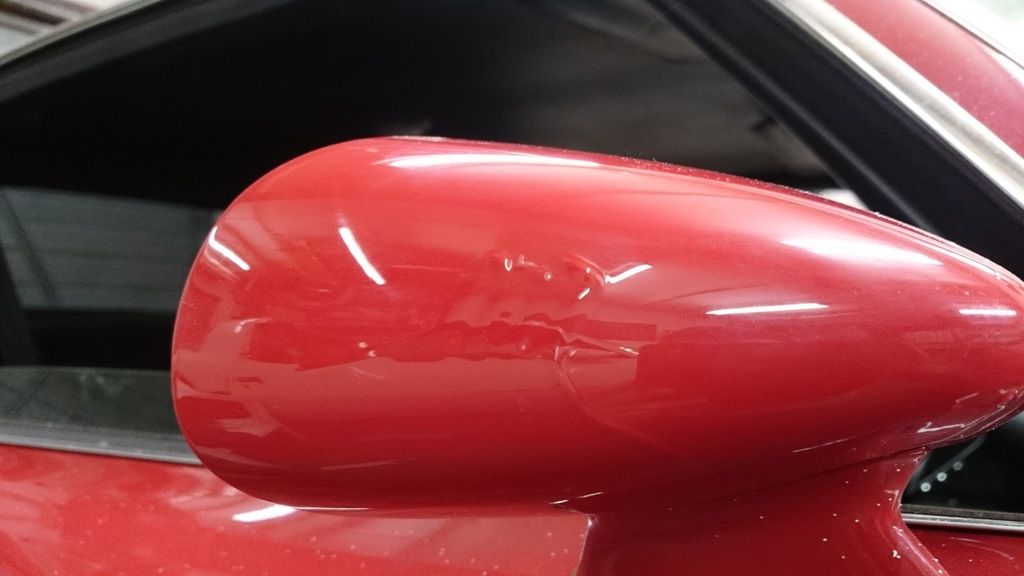
Mirror had some runs (was hanging upside down when painted) so used a razor blade to flatten them (before any work) :
Image

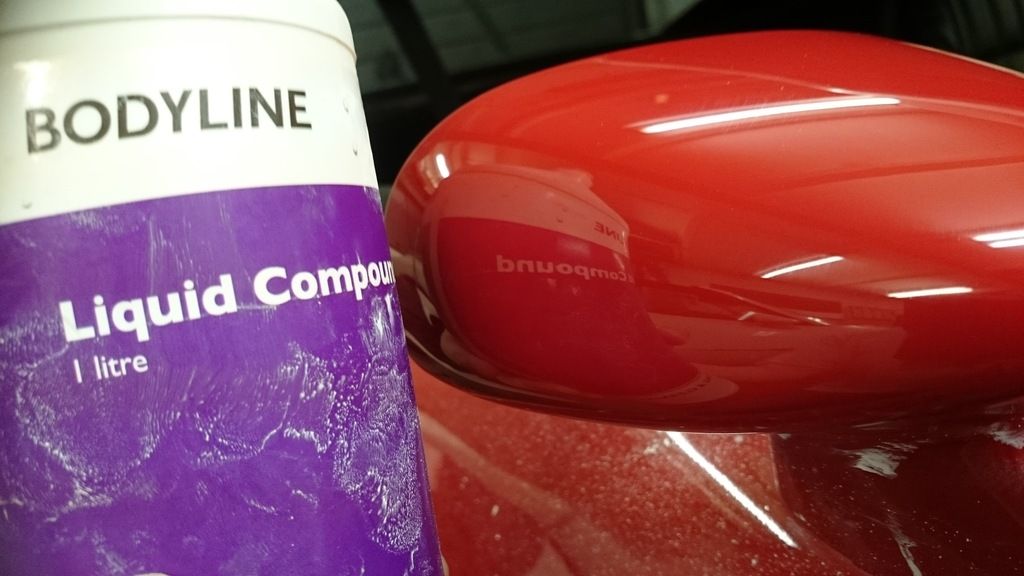
After razor blade, 1,500, 2,000, compound:
Image

After polish:
Image

After wax:
Image

Tomorrow (Thursday) will start on the passenger door, hopefully get it to 2,000. Then Friday compound, polish and wax. On Saturday, should have the heater matrix, so can fit that, plug it all in and run it and fingers crossed the transmission is ok now and can reverse it into the sunlight (and see how bad the fender is). Rest of the day will then be spent swapping out the steering linkage on the 3rd gen. Sunday should be able to get back on it and then hoping to get the drivers side fender and door done. Then work my way through a panel each evening.

_________________
How to post pics: When writing a message, scroll down and use the "attach file" option. Where possible, a photo sharing service can be used such as Flickr, Imgur etc. The image location (usually ending in .jpg) can be copy and pasted between the ][ brackets that appear when you click the 'Img' button (you can find this button at the top of the message box).

How to post youtube vids: Click on the 'youtubeHD' button at the top of the message box and in the middle of the ][ brackets that just appeared, copy and paste everything from the youtube web address that appears after the = sign i.e if this is the url: https://www.youtube.com/watch?v=K2cNqaPSHv0 just copy "K2cNqaPSHv0").


Top
   
 Post subject: Re: '79 project
PostPosted:Thu Apr 14, 2016 10:27 am 
Offline
Big Block
User avatar

Joined:Fri Mar 19, 2010 1:35 am
Posts:2566
Car Details:79' camaro road & track day toy. 383 stroker, 5 speed TKO trans, lots of suspension stuff, 13" Vette brakes, 18" wheels.
Location:Luton
Looks good.. the pics barely show any issues on that wing once polished up.. so the come back to it later once it's running and sorted is a good approach..

_________________
“You only live once, but if you do it right, once is enough.”


Top
   
 Post subject: Re: '79 project
PostPosted:Fri Apr 15, 2016 11:39 am 
Offline
Big Block
User avatar

Joined:Tue Feb 23, 2010 12:40 pm
Posts:3245
Car Details:'79 Camaro, 350 V8
Location:South Bucks
Thank you! Will take a pic of it in the daylight, if the heater matrix arrives today as planned then should be able to get it fitted and mobile this weekend.

_________________
How to post pics: When writing a message, scroll down and use the "attach file" option. Where possible, a photo sharing service can be used such as Flickr, Imgur etc. The image location (usually ending in .jpg) can be copy and pasted between the ][ brackets that appear when you click the 'Img' button (you can find this button at the top of the message box).

How to post youtube vids: Click on the 'youtubeHD' button at the top of the message box and in the middle of the ][ brackets that just appeared, copy and paste everything from the youtube web address that appears after the = sign i.e if this is the url: https://www.youtube.com/watch?v=K2cNqaPSHv0 just copy "K2cNqaPSHv0").


Top
   
Display posts from previous: Sort by 
Post new topic Reply to topic  [456 posts ]  Go to pagePrevious1333435363746Next

All times are UTC


Who is online

Users browsing this forum: No registered users and 2 guests


You cannot post new topics in this forum
You cannot reply to topics in this forum
You cannot edit your posts in this forum
You cannot delete your posts in this forum
You cannot post attachments in this forum

Search for:
Jump to:  
cron
Powered by phpBB® Forum Software © phpBB Limited