The Camaro Club (UK)

Online Community for all Camaro Owners and enthusiasts
It is currently Mon Nov 25, 2024 2:07 pm

All times are UTC


Post new topic Reply to topic  [57 posts ]  Go to pagePrevious123456Next
Author Message
PostPosted:Fri Aug 07, 2015 1:55 pm 
Offline
Big Block

Joined:Mon Mar 09, 2009 12:13 pm
Posts:205
Car Details:1979 Camaro
The winter was setting in now and I was also running out of space in the garage to store things, so I changed direction again. Now the focus was swapping the sub-frame out, to get the spare one out of the garage. It also meant I could sell the old one to garner funds for more good stuff.

The frame was pulled out of the way and the new one trial fitted. Didn't want to get rid of the old one then find a problem with this one further down the line. All being good the engine/box and various other parts to be retained were transferred across.

It was around this time that I had another great ebay find, a '79 core support that had been already renovated and powder coated, and not for silly money. This was snapped up, and the old one sold on for someone else to restore.
Image

As well as the spare frame, I've got spare suspension arms to use (lowers powder coated, uppers needing cleaning) and also a big brake upgrade kit, which included the modified spindles, and some new double adjustable coil over shocks. I figured it would be a more attactive sale if I sold the old frame as a complete front clip, so I re-assembled a lot of what I'd previosuly removed. That mean a new full set of steering linkages and ball joints, opting for AC-Delco's Pro range, which looked superior to the normal Moog that most people opt for.

Whilst mentioning the big brakes for the front, this necessitates bigger wheels. In another of my eBay masterstrokes, I picked up a matching set of 2000 Corvette wheels, 17"x9.5" - perfect.
Image

Also, while mentioning ebay bargains, now is a good time to mention the nearly new fuel tank. Just needs the filler neck swapped over, but still a great find bearing in mind mine was developing a few pinholes.
Image


Top
   

Re: Jamieg285's '79 rebuild

Sponsor

Sponsor
 

PostPosted:Fri Aug 07, 2015 1:55 pm 
Offline
Big Block

Joined:Mon Mar 09, 2009 12:13 pm
Posts:205
Car Details:1979 Camaro
Back to work! Time to delve into the drivers side, dealing with almost the same stuff already done. After digging around the rear end of the outer rocker I decided it would be far easier to do the full panel rather than try to patch, as it was worse inside than it appeared.
Image

Supringly, given the level of rust in the area, the inner rocker wasn't too bad, so I opted to just patch the rearmost section, which thankfully is pretty much flat.
Image

With the outer rocker out, I found a patch near the front that needed repairing. Not too bad to do, but I can't get the grinder in to clean it up whilst the door is on, so I'll have to do that later.
Image


Top
   
PostPosted:Fri Aug 07, 2015 1:56 pm 
Offline
Big Block

Joined:Mon Mar 09, 2009 12:13 pm
Posts:205
Car Details:1979 Camaro
For a change of scene I decided to have a go a sorting the rear frame rail. I'd been fortunate to find a guy in the UK selling some very good condition used rails, and he also happened to have a section of rear floor pan that almost exactly fitted my needs.
Image

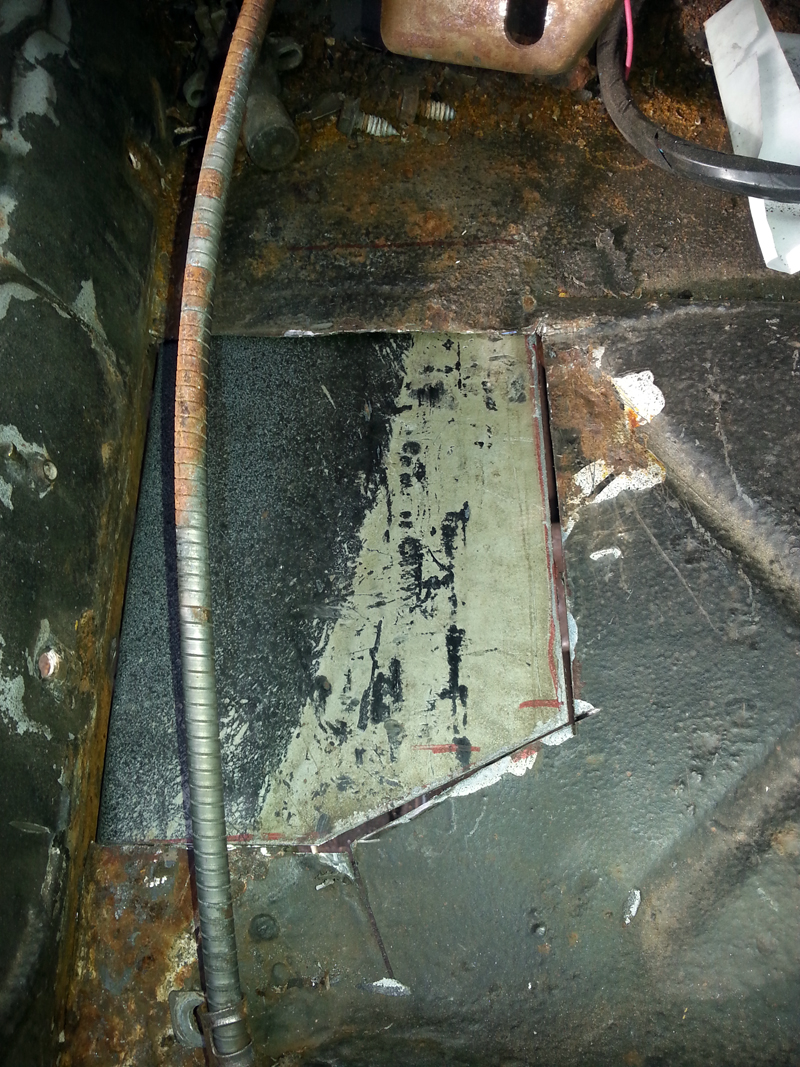
I didn't fancy replacing the whole rail, instead opting to replace as little as I could get away with. After thorough analysis, I opted to replace the last 18" and set about cutting that much out. Firstly detaching what was left of the rear from the tail light panel and cutting through. To save some time (maybe?) I cut right through the floor pan to get it out in one piece.
Image

Image

Image


Using the removed piece as a template, a slightly oversized piece was cut from the donor, and was them carefully trimmed to ft.
Image

Image

I thought all was going well, until I spotted that it had moved slightly between initial setup and welding, and was in crooked. Half a days work was wasted as I had to cut it back out and start again.

Second time around was much better.
Image

Image


Top
   
PostPosted:Fri Aug 07, 2015 1:57 pm 
Offline
Big Block

Joined:Mon Mar 09, 2009 12:13 pm
Posts:205
Car Details:1979 Camaro
Next job was one of the ones I am least looking forward to - replacing the rear quarter panels. I'd sourced the drivers side one in the UK (via ebay!) a couple of years ago but didn't have the courage to do anything with it. Anyway, with the rust damage that has been uncovered on both sides and with the way the project had been going I needed to order some more parts from the US, so I got a passenger one too.

I started off by marking the upper limit of the panel, and then where I wanted to start to try the join, and cut it out. No turning back now.
Image

The arches were the hardest bits, as I'm not intending to replace the outer wheelhouses, so trying to remove the outer panel with a little damage to the inner as possible.
Image

There are a few bits that are going to need patching, and the drivers side is even worse!
Image

With the majority of the panel cut-out, it showed that the trunk drop offs were toast too. I've ordered a pair of these to try and make the job quicker.
Image

I've also found a company that make larger quarter skins (still not the full replacement panel), which extend up the the rear window, which are a much better option. So the pair of skins that I had were sold to make up the funds for these.


Top
   
PostPosted:Fri Aug 07, 2015 1:58 pm 
Offline
Big Block

Joined:Mon Mar 09, 2009 12:13 pm
Posts:205
Car Details:1979 Camaro
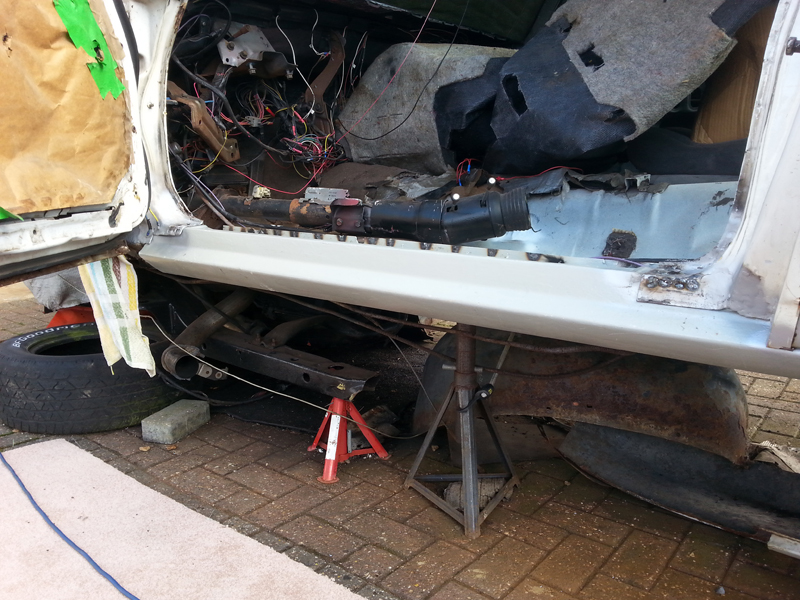
With the quarters now on hold whilst I wait for them to arrive in the UK, attention has swung back to the drivers rockers and torque box. I've opted for a revised attack plan on this side, choosing to put the outer rocker on last, as I think it will make the welding of the floor and torque box easier from the outside.
First job is to fix the inner rocker, to give a fixed plane of reference, as everything in this area has to be removed and replaced.
Image

Image

Image

With that done, I can remove the floor pan and what's left of the torque box.
Image

Image


Trial fit the trimed floor pan section
Image

Rail and torque box is cleaned, primed and welded.
Image

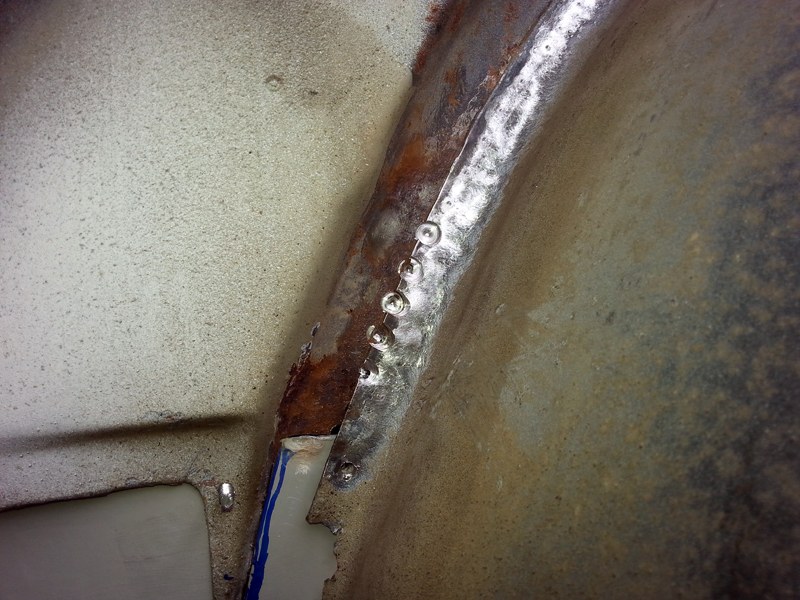
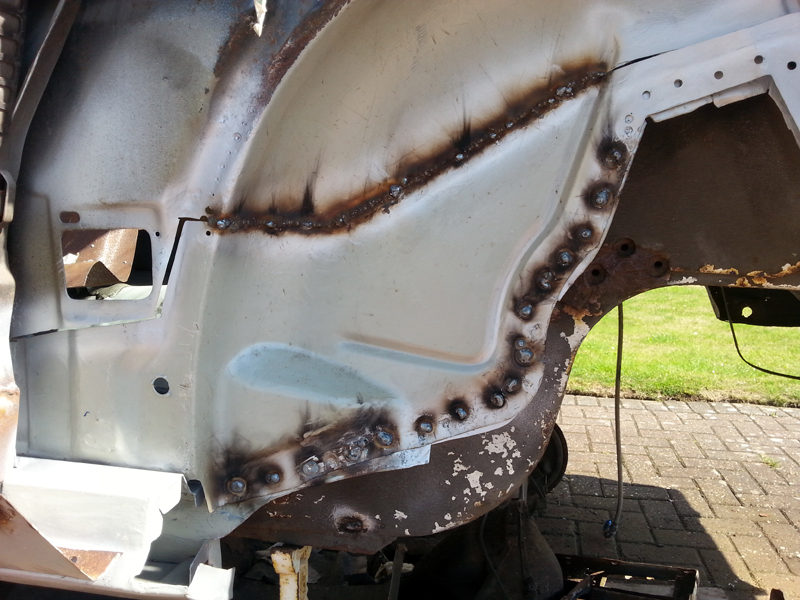
Now onto the inner wheel house section. The rust on this side is more wide spread, so a bigger patch is required, running the full length of the replacement panel.
Image

Image

Image

Image


The edge of the floor pan section was pretty beat up when it was removed, so I've had to rebuild the edge so that it can be properly re-attached to the car.
Image


And that is where I am now, 18 months into a 6 month project and still plenty to go!


Last edited by Jamieg285 on Wed Sep 30, 2015 1:32 pm, edited 1 time in total.

Top
   
PostPosted:Sun Aug 09, 2015 6:18 am 
Offline
Big Block
User avatar

Joined:Sun Jan 13, 2013 7:00 am
Posts:1158
Car Details:1986 Camaro, bought into Spain by me in 1993.
305 replaced by a 355, 750 Demon carb, RPM AirGap intake, Brodix heads, Hedman Hedders, 3" Flowmaster exhaust.
Wheels are Summit aluminium 5 spokes, tyres are 245 rear 225 front BF Goodrich.
B/M transmission, battery relocated to the rear, GoodMark 4" cowl steel hood.
Location:Spain East Coast
That is certainly a big challenge. :thumbup:


Top
   
PostPosted:Sun Aug 09, 2015 2:01 pm 
Offline
Big Block
User avatar

Joined:Fri Mar 19, 2010 1:35 am
Posts:2566
Car Details:79' camaro road & track day toy. 383 stroker, 5 speed TKO trans, lots of suspension stuff, 13" Vette brakes, 18" wheels.
Location:Luton
Wow... that's a lot of work, and some good skills gluing that all together... :clap: :clap: :clap: :clap:

Big thanks for documenting at all too, and putting pics up, as that'll be very handy for anyone else attempting this kind of rebuild and repair. :thumbup:

Looks like you've planned well and thought out the future upgrades too..
Only thing i'd mention is the 9.5" front 'vette wheels will be super tight in the arches... only a few have made it work.
Did you look at welding in recessed floor-thru frame connectors while you had the floors all cut apart ?

_________________
“You only live once, but if you do it right, once is enough.”


Top
   
PostPosted:Mon Aug 10, 2015 1:01 pm 
Offline
Big Block

Joined:Mon Mar 09, 2009 12:13 pm
Posts:205
Car Details:1979 Camaro
Quote:
Big thanks for documenting at all too, and putting pics up, as that'll be very handy for anyone else attempting this kind of rebuild and repair. :thumbup:
That was my thinking. Although I've been able to find a few things that help out, there was so much that I wasn't able to find. Hopefully someone else will benefit from what I have had to work out.

Quote:
Looks like you've planned well and thought out the future upgrades too..
Not exactly planned. I've had a vision for what I want my car to be for a long time, but sadly no budget to make it a reality. Over the years I've kept my eyes open and grabbed any and all bargains that I could find to help me towards the goal. Various bits have been put away as I didn't have the time, or matching parts to be able to do the job. The car is/was a daily driver and couldn't be off the road for long. MOT failure kind of put pay to that idea, but it is giving me the chance to apply most of the parts I've had waiting.

Quote:
Only thing i'd mention is the 9.5" front 'vette wheels will be super tight in the arches... only a few have made it work.
I've got a pair of 2" adapters to pull them out. I've been lead to believe that that's the right side, but the car was in bits when I needed to order them, so couldn't measure and check. I'm not planning to lower it (although with coil-overs going on, I will have a chance to experiment), which will make a difference. I did a side-by-side comparison of the old wheel/tyre combo against the new (although the new tyre is a cheapy just for trial fitting). The old 245/60R15s are actually slightly taller and wider than the 245/45R17s, mainly due to the wider rim/lower profile eliminating the sidewall bulge.

Quote:
Did you look at welding in recessed floor-thru frame connectors while you had the floors all cut apart ?
I've already got SFC's, fiited by Rocky a number of years ago. They are really simple, just straight box section with ends made to fit the front rail. They are welded directly to the rear rails and attached to the floor pan in two places. Loads of ground clearance.


Top
   
PostPosted:Tue Sep 20, 2016 4:56 pm 
Offline
Big Block

Joined:Mon Mar 09, 2009 12:13 pm
Posts:205
Car Details:1979 Camaro
Time for an update, I can't believe it's been a year since I posted in this thread. It's brought home just how little progress I've been able to make this year, with time on the car being very limited. Most of the work has been done in 30-40 minute chunks, once or twice a week.

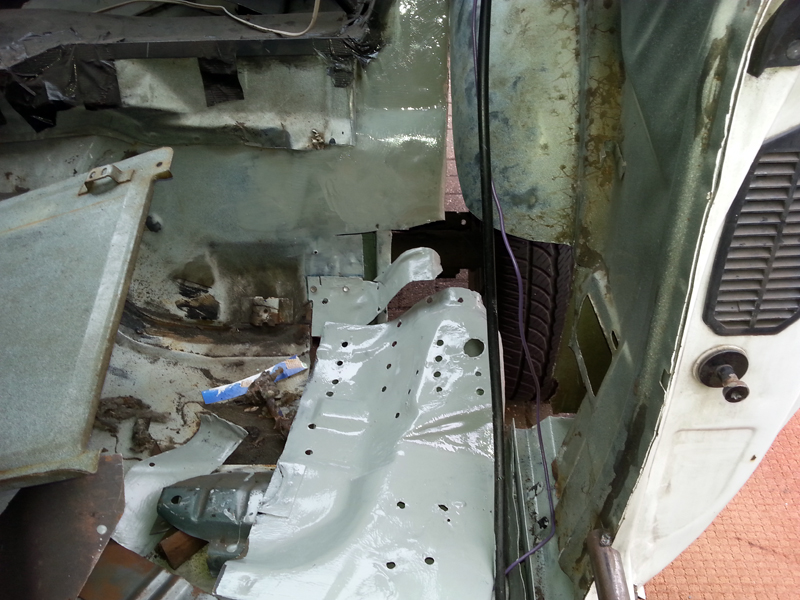
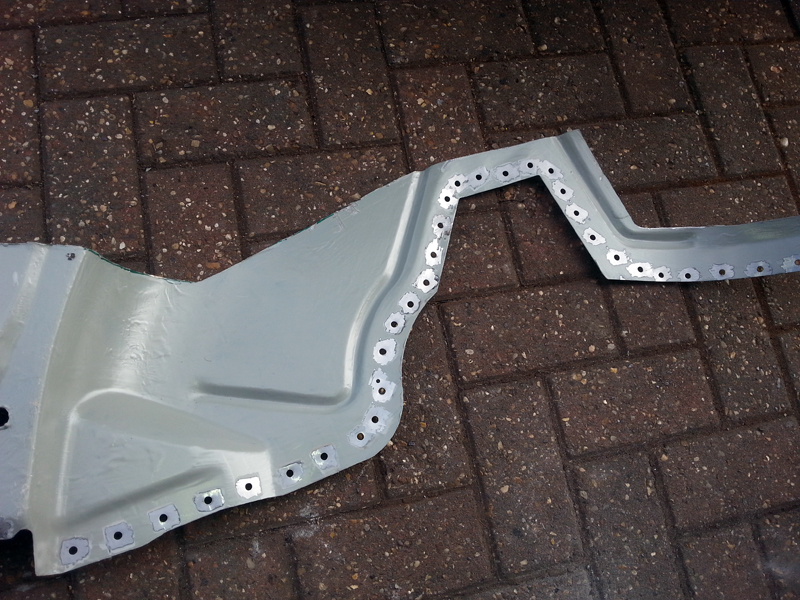
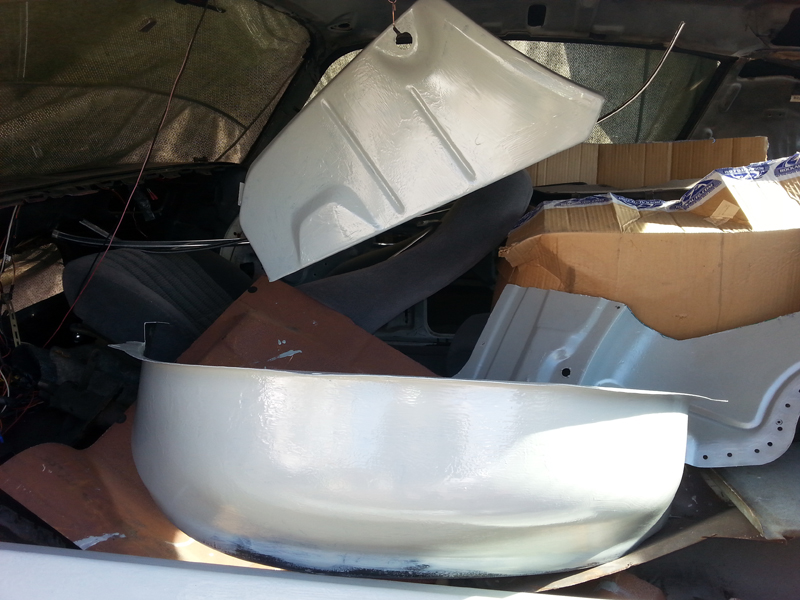
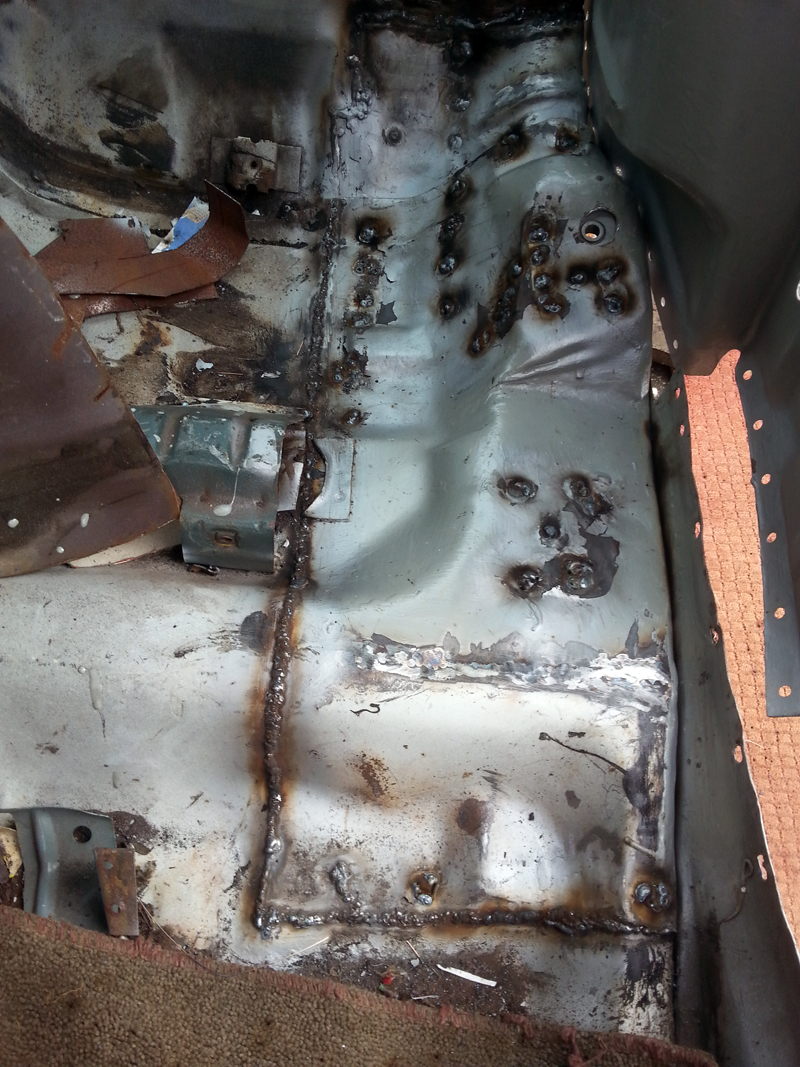
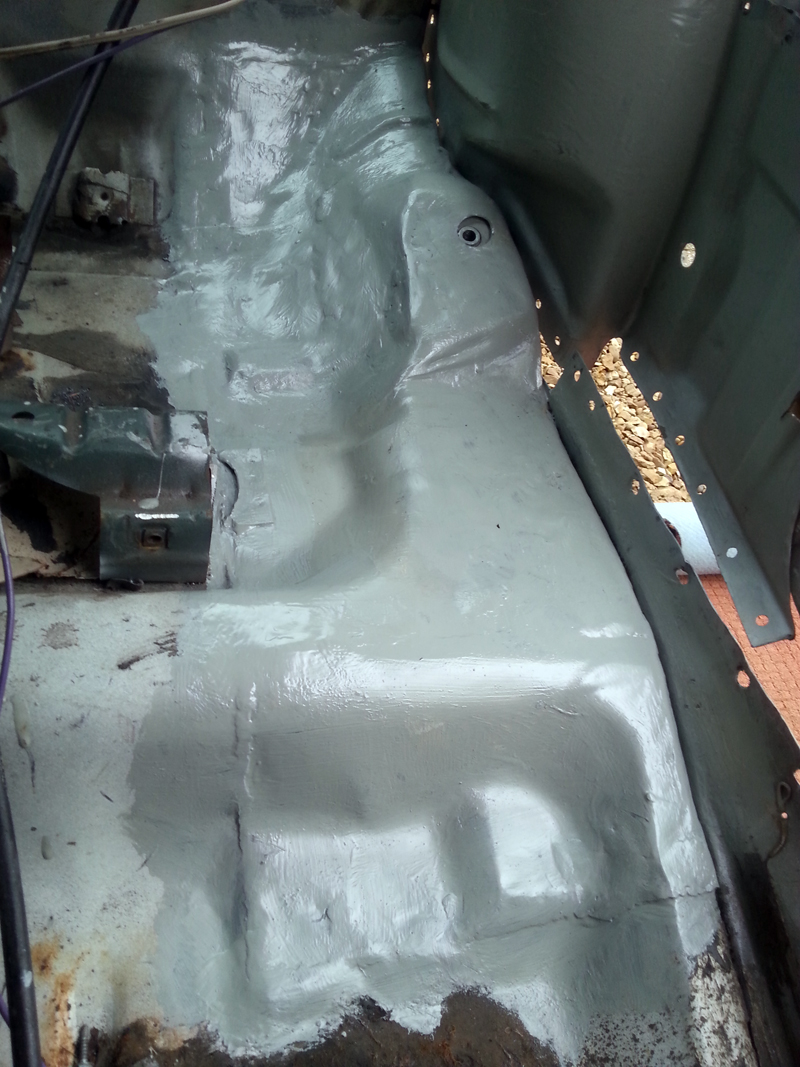
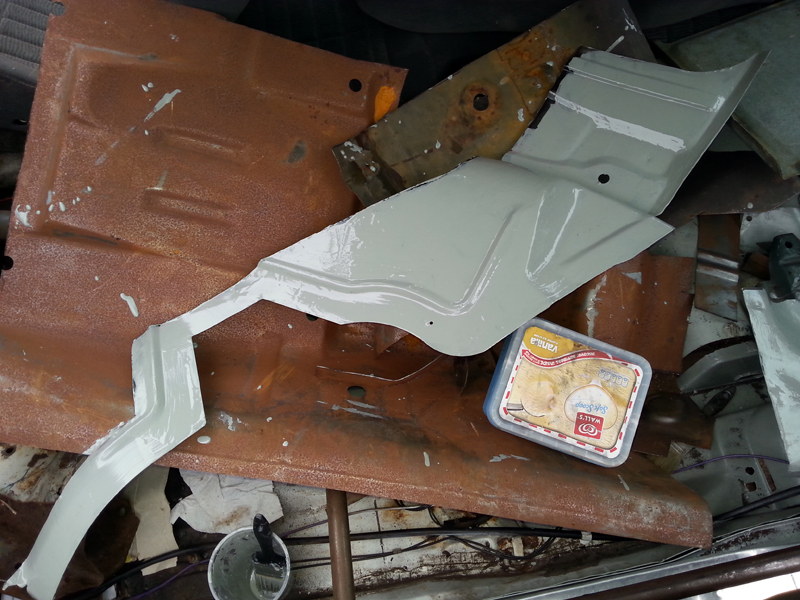
Work continued on the drivers side, getting the floor, rocker panels and inner wheel house done. All the patch/replacement panels have been given an initial coating of epoxy and drill as required:
Image
Image
Image
Image

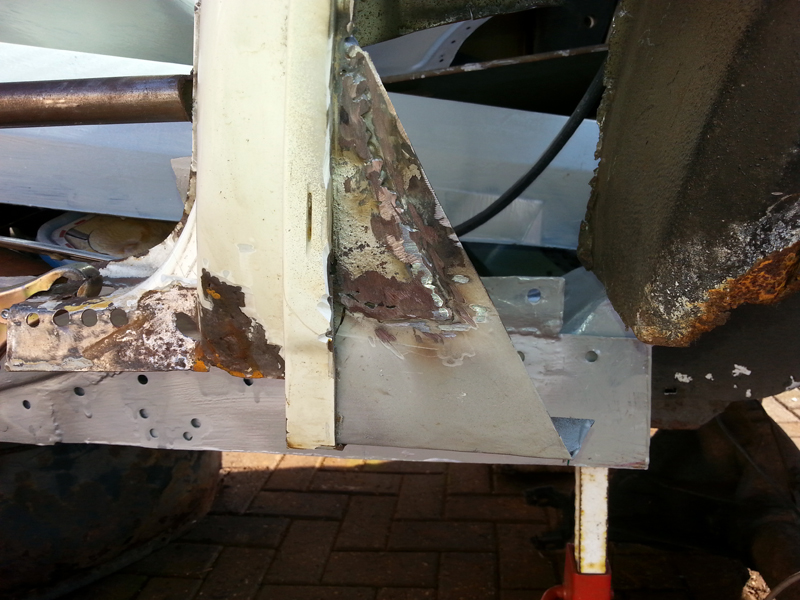
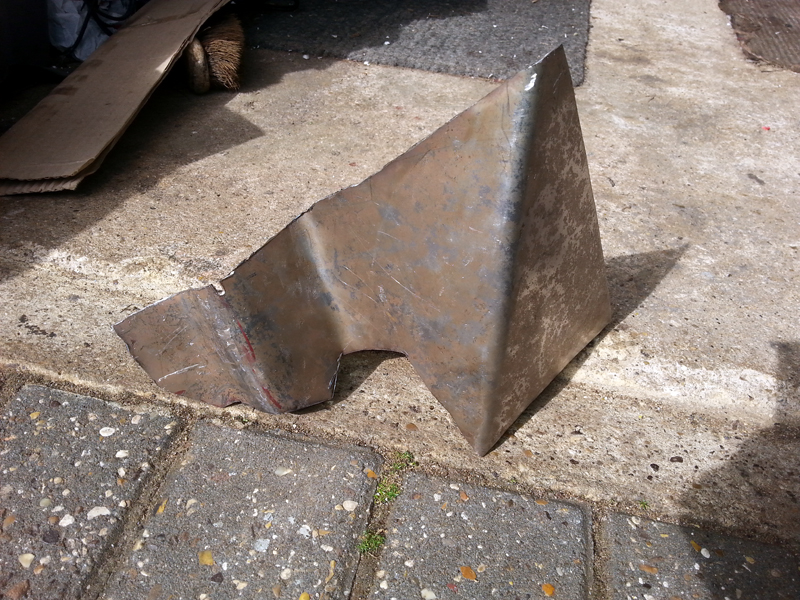
A replacement piece for the door jamb support was made up and welded in:
Image
Image

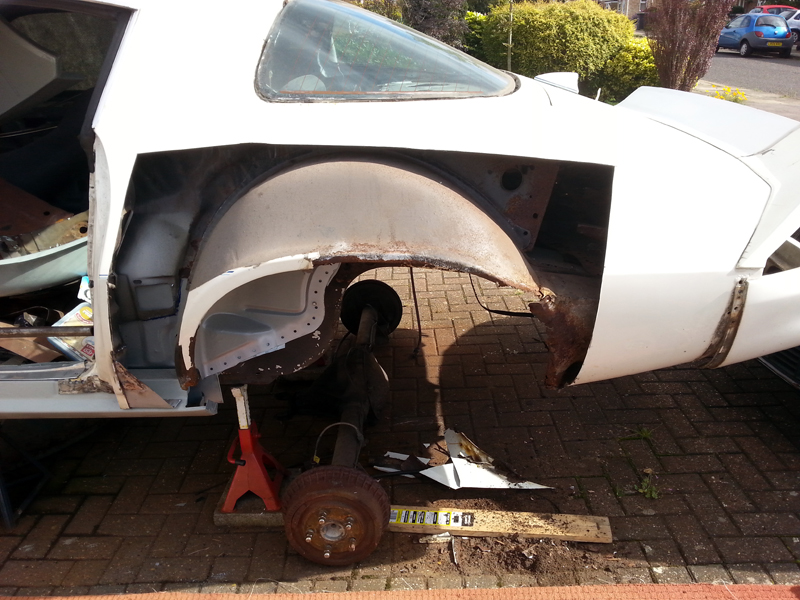
A chunk of quarter panel removed, to give acess to remove the outer wheel house, something that I hadn't originally planned on, but the old one was too rusted to re-use without lots of work (still considering doing the other side if funds allow)
Image
Image


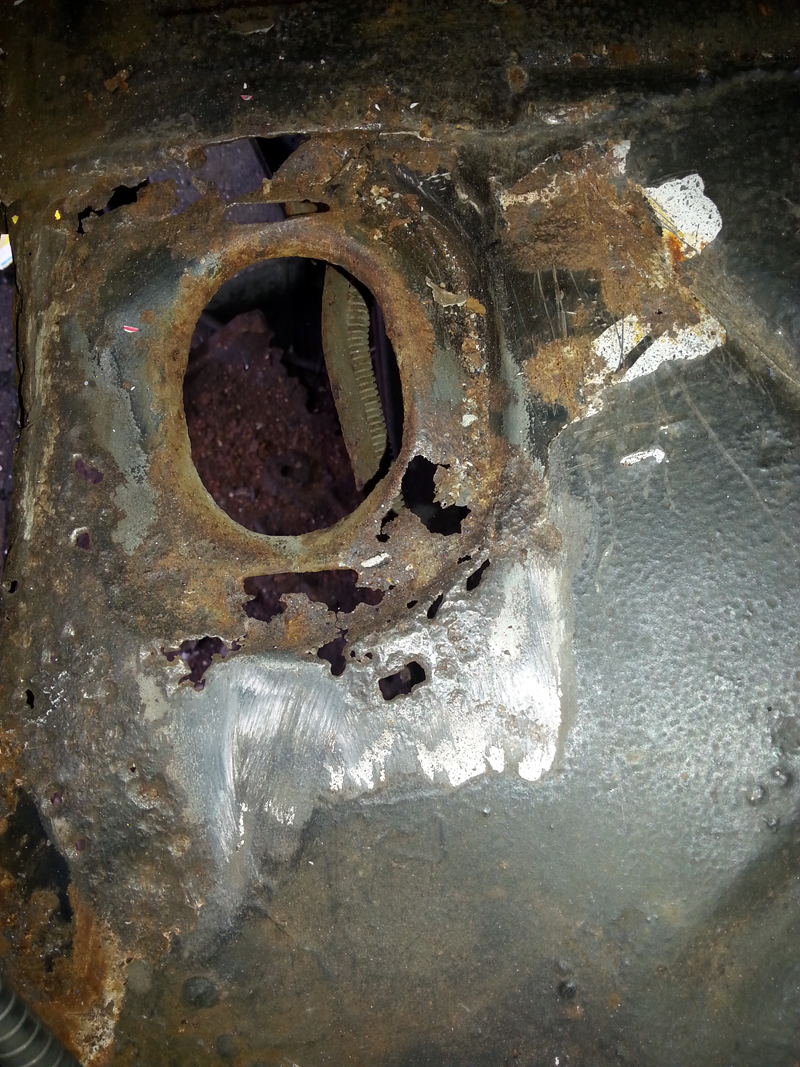
A rough patch under the drivers feet has been cut out and patched:
Image
Image
Image

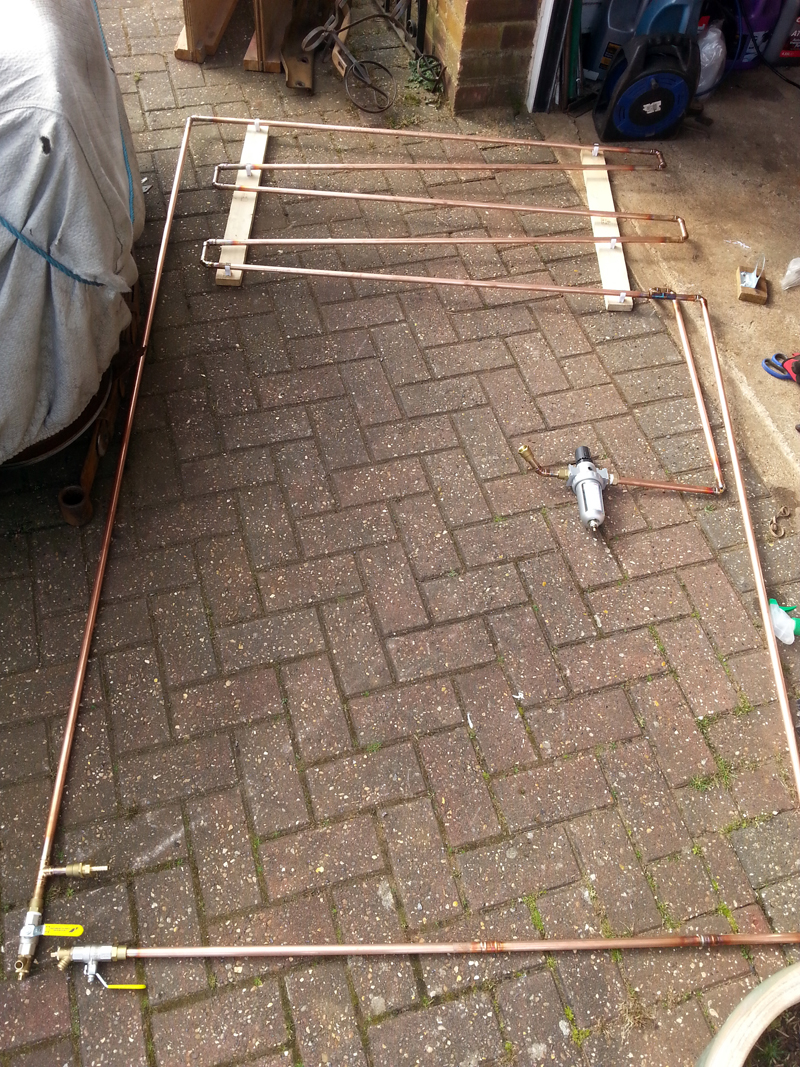
I purchased a compressor and some tools, and in my first attempt at plumbing, built and air drying system:
Image

So far it's only been used to pump up tyres - hope to do more with it soon.


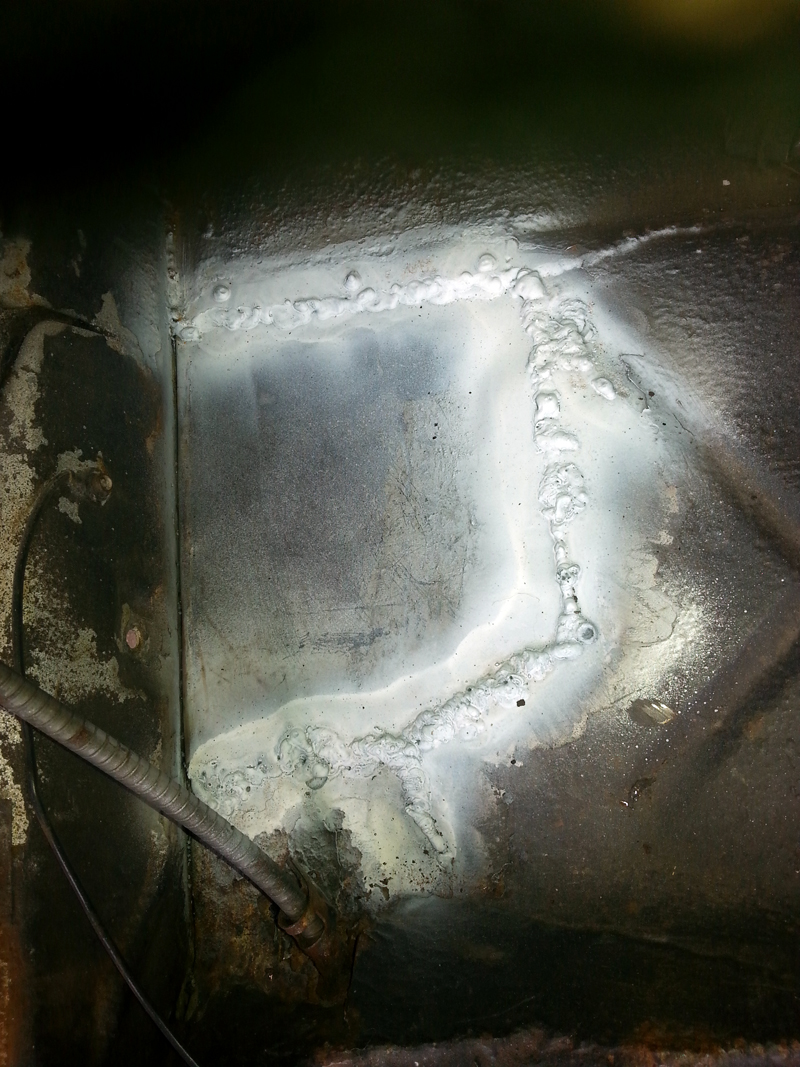
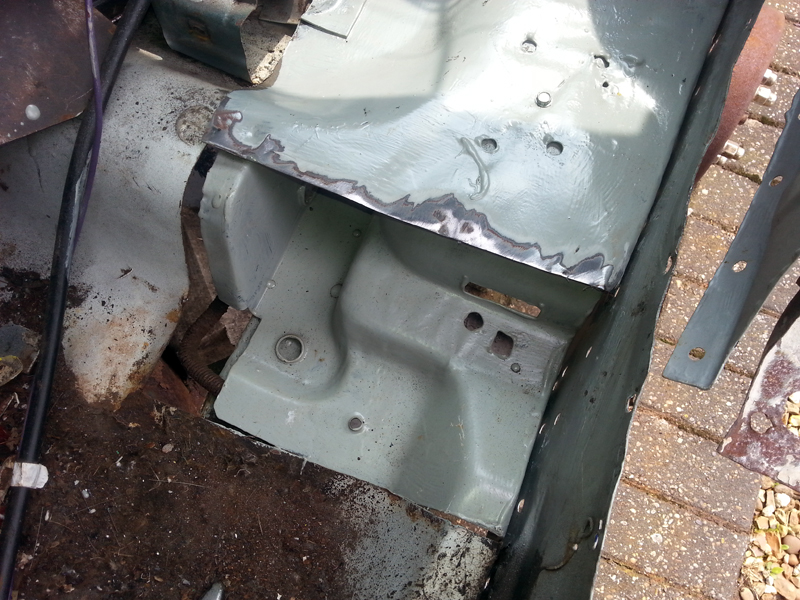
The patch for the drivers rear floor pan was extened and then all welded in:
Image
Image
Image
Image


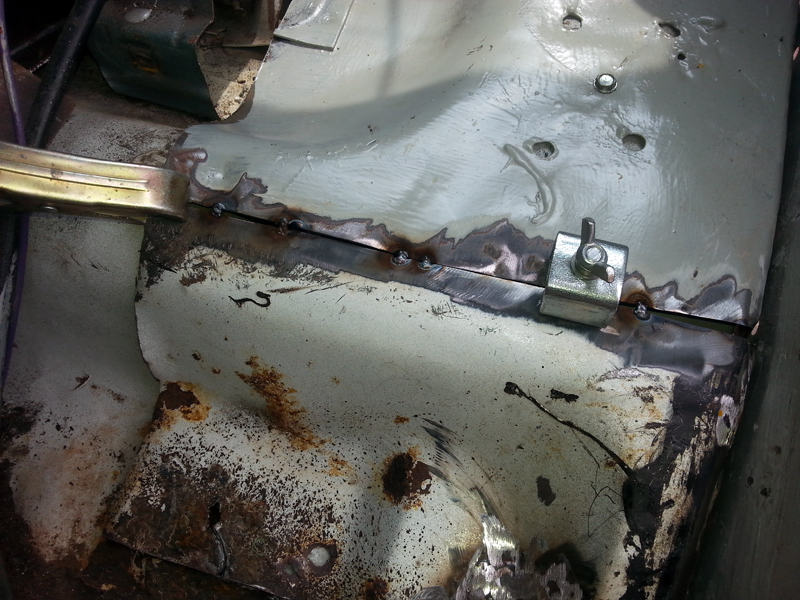
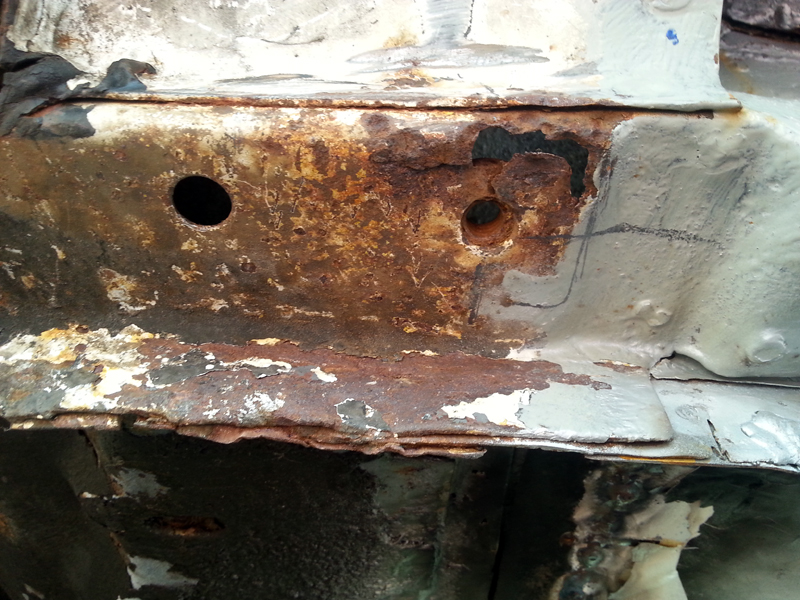
The drivers front fender, lower mounting point needed patching:
Image
Image
Image


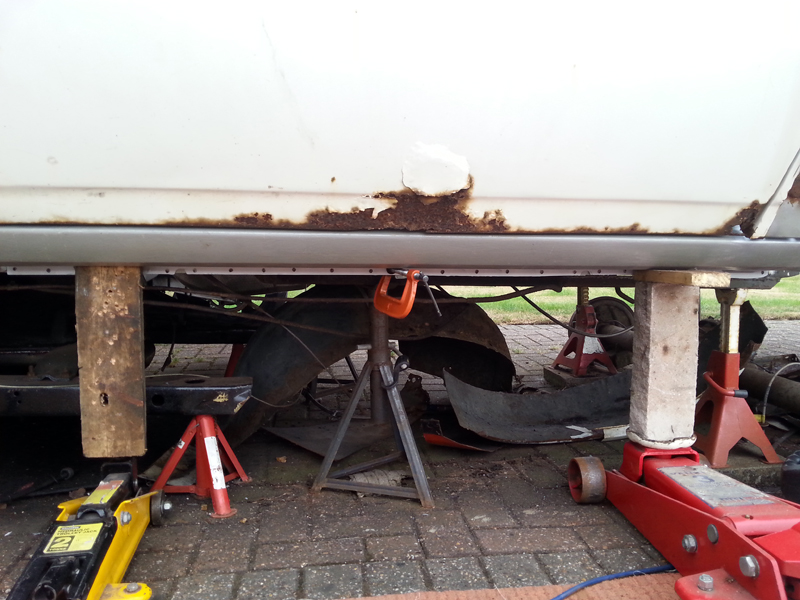
With all that done, I was finally able to get the outer rocker welded in:
Image
Image


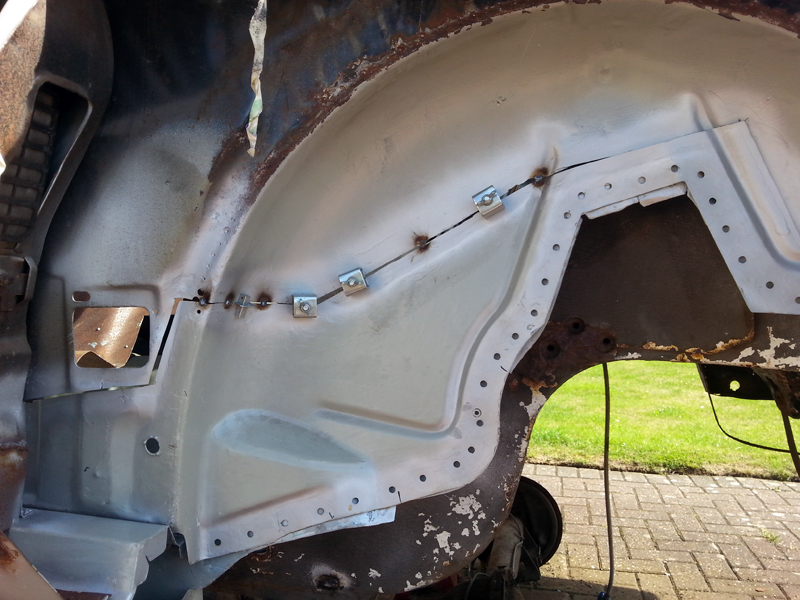
And that meant the inner wheel house patch could be attached:
Image
Image


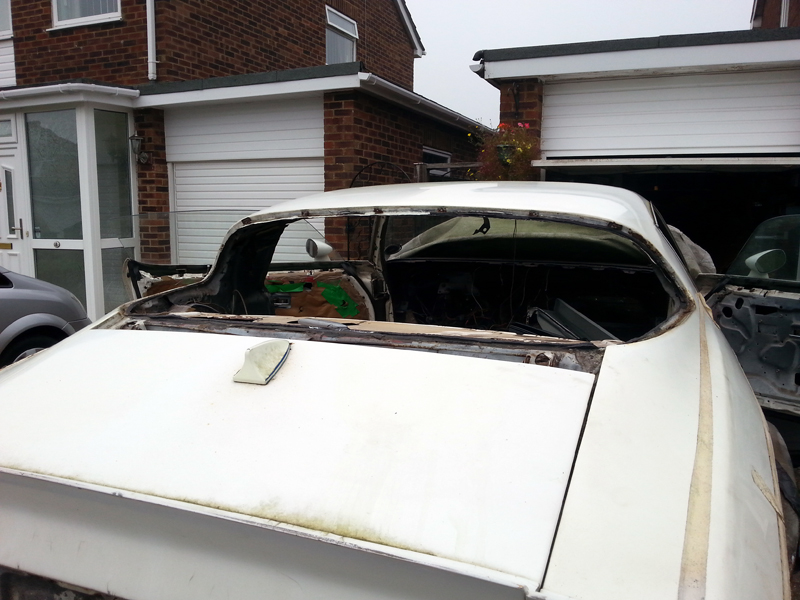
The rear window has now come out (only took 40 minutes - beat the last time by about 5 hours)
Image


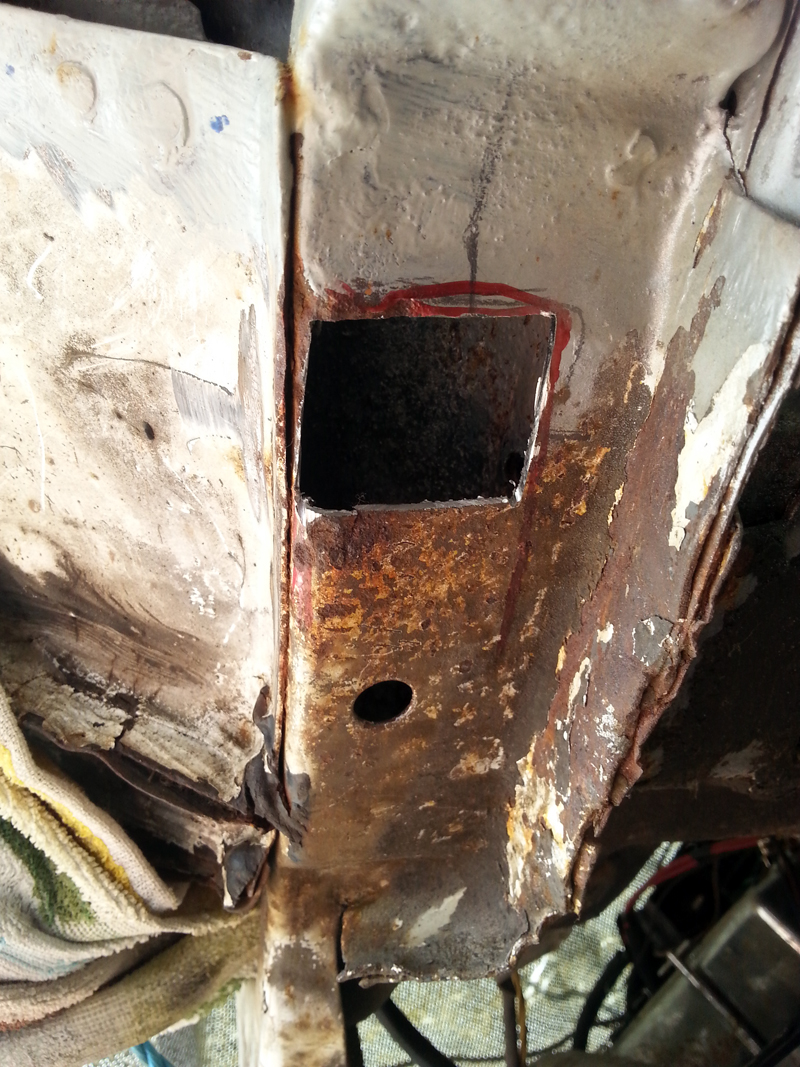
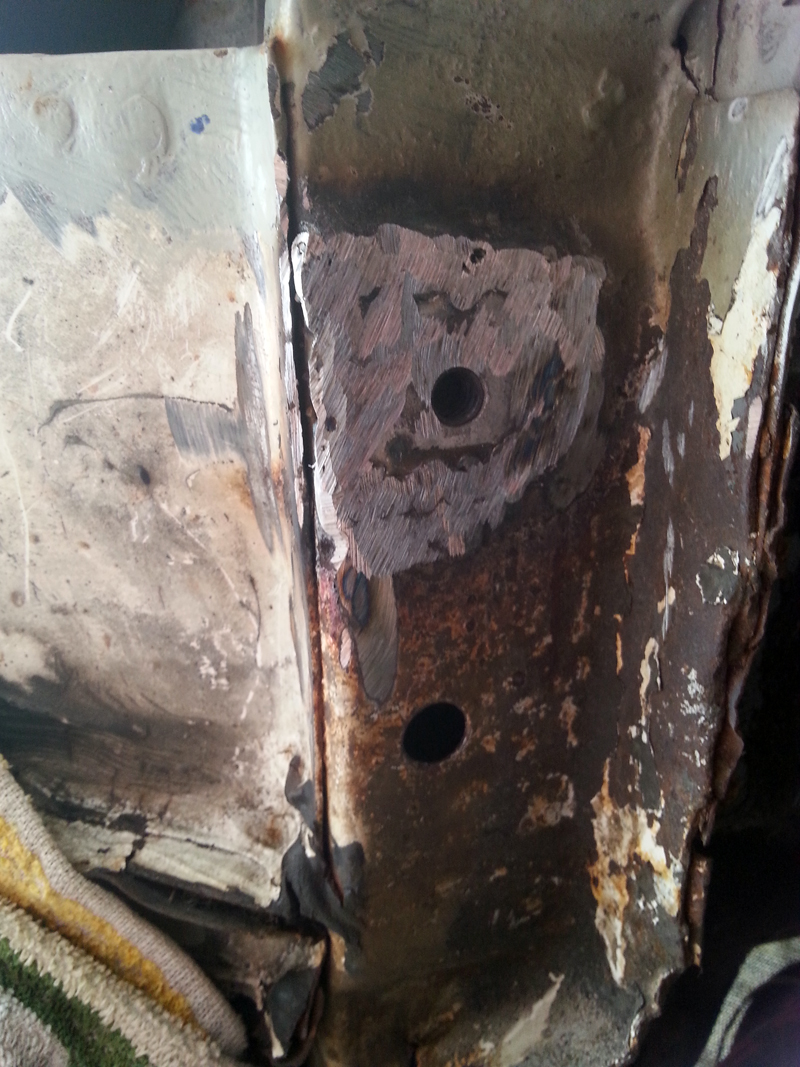
Currently concentrating on the rearmost section of the inner wheelhouse panel, where it supports the trunk.
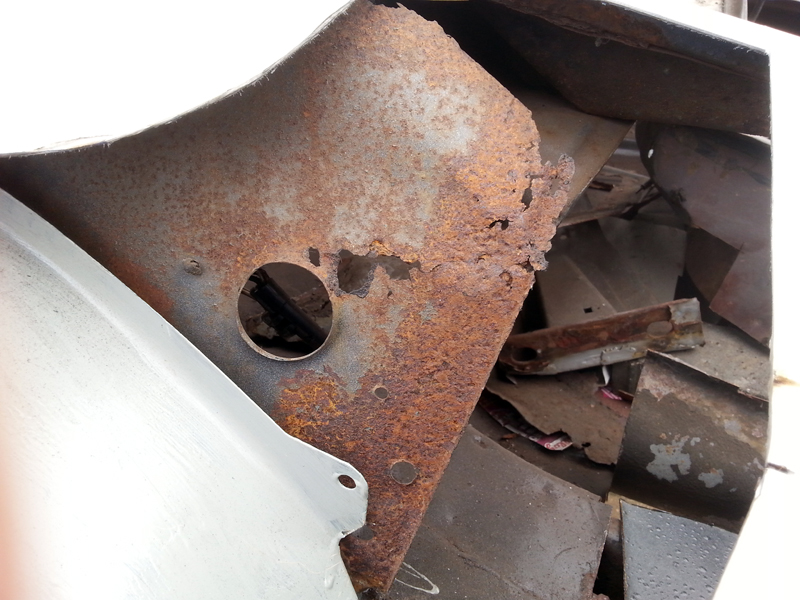
Image


After that, I think it will be removing the trunk drop off, finishing the frame rail off, before fitting the new drop off and outer wheel house, then the fun starts with the quarter skin. Still dreading that one.


Top
   
PostPosted:Thu Sep 22, 2016 11:52 am 
Offline
Big Block
User avatar

Joined:Fri Mar 19, 2010 1:35 am
Posts:2566
Car Details:79' camaro road & track day toy. 383 stroker, 5 speed TKO trans, lots of suspension stuff, 13" Vette brakes, 18" wheels.
Location:Luton
Wow, so that's happens in year.... !!!!

_________________
“You only live once, but if you do it right, once is enough.”


Top
   
Display posts from previous: Sort by 
Post new topic Reply to topic  [57 posts ]  Go to pagePrevious123456Next

All times are UTC


Who is online

Users browsing this forum: No registered users and 1 guest


You cannot post new topics in this forum
You cannot reply to topics in this forum
You cannot edit your posts in this forum
You cannot delete your posts in this forum
You cannot post attachments in this forum

Search for:
Jump to:  
cron
Powered by phpBB® Forum Software © phpBB Limited