The Camaro Club (UK)

Online Community for all Camaro Owners and enthusiasts
It is currently Fri Nov 22, 2024 3:46 pm

All times are UTC


Post new topic Reply to topic  [456 posts ]  Go to pagePrevious14567846Next
Author Message
PostPosted:Tue Oct 11, 2011 11:28 pm 
Offline
Big Block
User avatar

Joined:Tue Feb 23, 2010 12:40 pm
Posts:3245
Car Details:'79 Camaro, 350 V8
Location:South Bucks
How has 6 months gone past?!

Ok so here we are with the car. Lots of little things have been taken care of

1) Lights - All wired and working and to UK spec. Have even made the side lights work only when they are being used as an indicator. Took my time so no dodgy wiring here, all wrapped with teflon tape where needed to make it look original where minor mods were made. It's all designed to be put back to standard if needed just by reconnecting wires.

2) Wipers - fixed!!! they turn off now :) it was a dodgy switch case - it's still the original and had to tinker with the contacts, so if anyone has a good one, let me know! Motor has been cleaned and painted, pivots installed, just need to install the arms, but need windows first :)

3) Seats, headliner, courtesy lights etc all in! just need the back seats and door card sorted. Door cards need a clean a respray, back seats may need new foam and leather. May turn to NPD but if you have a cheaper solution for me, always happy!

4) Bumpers painted and installed

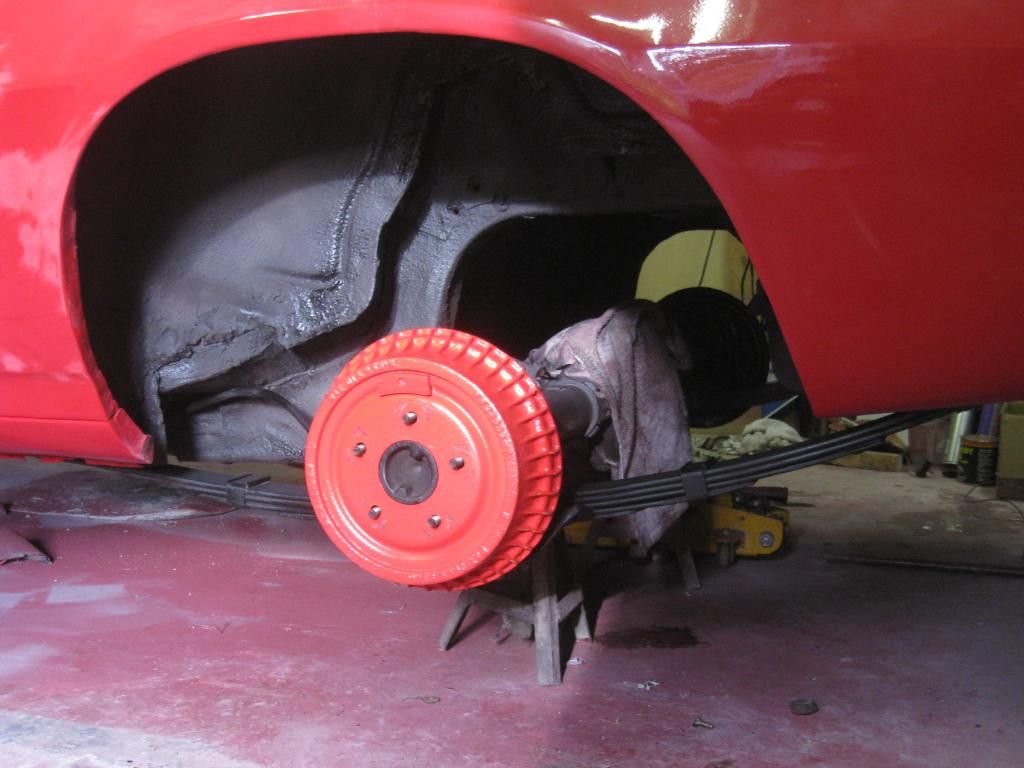
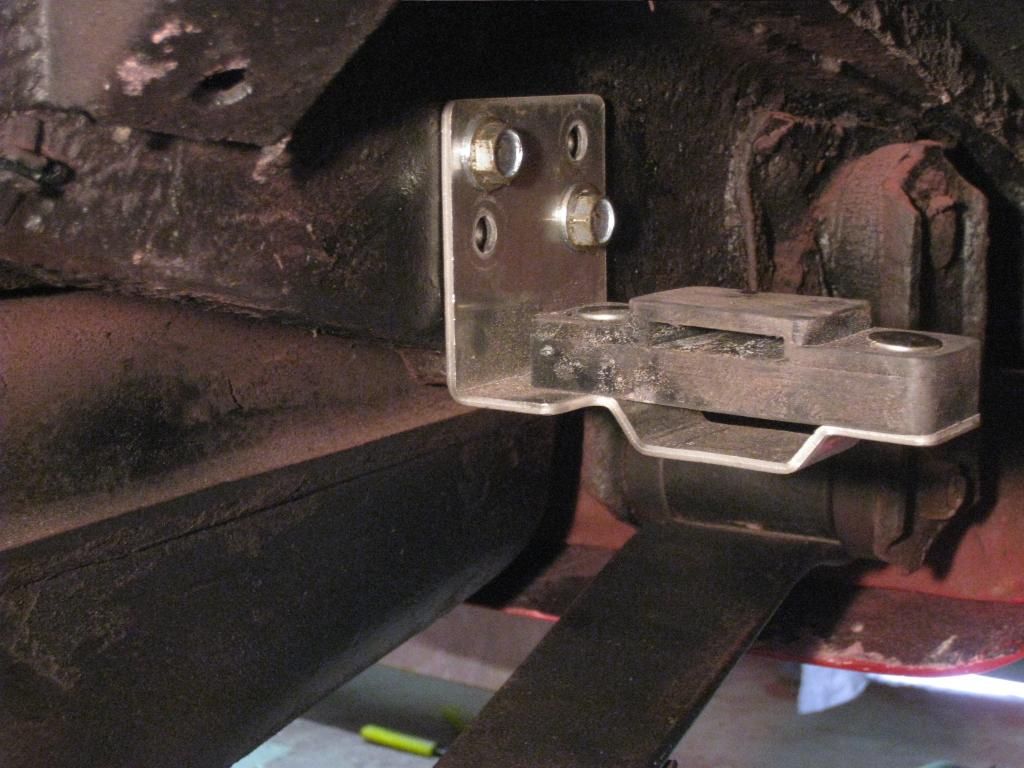
5) Rear air shocks removed. Koni's purchased (Rocky - you rock, thanks buddy!) and awaiting to go in.

6) Lots of small miscellaneous stuff sorted.

7) Personal note - Dont forget to reinstall the electric fuel pump. Needs to be moved in position because the over axle exhaust interferes with the fuel line.

8) Exhaust - Over axle dualies in place and new brackets and hangers installed.

9) Paint - see my tech question, paint on roof failed because i left too much time between coats. Needs respray.

10) Currently working on - cutting back paint. Want to do this before windows installed. Once cut, respray roof and hopefully nowhere else. Then installed windows (professionally - dont want to risk doing this myself). Then machine compound and polish. Then install new shocks and new spring mounts etc (spent too much at NPD in California). then complete the exhaust. then install door cards, then seals (door etc) then trim. Then hope it still turns on :)

So that's where we are. Hoping for an xmas finish, or at least drivable by end 2011. Will be 2 years in Feb :shock:

So now for pics!


Image

Image

Image

Image

Image

Image

Image

Image

Image

Image

Image

Image

Image

Image

Image

Image

Image

Image

_________________
How to post pics: When writing a message, scroll down and use the "attach file" option. Where possible, a photo sharing service can be used such as Flickr, Imgur etc. The image location (usually ending in .jpg) can be copy and pasted between the ][ brackets that appear when you click the 'Img' button (you can find this button at the top of the message box).

How to post youtube vids: Click on the 'youtubeHD' button at the top of the message box and in the middle of the ][ brackets that just appeared, copy and paste everything from the youtube web address that appears after the = sign i.e if this is the url: https://www.youtube.com/watch?v=K2cNqaPSHv0 just copy "K2cNqaPSHv0").


Top
   

Re: 79 project - help needed with seats, dash, gauges and da

Sponsor

Sponsor
 

PostPosted:Thu Oct 13, 2011 11:45 am 
Offline
Big Block
User avatar

Joined:Fri Mar 19, 2010 1:35 am
Posts:2566
Car Details:79' camaro road & track day toy. 383 stroker, 5 speed TKO trans, lots of suspension stuff, 13" Vette brakes, 18" wheels.
Location:Luton
Lovin' those front indicator/marker LED bulbs...

_________________
“You only live once, but if you do it right, once is enough.”


Top
   
PostPosted:Wed Nov 02, 2011 3:41 pm 
Offline
Big Block
User avatar

Joined:Tue Feb 23, 2010 12:40 pm
Posts:3245
Car Details:'79 Camaro, 350 V8
Location:South Bucks
Cheers Stu! will do a vid of them working over the weekend. pretty cool and being LED they'll hardly use any juice.

Hopefully this weekend will be able to flat the rest of the car down in 1,200 grit. then i can be sure if it's only the roof that will need a repaint so can order the right amount of paint, recoat, then start flatting the whole thing with 1,500 then 2,000 and move onto compunding, buffing, then putting in windows, glass, locks, handles etc, seals, trim, suspension & bushings, exhaust, rear seats and should all be about ready to rock!

_________________
How to post pics: When writing a message, scroll down and use the "attach file" option. Where possible, a photo sharing service can be used such as Flickr, Imgur etc. The image location (usually ending in .jpg) can be copy and pasted between the ][ brackets that appear when you click the 'Img' button (you can find this button at the top of the message box).

How to post youtube vids: Click on the 'youtubeHD' button at the top of the message box and in the middle of the ][ brackets that just appeared, copy and paste everything from the youtube web address that appears after the = sign i.e if this is the url: https://www.youtube.com/watch?v=K2cNqaPSHv0 just copy "K2cNqaPSHv0").


Top
   
PostPosted:Mon Nov 28, 2011 6:20 pm 
Offline
Big Block
User avatar

Joined:Tue Feb 23, 2010 12:40 pm
Posts:3245
Car Details:'79 Camaro, 350 V8
Location:South Bucks
soooo no chance of getting into the car at the mo as I'm still workign on the outside of it! Got the headers in (anyone tried installing a starter motor with headers installed and the car jacked up? good times for the swear jar). Then found outmy spark plugs are too long so on the hunt for short versions but at least the headers are in. Car is down to 600grit ready for another recoat of hopefully non-colour changing red. noticed a couple of imperfections that got a skim of filler (little spots that were not noticable until up close but enough to anooy me). Need to rewire the starter, which is fun with the limited visibility and try and make sure the the wires don't touch the headers or block, should be a fun task. So that's where we are, would ne nice to have it resprayed and cut n buffed by xmas and work on the exhaust (got the front and back sorted, just the middle bit now) over new years. getting there..

_________________
How to post pics: When writing a message, scroll down and use the "attach file" option. Where possible, a photo sharing service can be used such as Flickr, Imgur etc. The image location (usually ending in .jpg) can be copy and pasted between the ][ brackets that appear when you click the 'Img' button (you can find this button at the top of the message box).

How to post youtube vids: Click on the 'youtubeHD' button at the top of the message box and in the middle of the ][ brackets that just appeared, copy and paste everything from the youtube web address that appears after the = sign i.e if this is the url: https://www.youtube.com/watch?v=K2cNqaPSHv0 just copy "K2cNqaPSHv0").


Top
   
PostPosted:Mon Nov 28, 2011 6:27 pm 
Offline
Big Block
User avatar

Joined:Fri Mar 19, 2010 1:35 am
Posts:2566
Car Details:79' camaro road & track day toy. 383 stroker, 5 speed TKO trans, lots of suspension stuff, 13" Vette brakes, 18" wheels.
Location:Luton
That starter can be a bugger, (especially with big tube headers :evil: )... be careful where the wires sit, as I've burnt mine once on the exhaust, as the clips holding the cables to the bulkhead had all dissapeared and shorted out the whole car electrics whilst driving..
I bought a smaller high torque starter, when my old one cracked.. which was much easier to fit...

Looking forward to the finished fully sprayed car...

_________________
“You only live once, but if you do it right, once is enough.”


Top
   
PostPosted:Mon Dec 05, 2011 4:42 pm 
Offline
Big Block
User avatar

Joined:Tue Feb 23, 2010 12:40 pm
Posts:3245
Car Details:'79 Camaro, 350 V8
Location:South Bucks
Cheers Stu, glad i'm not the only one who expereinced that joy lol. most of these rebuild usually see the headers stuck to the engine then the engine get's fitted in, so probably a lot of pain avoided. I would have thought high torque starters would have been bigger, but's that's good to know should this one give up the ghost. When i took it out and cleaned it it was pretty good shape so i think it's been refurbed or is quite new. Thansk for the advice on the wires, i spent about 30 minutes arranging them so they are now tucked right against the starter and the cable clip on the block is on there pertty solid so have a good 1 to 1.5" gap between the headers. Wuold have been easier to put on those headers that stick up through the bonnet hehe :twisted:

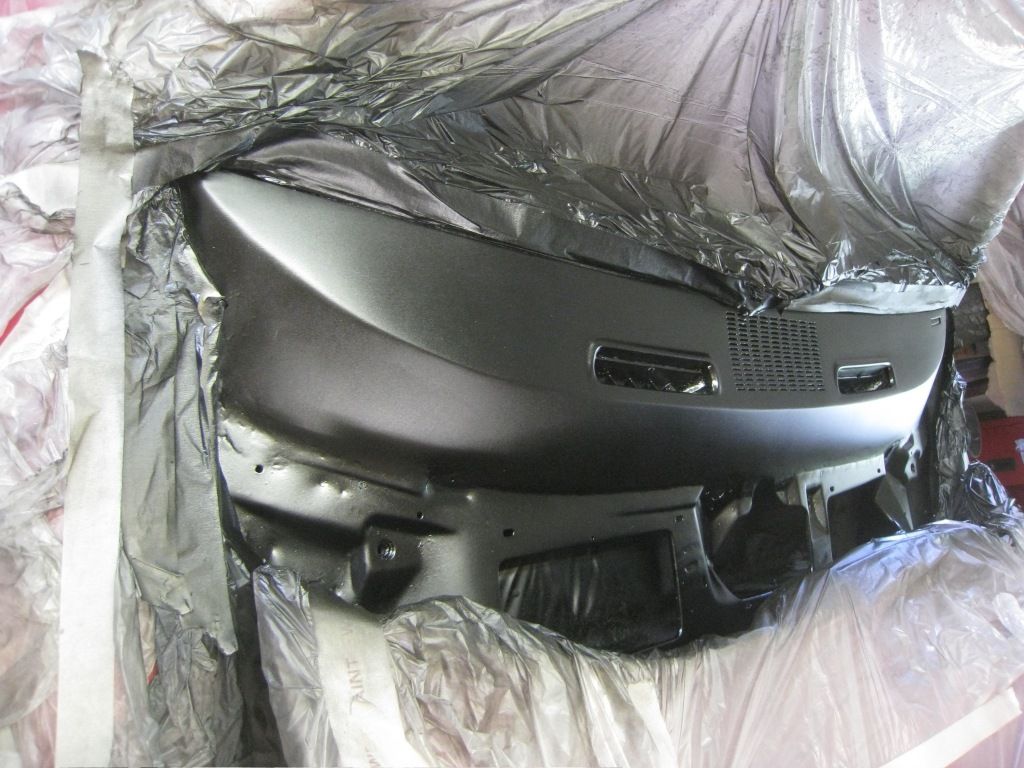
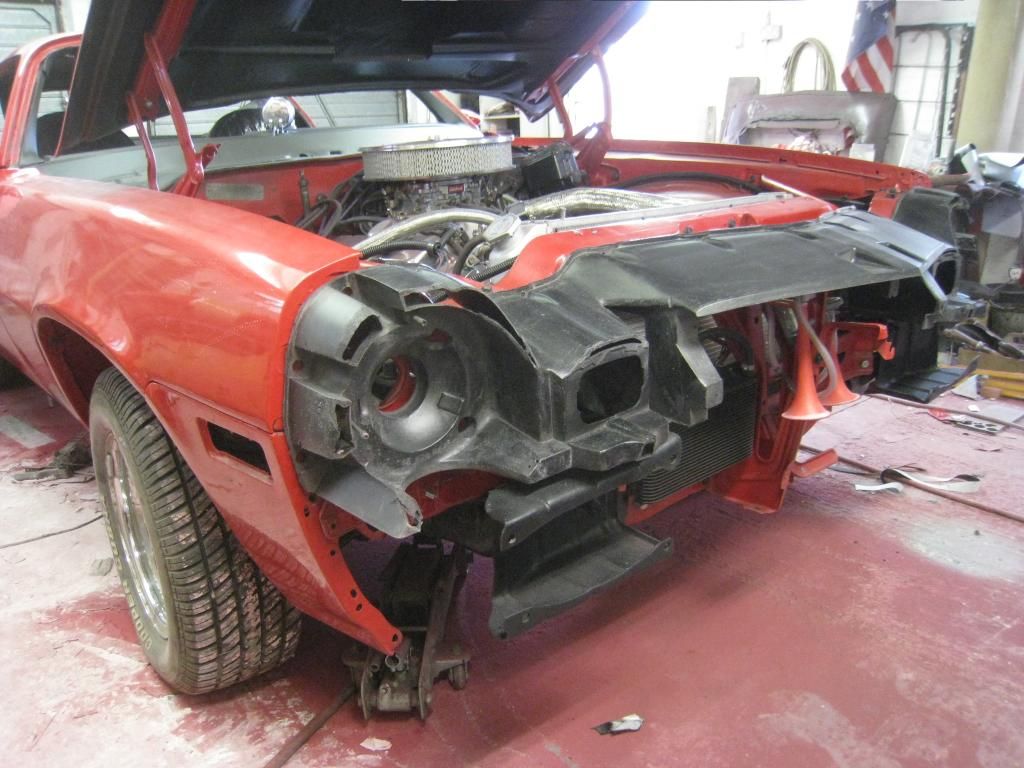
Car is prepped now for paint, just gota do a bit more masking then wait for this cool weather to pass so we get up to 10+ degress in the daytime. Will put some pics up maybe later today of some of the progress, then hopefully soon of the re-paint.

Thanks for the interest in the updates, can you beleive it's been nearly 2 years since this started :shock:

_________________
How to post pics: When writing a message, scroll down and use the "attach file" option. Where possible, a photo sharing service can be used such as Flickr, Imgur etc. The image location (usually ending in .jpg) can be copy and pasted between the ][ brackets that appear when you click the 'Img' button (you can find this button at the top of the message box).

How to post youtube vids: Click on the 'youtubeHD' button at the top of the message box and in the middle of the ][ brackets that just appeared, copy and paste everything from the youtube web address that appears after the = sign i.e if this is the url: https://www.youtube.com/watch?v=K2cNqaPSHv0 just copy "K2cNqaPSHv0").


Top
   
PostPosted:Mon Dec 05, 2011 6:06 pm 
Offline
Big Block
User avatar

Joined:Fri Mar 19, 2010 1:35 am
Posts:2566
Car Details:79' camaro road & track day toy. 383 stroker, 5 speed TKO trans, lots of suspension stuff, 13" Vette brakes, 18" wheels.
Location:Luton
For comparison..

Hitachi mini starter ... And the cracked standard one next to it (that was only about 9 months old - Don't think it liked the higher compression of the new engine)

Image

_________________
“You only live once, but if you do it right, once is enough.”


Top
   
PostPosted:Tue Dec 06, 2011 1:55 pm 
Offline
Big Block
User avatar

Joined:Tue Feb 23, 2010 12:40 pm
Posts:3245
Car Details:'79 Camaro, 350 V8
Location:South Bucks
Cheers Stu! Wow that is much more of an improved design!! Upgrading may have helped matters, may even had meant that it would be possible to not replace the starter i nthe first place as it gives clearance for headers to drop straight in! Ye i've heard the standard starters don't like higher compression engines. Is it a costly updgrade for one of these?

_________________
How to post pics: When writing a message, scroll down and use the "attach file" option. Where possible, a photo sharing service can be used such as Flickr, Imgur etc. The image location (usually ending in .jpg) can be copy and pasted between the ][ brackets that appear when you click the 'Img' button (you can find this button at the top of the message box).

How to post youtube vids: Click on the 'youtubeHD' button at the top of the message box and in the middle of the ][ brackets that just appeared, copy and paste everything from the youtube web address that appears after the = sign i.e if this is the url: https://www.youtube.com/watch?v=K2cNqaPSHv0 just copy "K2cNqaPSHv0").


Top
   
PostPosted:Tue Dec 06, 2011 2:51 pm 
Offline
Big Block
User avatar

Joined:Fri Mar 19, 2010 1:35 am
Posts:2566
Car Details:79' camaro road & track day toy. 383 stroker, 5 speed TKO trans, lots of suspension stuff, 13" Vette brakes, 18" wheels.
Location:Luton
Definately had no issues with it since fitted, about 2 years now, and 10k miles. Think it was about £130 from Real Steel..

_________________
“You only live once, but if you do it right, once is enough.”


Top
   
PostPosted:Tue Dec 06, 2011 3:35 pm 
Offline
Big Block
User avatar

Joined:Tue Feb 23, 2010 12:40 pm
Posts:3245
Car Details:'79 Camaro, 350 V8
Location:South Bucks
Pretyy decent price!! defo a worthy upgrade, especially if doing any mods like you mentioned about upping the compression ratio :)

_________________
How to post pics: When writing a message, scroll down and use the "attach file" option. Where possible, a photo sharing service can be used such as Flickr, Imgur etc. The image location (usually ending in .jpg) can be copy and pasted between the ][ brackets that appear when you click the 'Img' button (you can find this button at the top of the message box).

How to post youtube vids: Click on the 'youtubeHD' button at the top of the message box and in the middle of the ][ brackets that just appeared, copy and paste everything from the youtube web address that appears after the = sign i.e if this is the url: https://www.youtube.com/watch?v=K2cNqaPSHv0 just copy "K2cNqaPSHv0").


Top
   
Display posts from previous: Sort by 
Post new topic Reply to topic  [456 posts ]  Go to pagePrevious14567846Next

All times are UTC


Who is online

Users browsing this forum: No registered users and 3 guests


You cannot post new topics in this forum
You cannot reply to topics in this forum
You cannot edit your posts in this forum
You cannot delete your posts in this forum
You cannot post attachments in this forum

Search for:
Jump to:  
cron
Powered by phpBB® Forum Software © phpBB Limited