Thought I'd make a start on the 700R4 I have had laying in the garage since the beginning of last year. First job was to tear it down and find out just what I had let myself in for.
It's not a bad job to do, just be careful and take plenty of photos/notes as you go. I also got a Hayne's Techbook which is pretty good. I bagged all the small parts in zip-loc bags and labelled them up too.
First removed tail housing, 4 bolts and it just comes right off. The speedo drive gear is held in place with a small spring clip, remove them both.
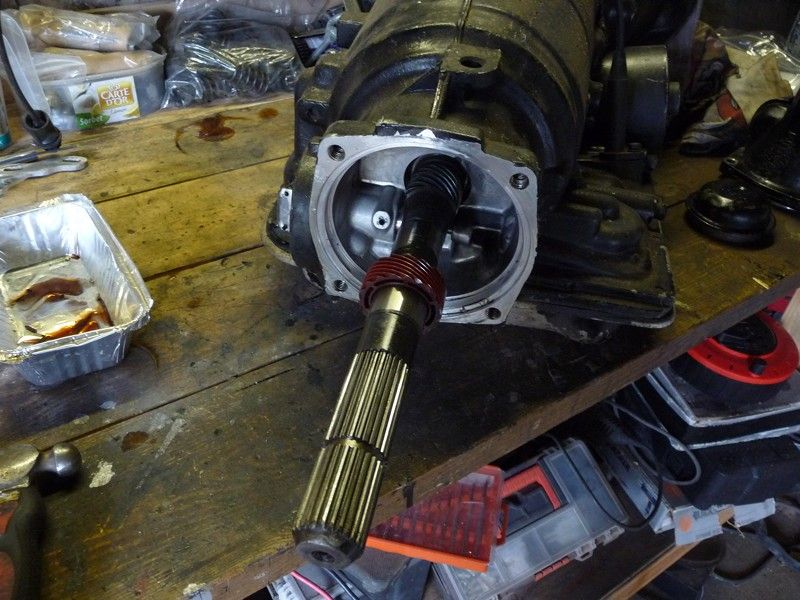
Remove the cover for the govenor, get a screwdriver behind it and tap it off. Then the govenor simply pulls out. Inpect the bore of the case and the govenor shaft for damage.
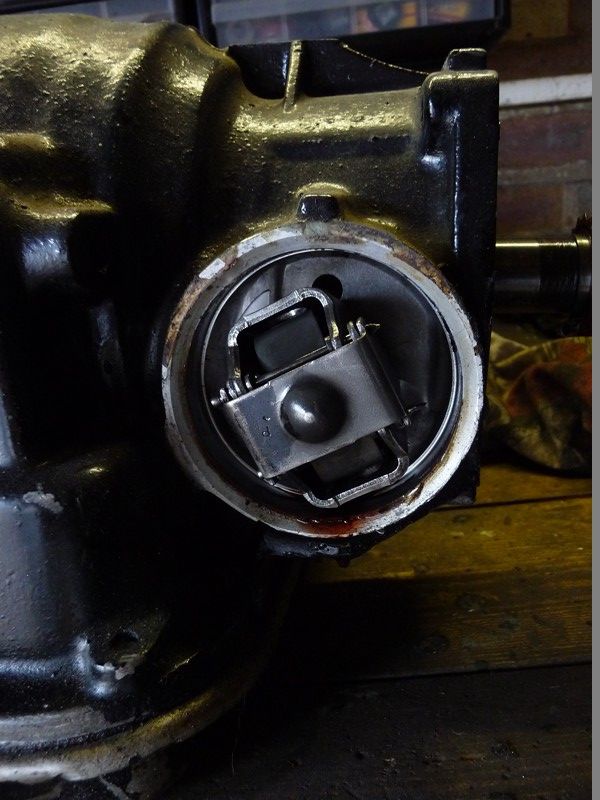
Next the servo. There's a big spring clip, lever it out with a screwdriver then retrieve from the other side of the workshop

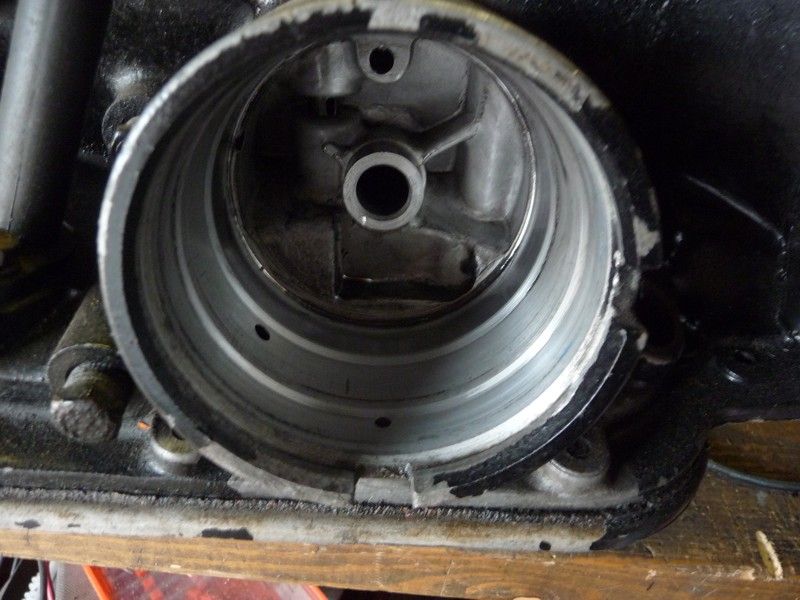
Get a pair of pump pliers and pull/twist the cover until it comes out. If it won't come hook the o-ring and cut it then pull it out and the cover will fall out. Inspect the bore of the cover - thats the overdrive piston bore.
Front piston in the pic is the overdrive piston. Lift that off:
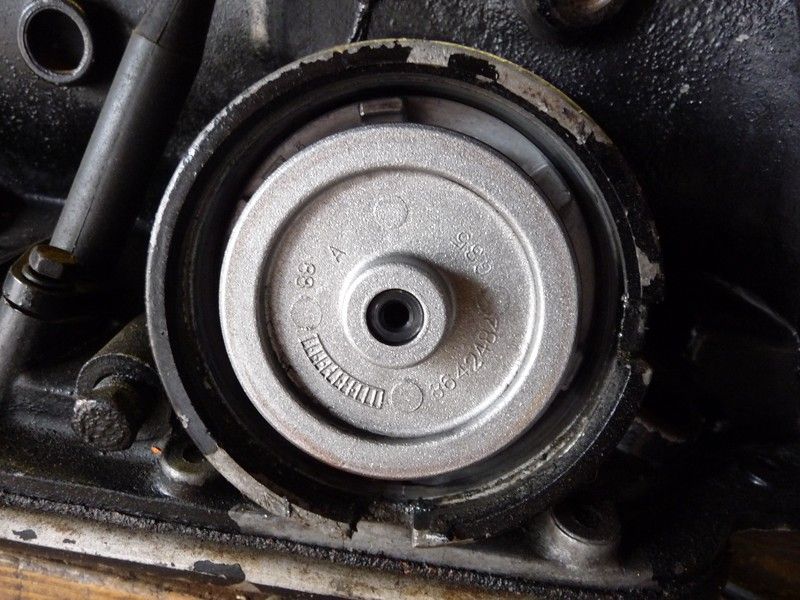
Then you are left with the intermediate servo. It should pull out of the case complete with the shaft. If it wont, grab the back of the piston with pliers and give it a tug but don't damage anything!
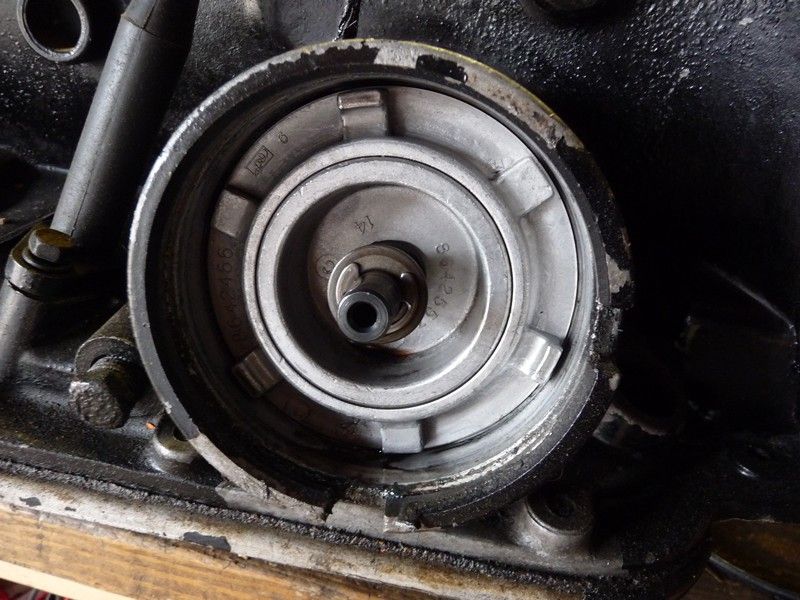
Inspect the bore of the case for scoring. This one isn't too bad, certainly serviceable
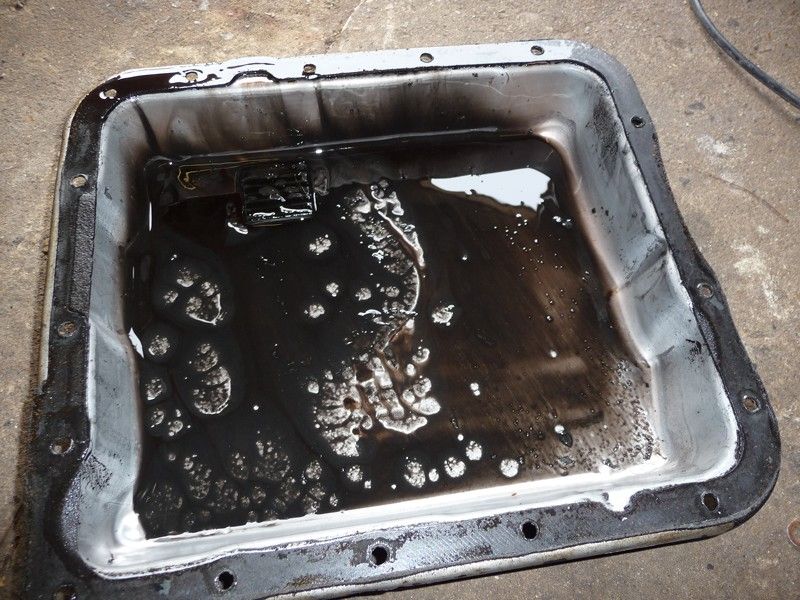
Remove the transmission pan - lots of old friction material in this one, a sign of things to come!
Take note of how the lock up solenoid is wired. Mine is a later box with only a 4th pressure switch and a temp switch
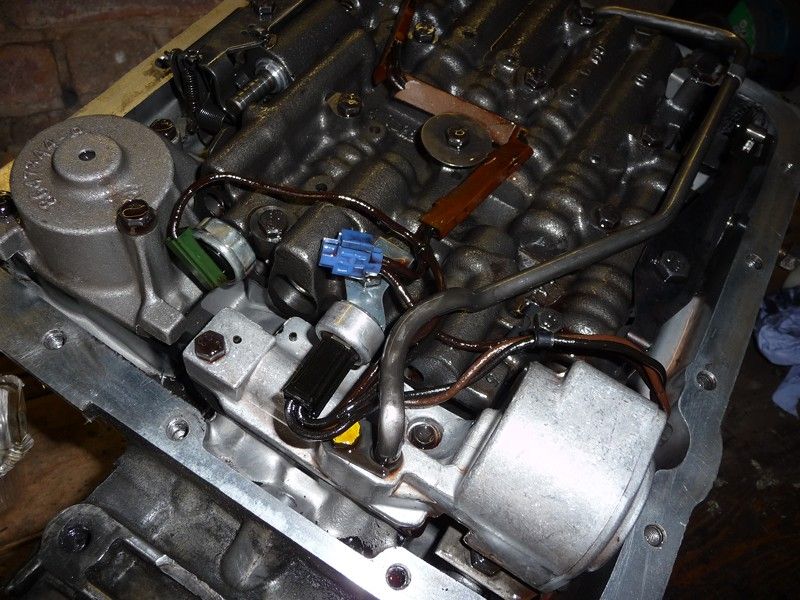
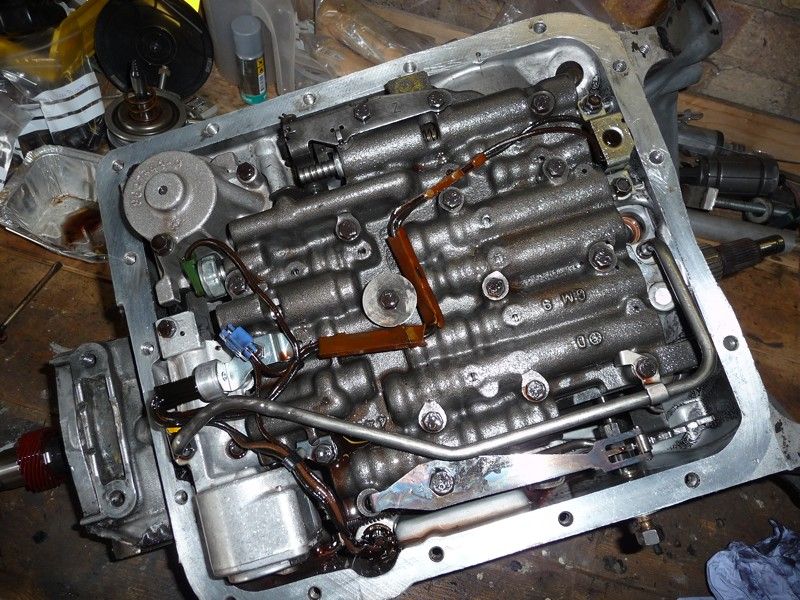
Remove the 1-2 accumulator housing and the spring and piston. The spring in mine was broken, not a great sign. Had made a nice mess of the seperator plate too.
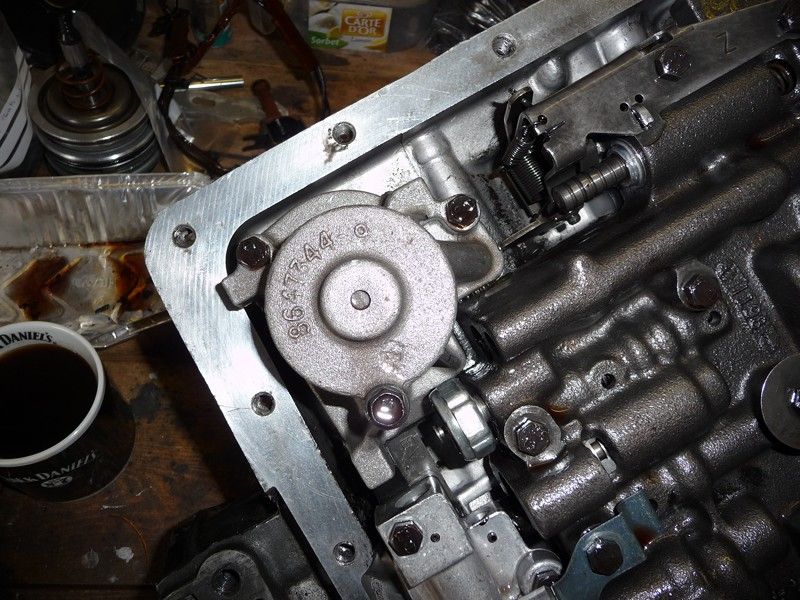
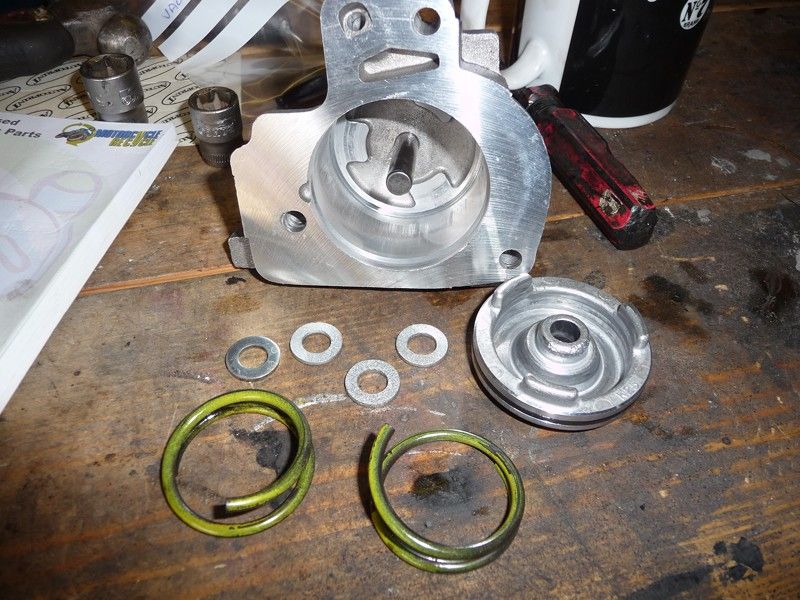
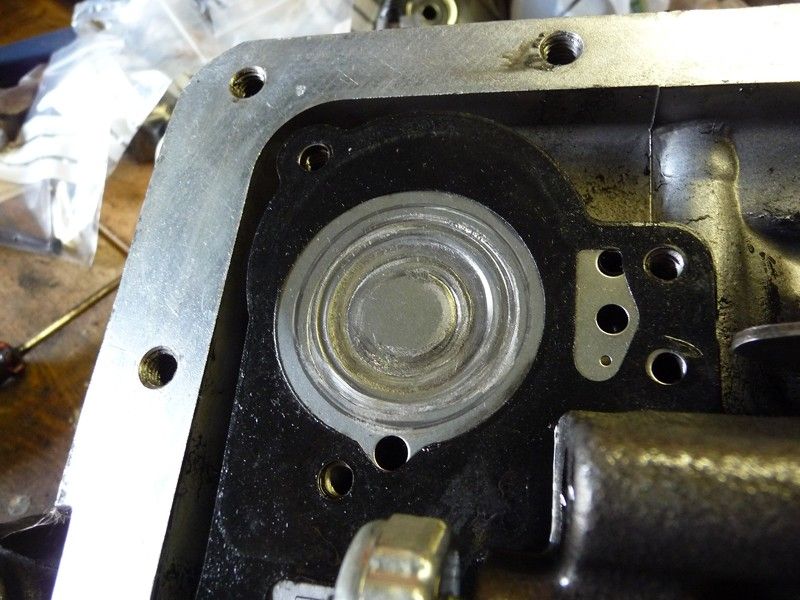
Remove the TV linkage, note how it is connected!
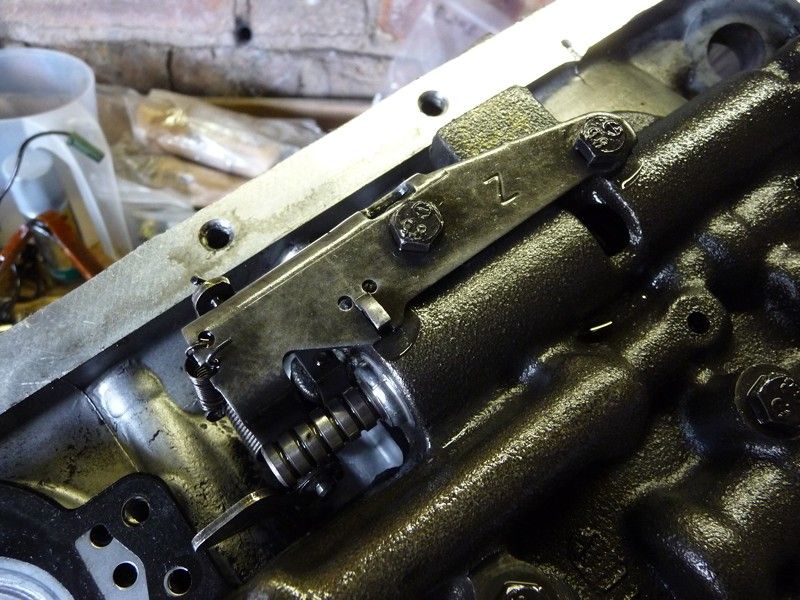
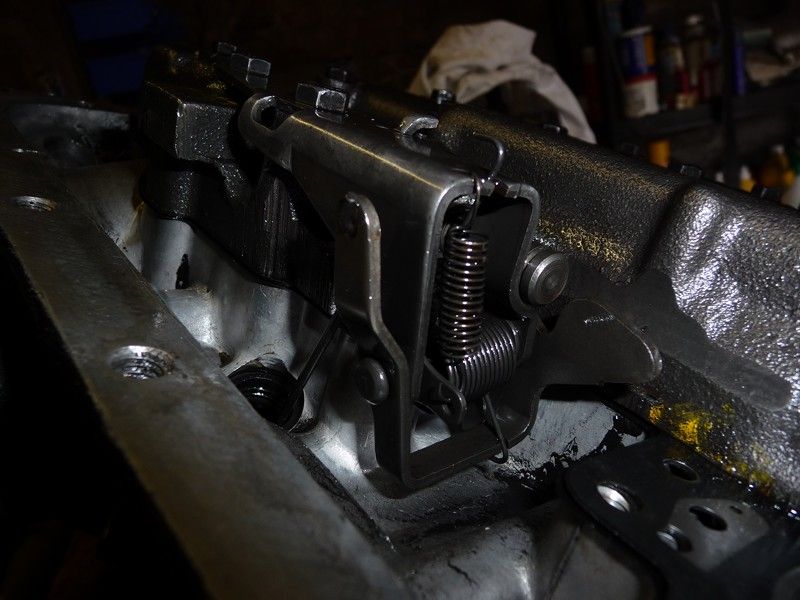
Remove the auxiliary valve body and set aside
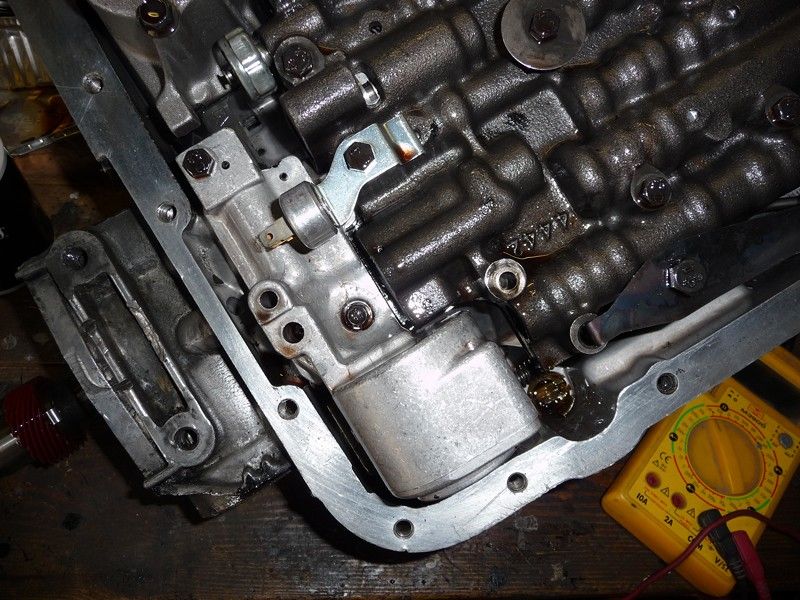
Undo the rest of the bolts holding the valve body to the case and lift off the valve body. 2 or 3 check balls will fall out, fish them out if you can find them!
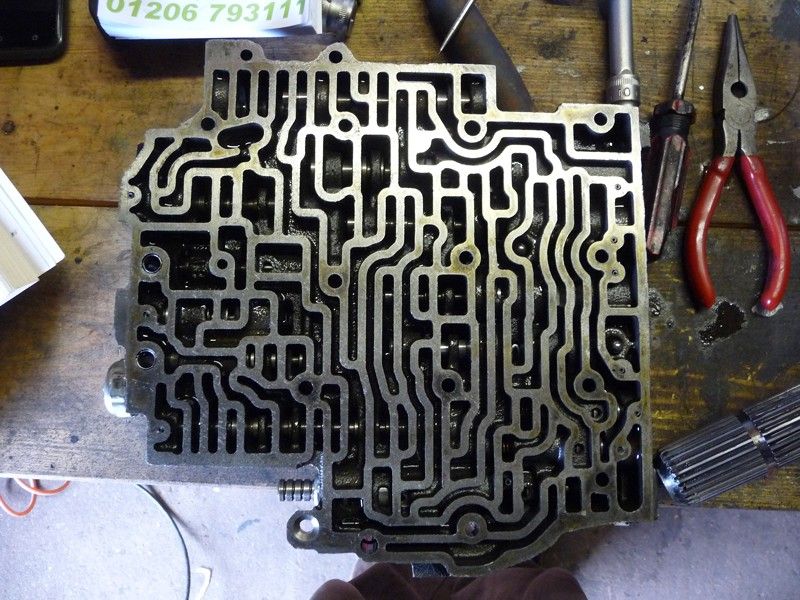
Remove the gaskets and seperator plate
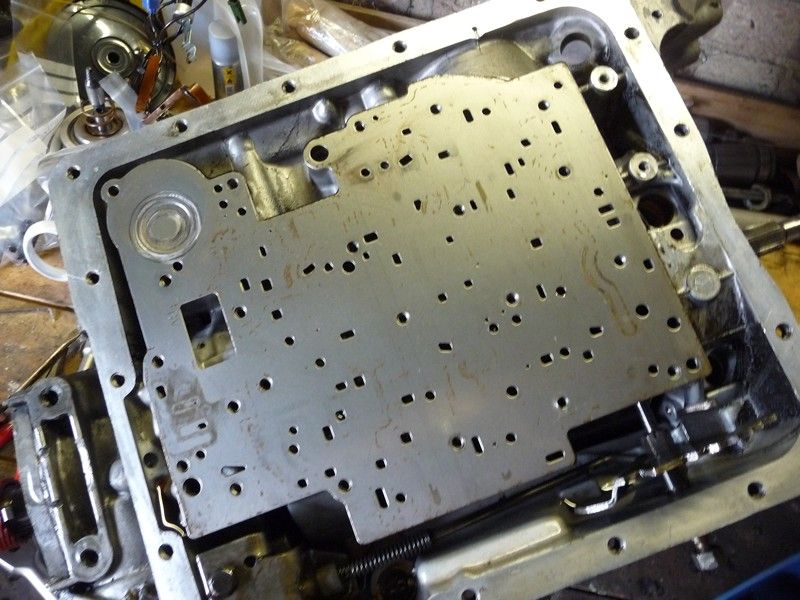
Remove the spring and 3-4 accumulator
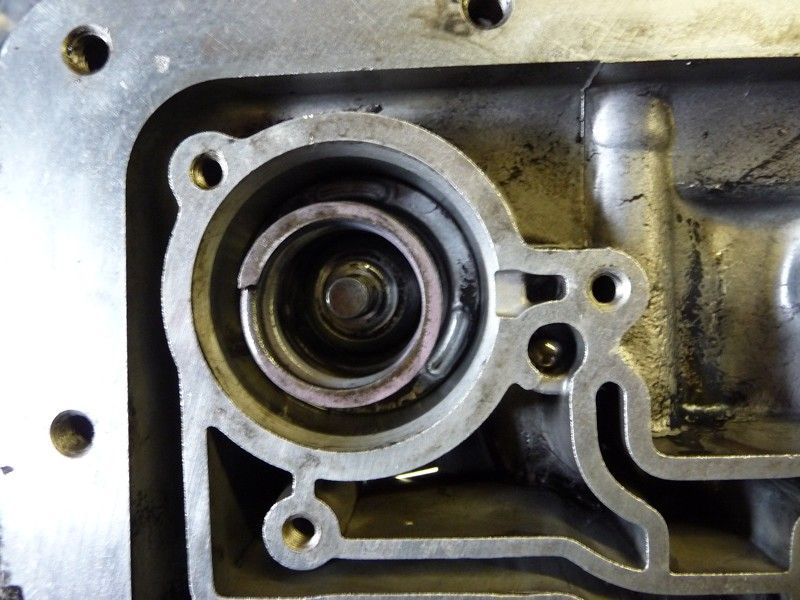
There will be 3 or 4 more check balls in the case, note their location and remove
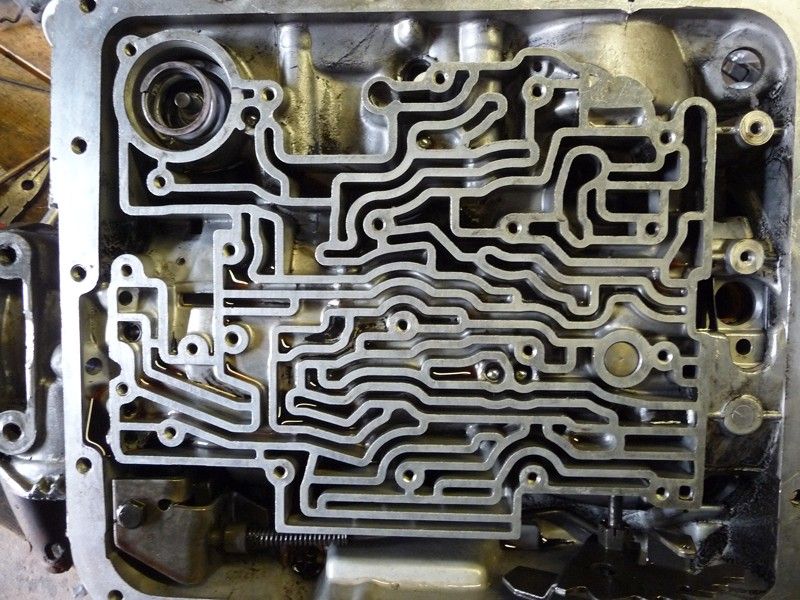
Remove the bolts holding the pump to the case. You are meant to have a special puller to remove it but you can pry it out from between the case and pump from inside the box. Be careful not to damage the case or pump
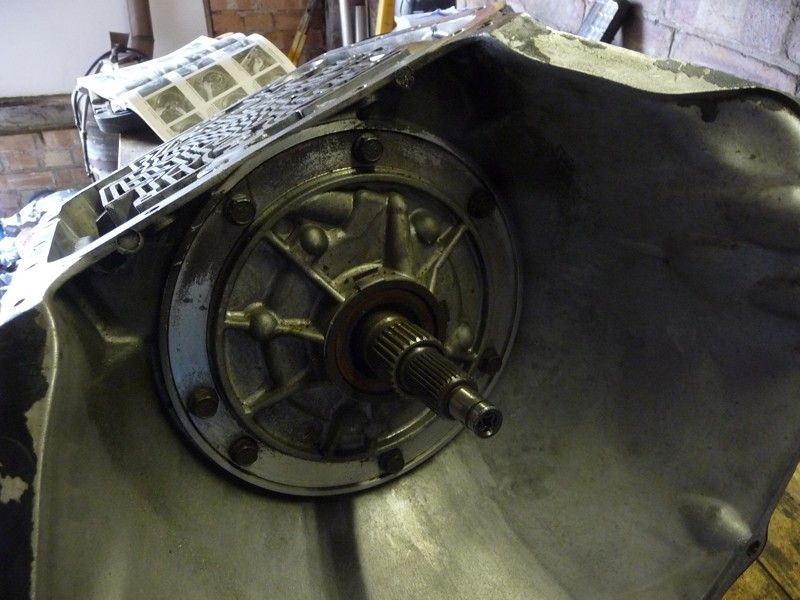
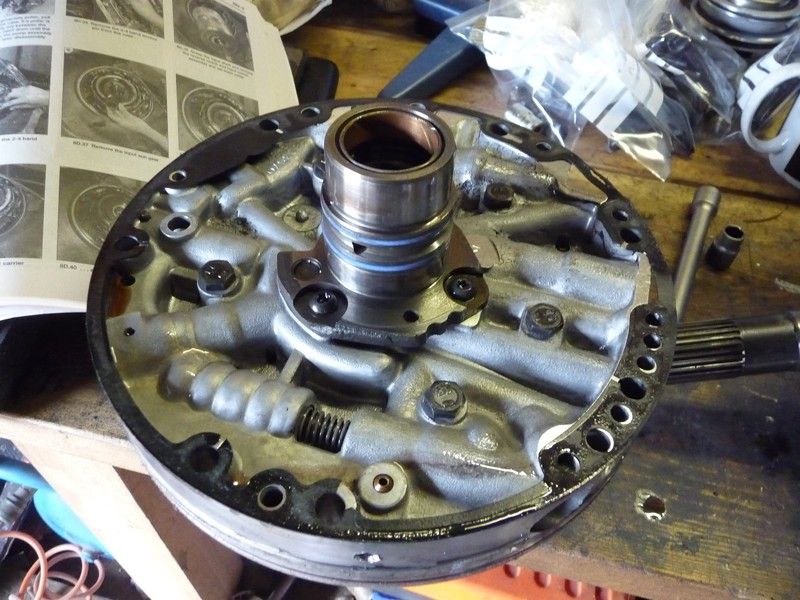
Once the pump is out you can pull the input shaft out complete with the input drum
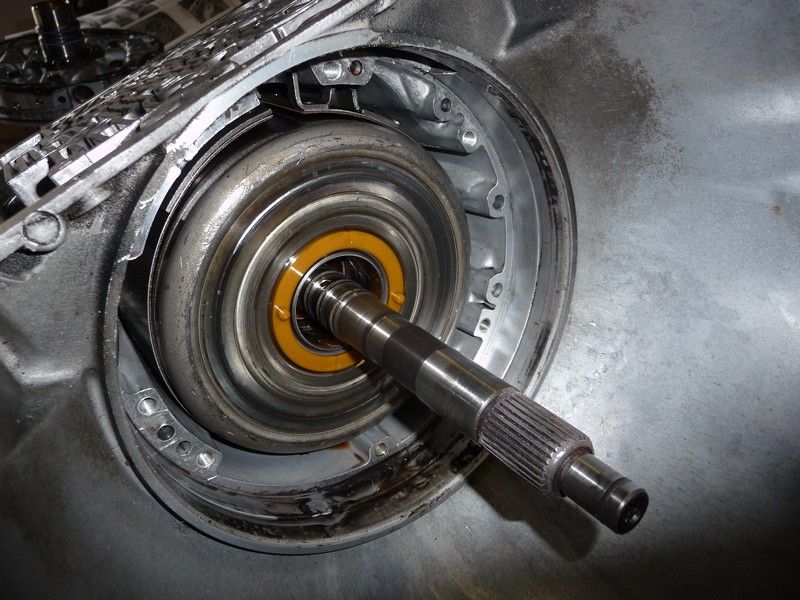
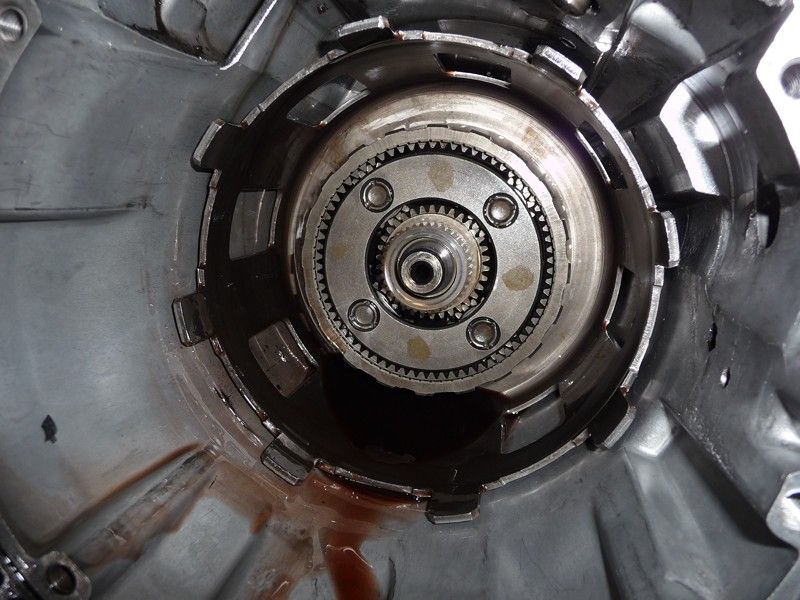
Remove the sun gear from the middle of the planet and there is a small snap ring holding it in. Remove it and pull out the planet gears
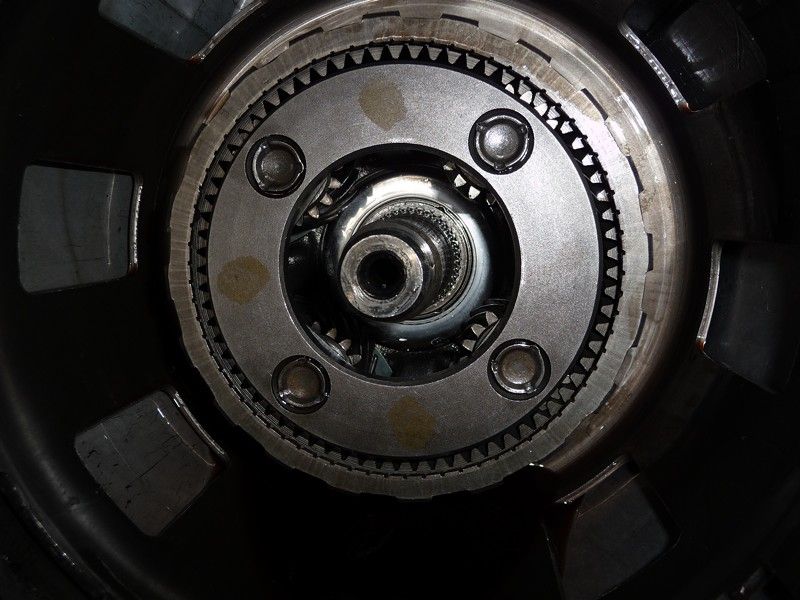
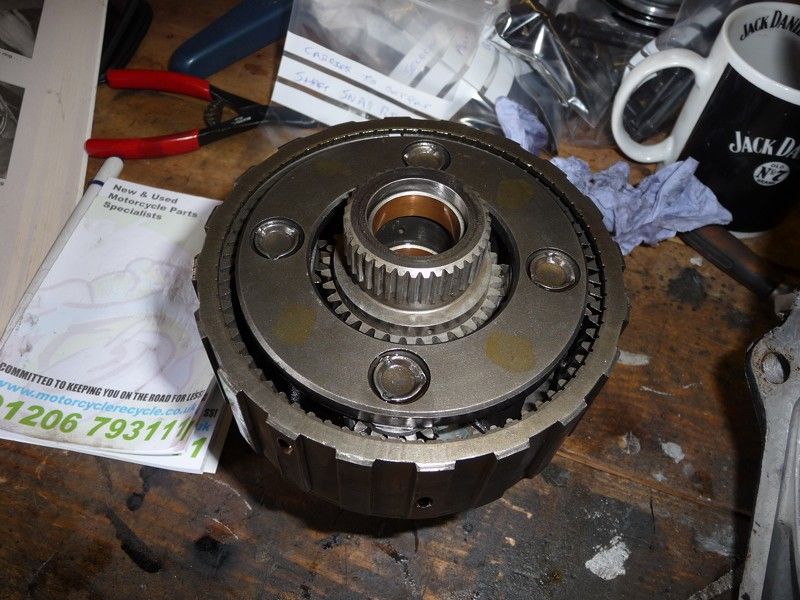
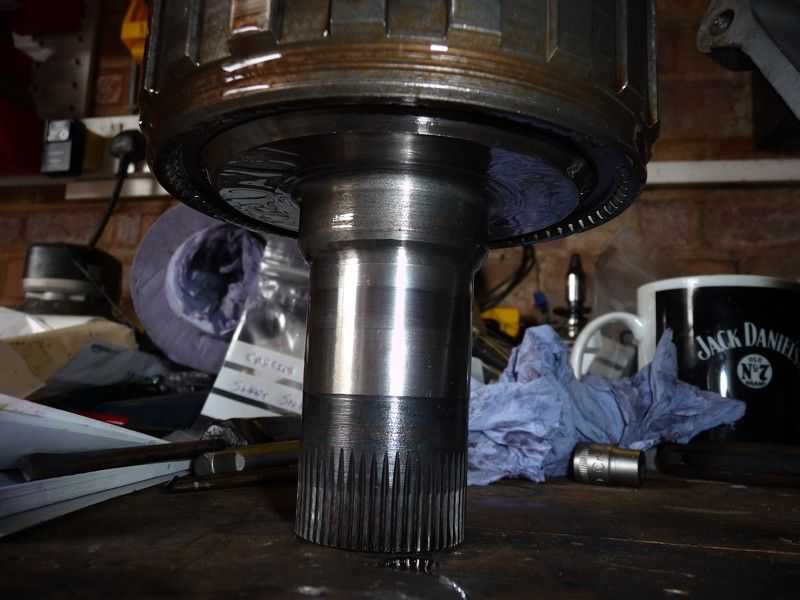
There is a thrust washer and then the shell which will just pull out
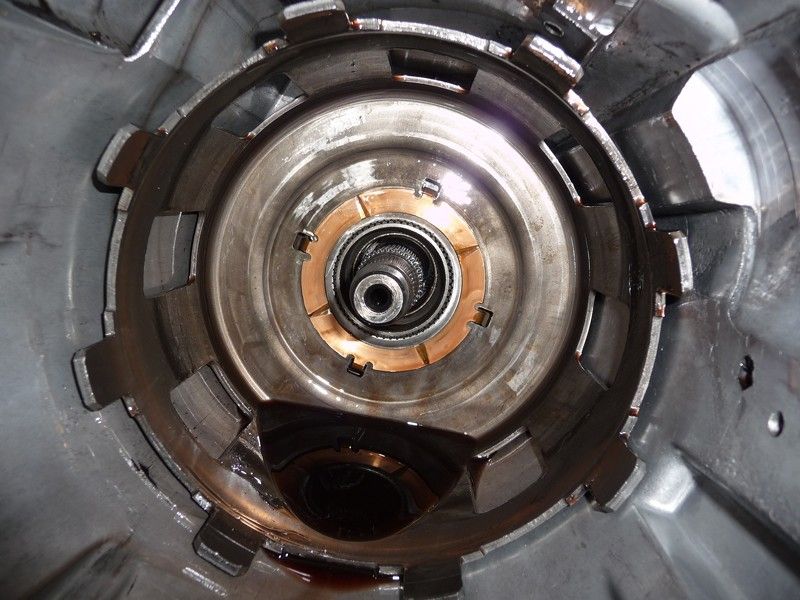
Behind that is the centre support and sprag. Lever out the large snap ring and bump the assembly out using the output shaft
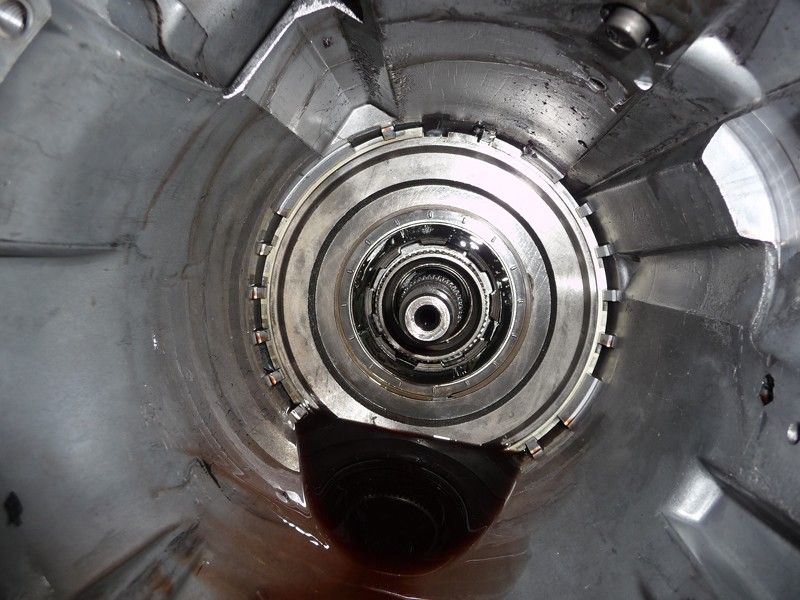
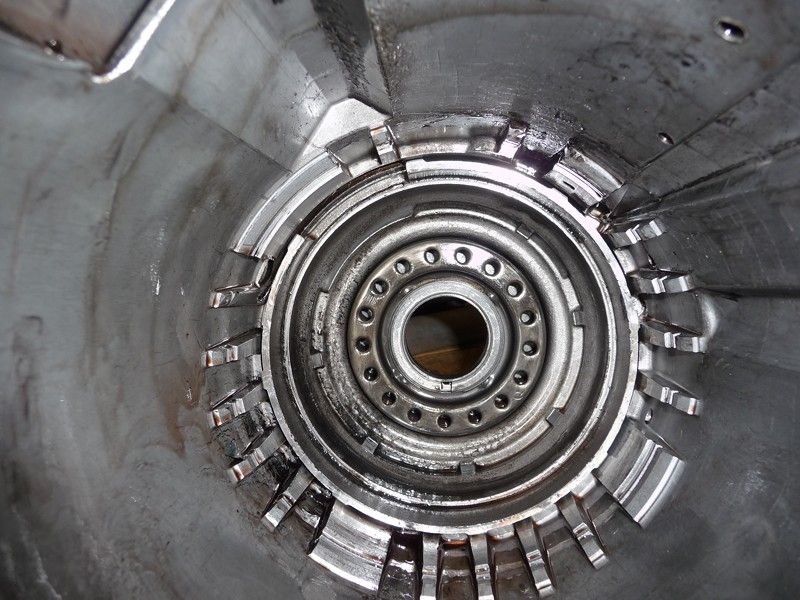
This is what the centre assembly looks like. There is a clutch pack there as well, note the wave plate on the top of the pack. And behind it all is the rear planet assembly
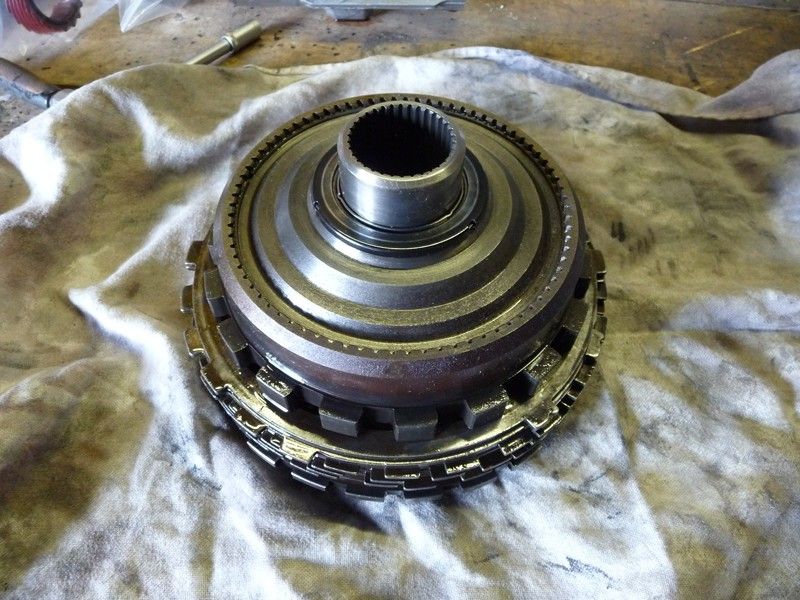
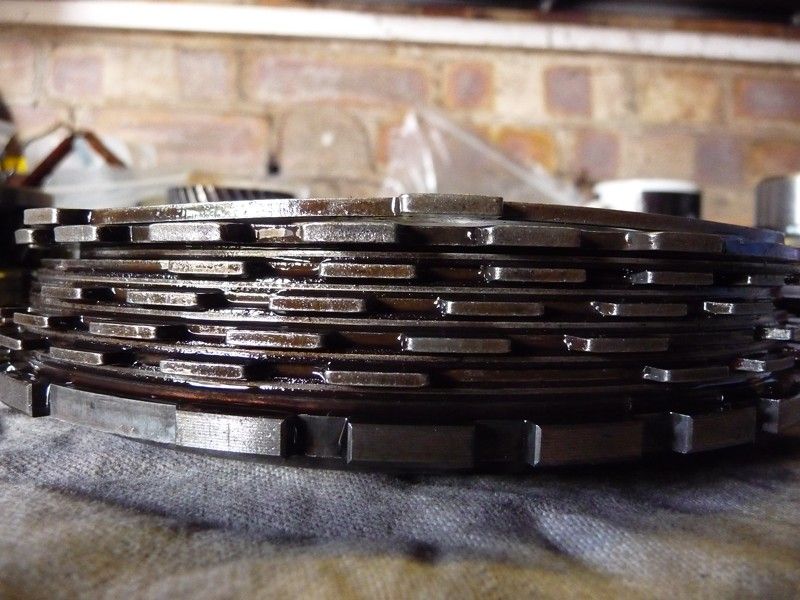
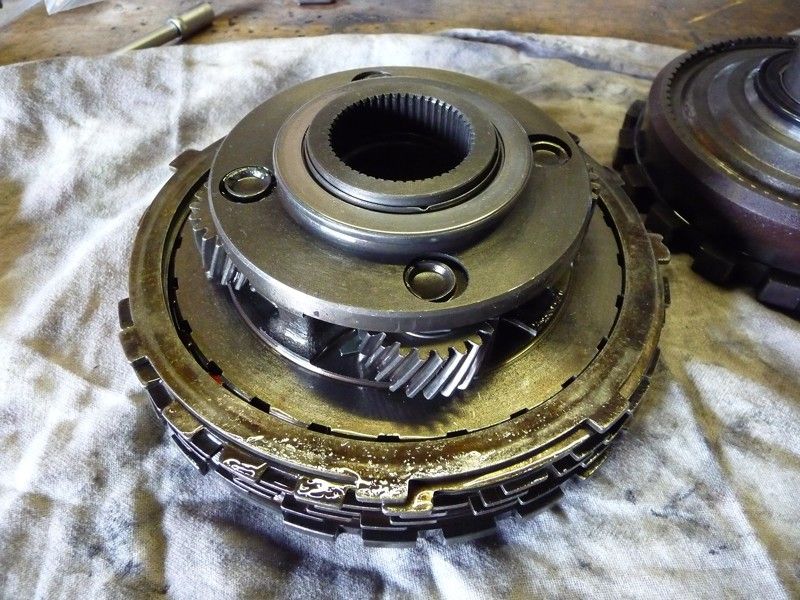
After that all thats left in the case is the spring pack which needs a special tool to remove. I knocked one up out of some steel and a bolt. Simple enough. You need to compress the spring pack then remove the snap ring. Then the spring pack lifts out and you can lift out the large piston in the back of the case
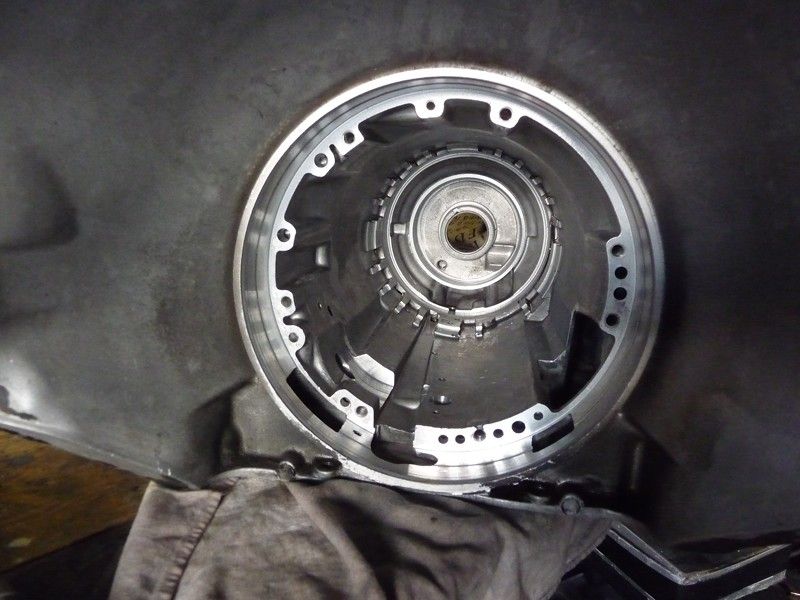
Time to take a look at the rest of the internals
The outside of the drum is where the band runs, this one is still flat but a little burned. Not enough to worry about. The band on the other hand has seen better days!
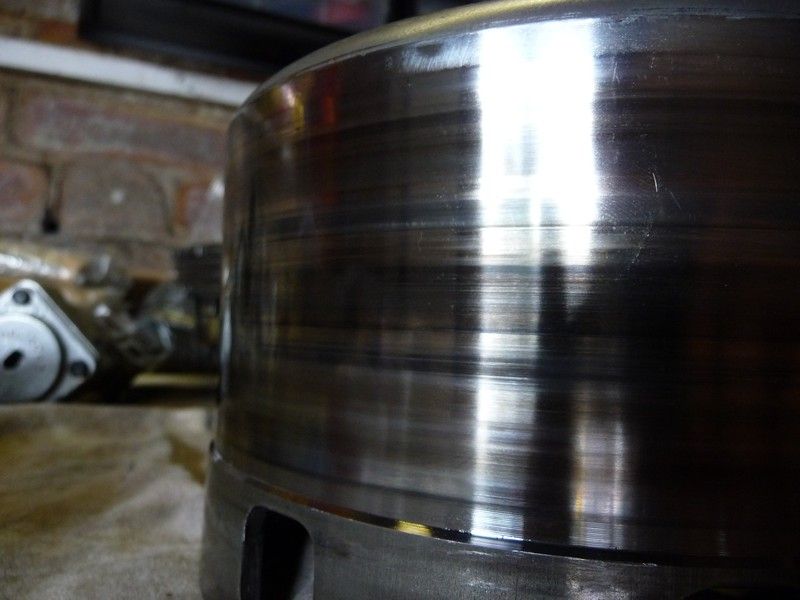
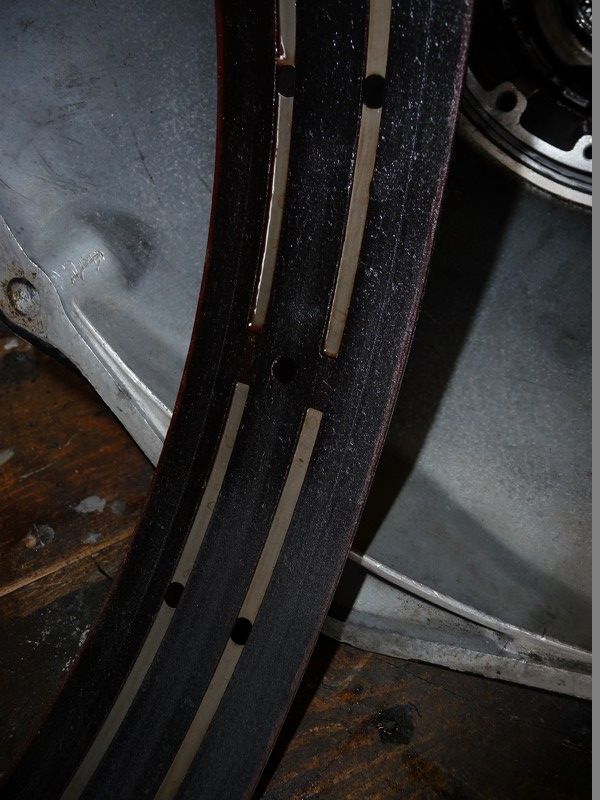
The reverse input drum lifts off the shaft to reveal a spring pack and clutch. You need to compress the spring pack to remove the snap ring then it all lifts out.
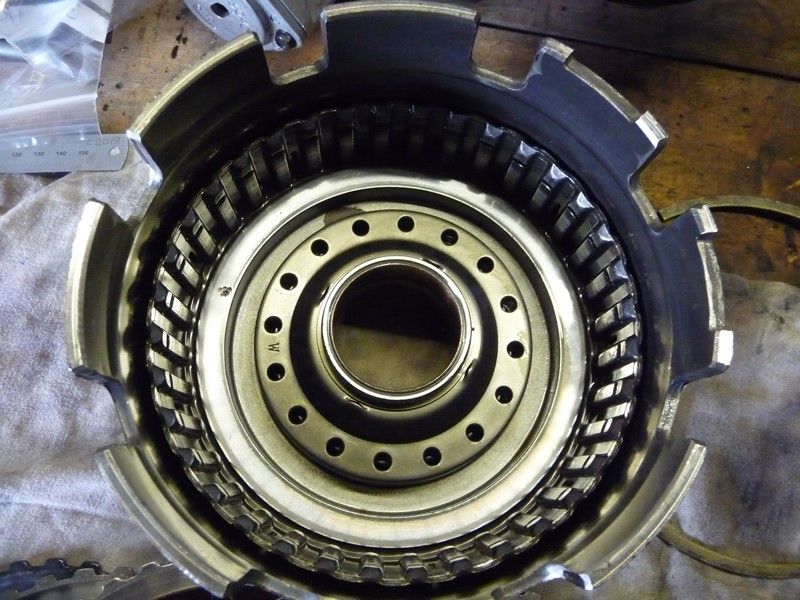
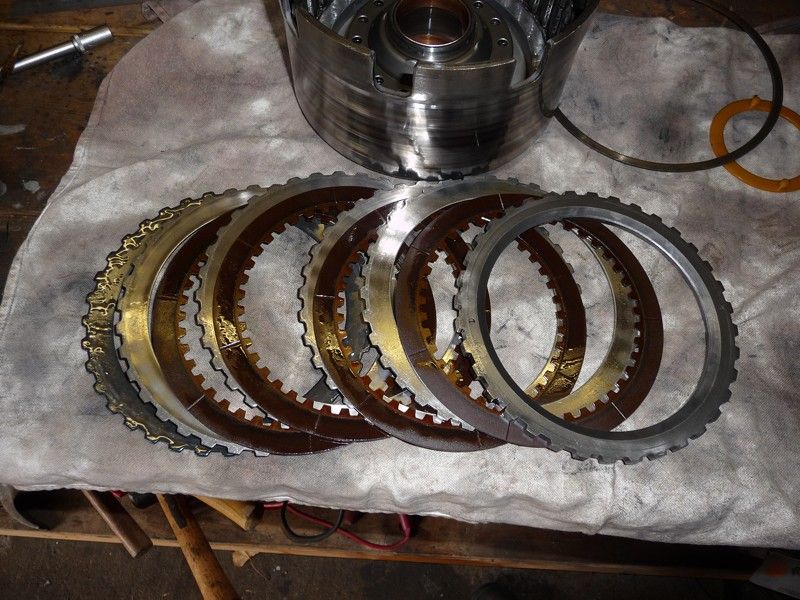
The pressure plate in the front of the drum should have a nice neat hole drilled in it, mineis got a manufacturing flaw and a badly drilled hole. I'll clean it up when I rebuild
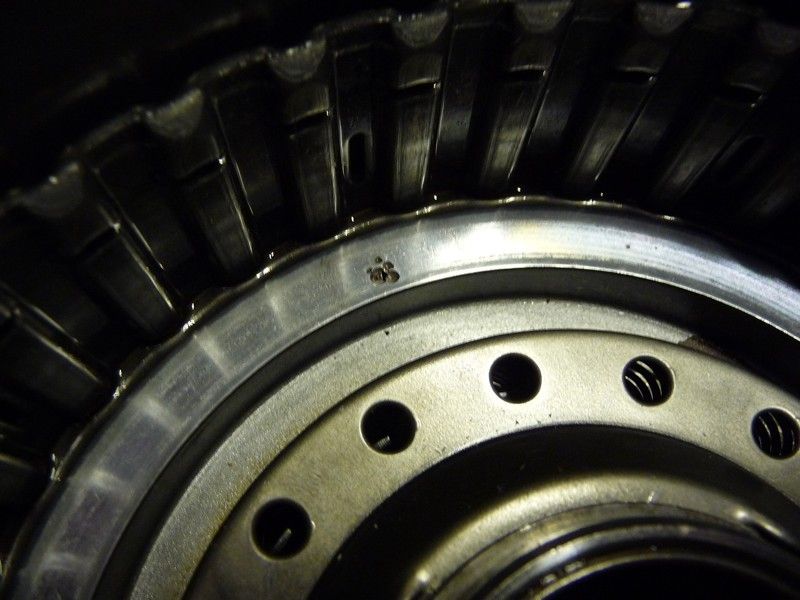
Moving onto the input drum - in the back lies the troublesome 3-4 clutch pack. There should be about 0.040" clearance in the stack, this one has about 1/4"!
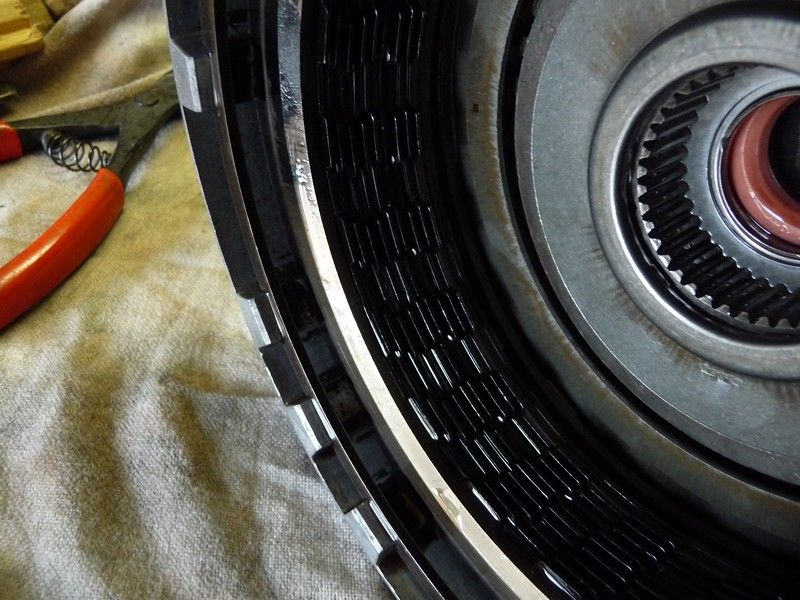
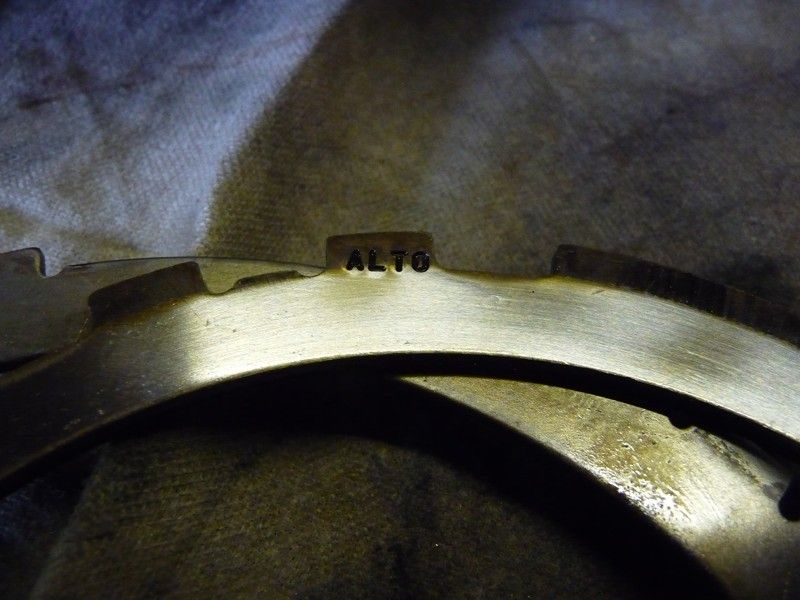
Remove the snap ring and the clutch comes out. This transmission has been rebuilt in the past with an Alto Red 9 plate 3-4 clutch. Didn't stop it having some issues... it's slipped so much there's no friction material left on 50% of the plates. That would explain the clearance!
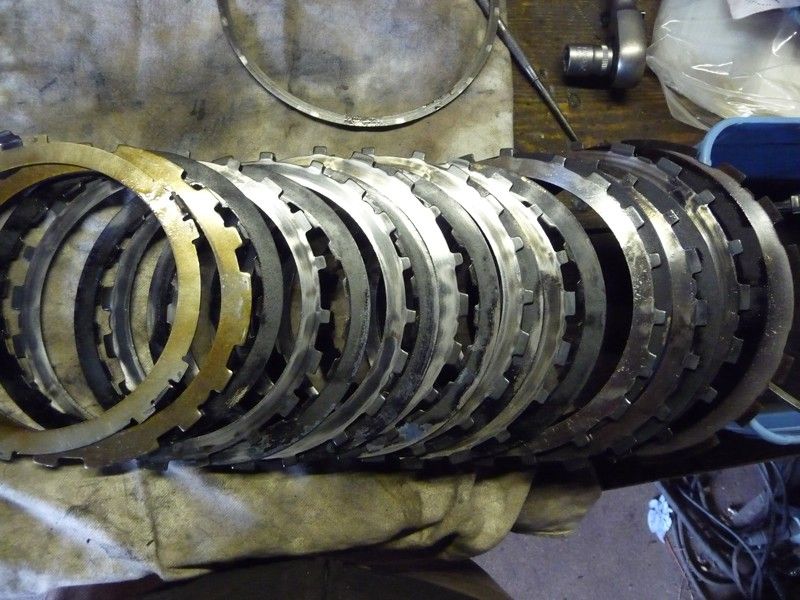
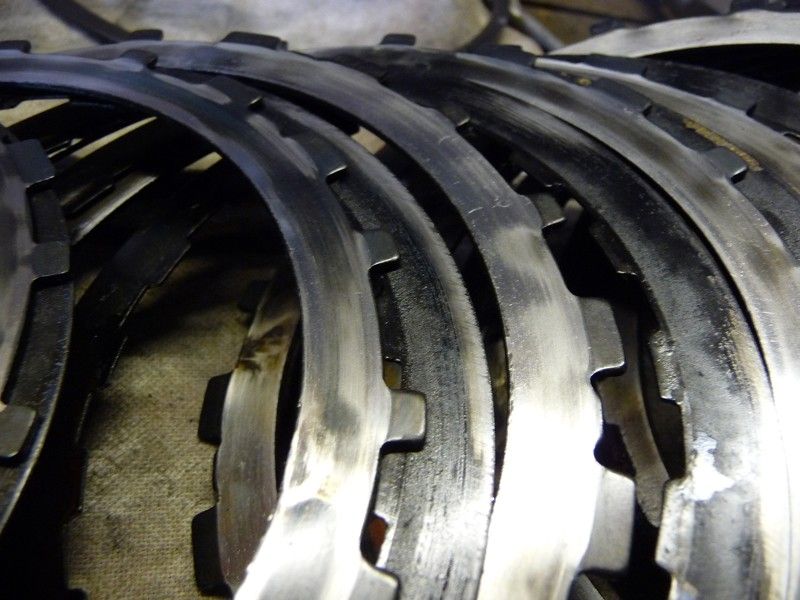
Under the 3-4 clutch is the forward clutch and sprag. The cover is held in with a big snap ring which is a PITA to remove.
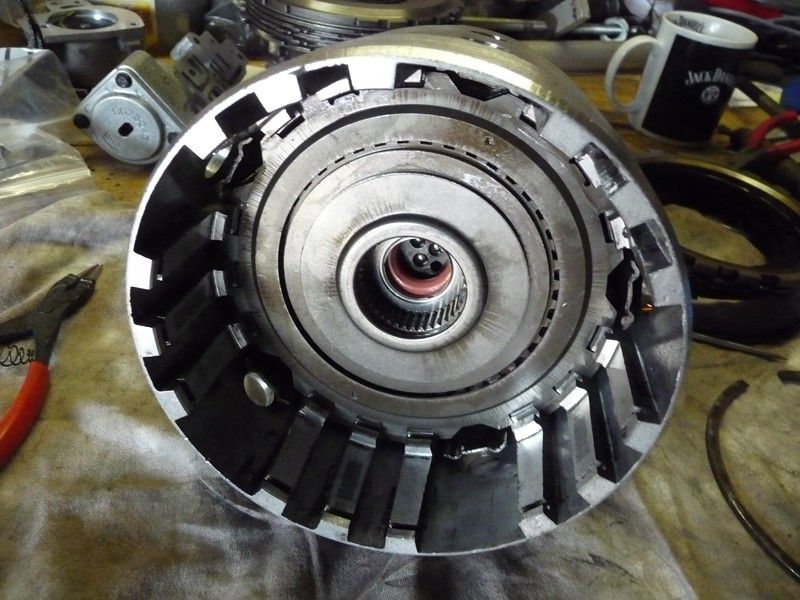
I'll be stripping all of the above right down when I rebuild the box. Until then I am leaving them together in subassemblies as it's easier to rebuild them that way too. Less likely to miss something.
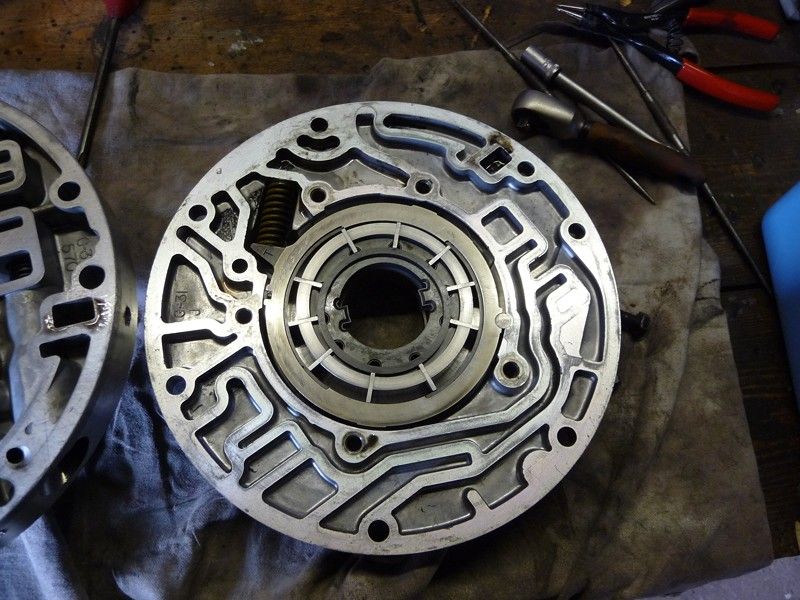
Last bit for preliminary inspection was the pump. Theres a few bolts holding the halves together, split it and it all looks ok. No scoring, it's a 10 vane pump which is much better than the early 8 vane ones.
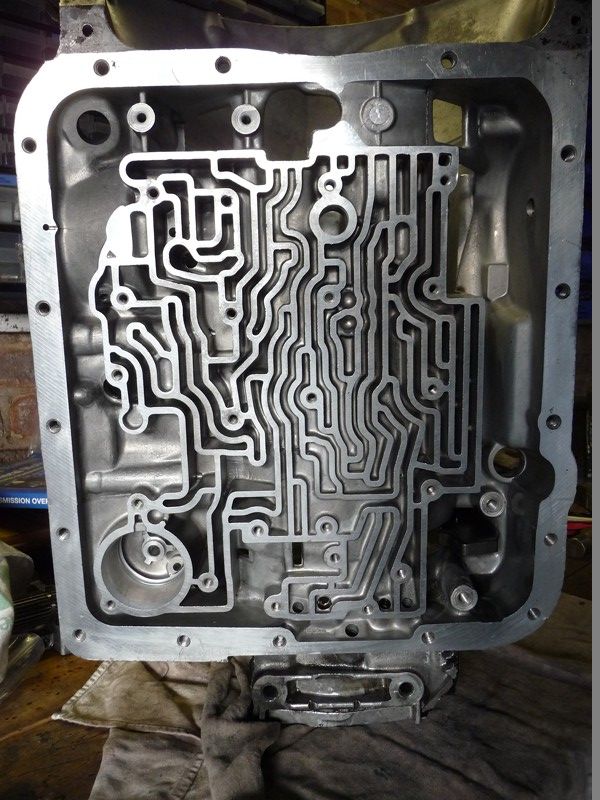
Last job for today was wash out the case and all the passages. Used degreaser in a air wash gun to blast it all clean.
I've ordered a complete rebuild and upgrade kit for it. Should arrive in a couple of weeks. It's got all of the Red Eagle clutch packs and kevlar band. Thicker sun shell as they are prone to cracking around the splines. Also larger overdrive and intermediate servo, 0.5" boost valve etc. All of which means it should be good for around 500hp... we'll see!
_________________
My '80 progress thread - hugger orange!
Now with LQ9 power - forged pistons, LS2 rods, 236/242, .621/.612, flowed and milled 317 heads. MS3X
4L80e, 12 bolt, 4.11, Moroso brute strength posi, steel shafts.
Subframe connectors, g-braces, solid body bushes, carbon hood and front bumper, custom door cards, Autometer gauges.